|
|
||
|
HOME
|
US Navy -
ships
|
US Navy - air
units
|
USMC - air
units
|
International
Navies
|
Weapon Systems
|
Special Reports |
||
|
US Navy - Guided Missile Cruiser CG 63 - USS Cowpens |
||
|
||
| 09/24 | ||
|
Type,
class: Guided Missile Cruiser (CG); Ticonderoga
class Builder: Bath Iron Works, Bath, Maine, USA STATUS: Awarded: January 8, 1986 Laid down: December 23, 1987 Launched: March 11, 1989 Commissioned: March 9, 1991 Decommissioned: August 27, 2024 Fate: laid up at Naval Inactive Ship Maintenance Facility (NISMF), Pearl Harbor, Hawaii Namesake: the Battle of Cowpens, South Carolina, 1781 Ships Motto: VICTORIA LIBERTATIS VINDEX (victory vindicates liberty) Technical Data: see: INFO > Ticonderoga class Guided Missile Cruiser - CG |
||
| images | ||
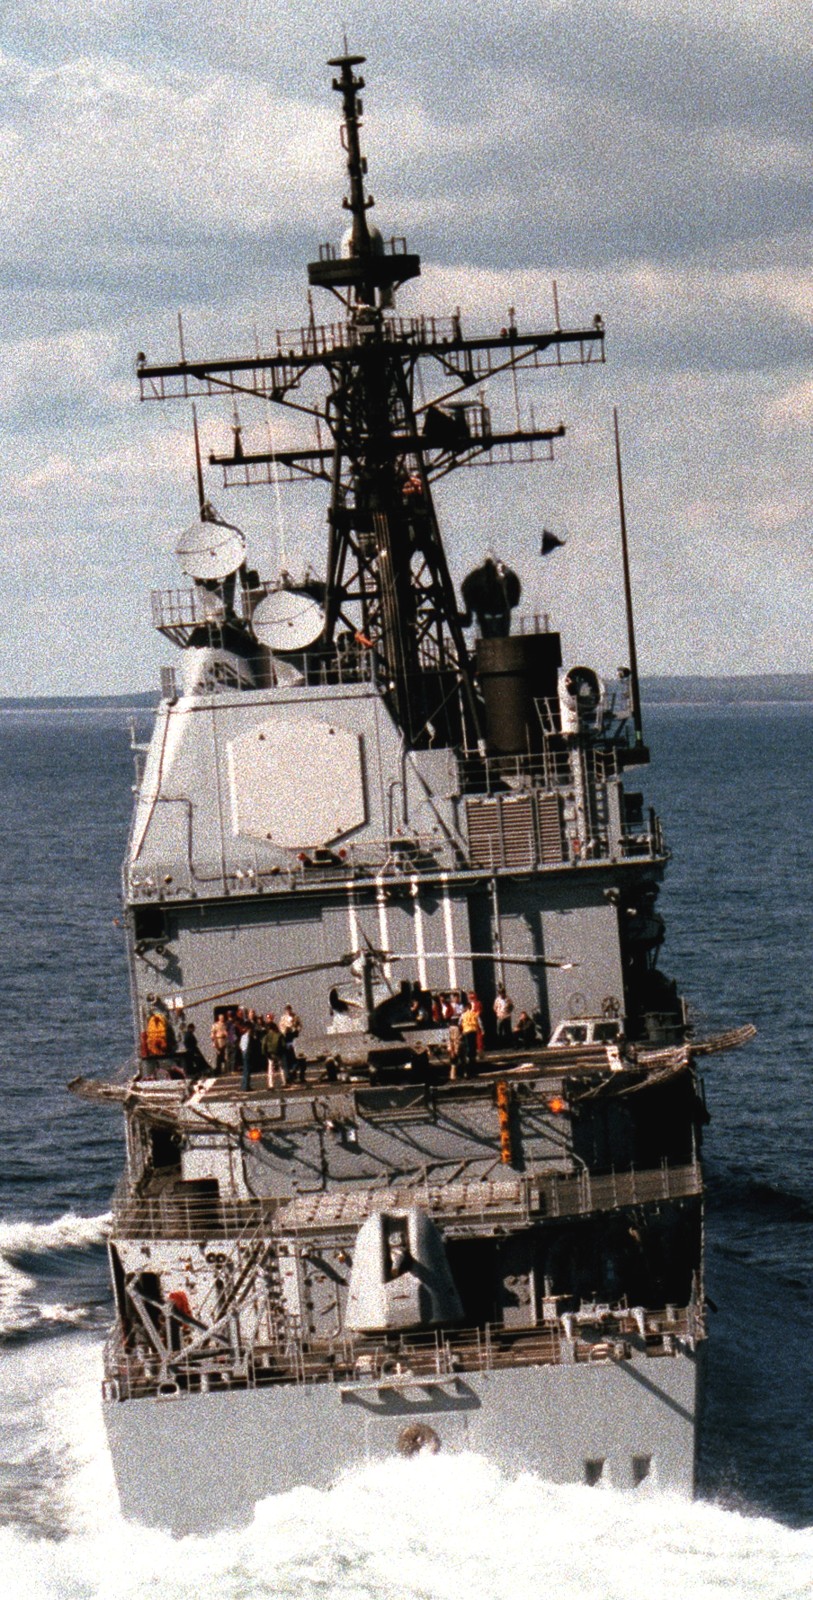
 decommissioning ceremony at Naval Base San Diego, California - August 27, 2024  decommissioning ceremony at Naval Base San Diego, California - August 27, 2024  decommissioning ceremony at Naval Base San Diego, California - August 27, 2024  decommissioning ceremony at Naval Base San Diego, California - August 27, 2024 In September 2015, USS Cowpens transferred from Naval Surface Forces Command to Naval Sea Systems Command for planned modernization. 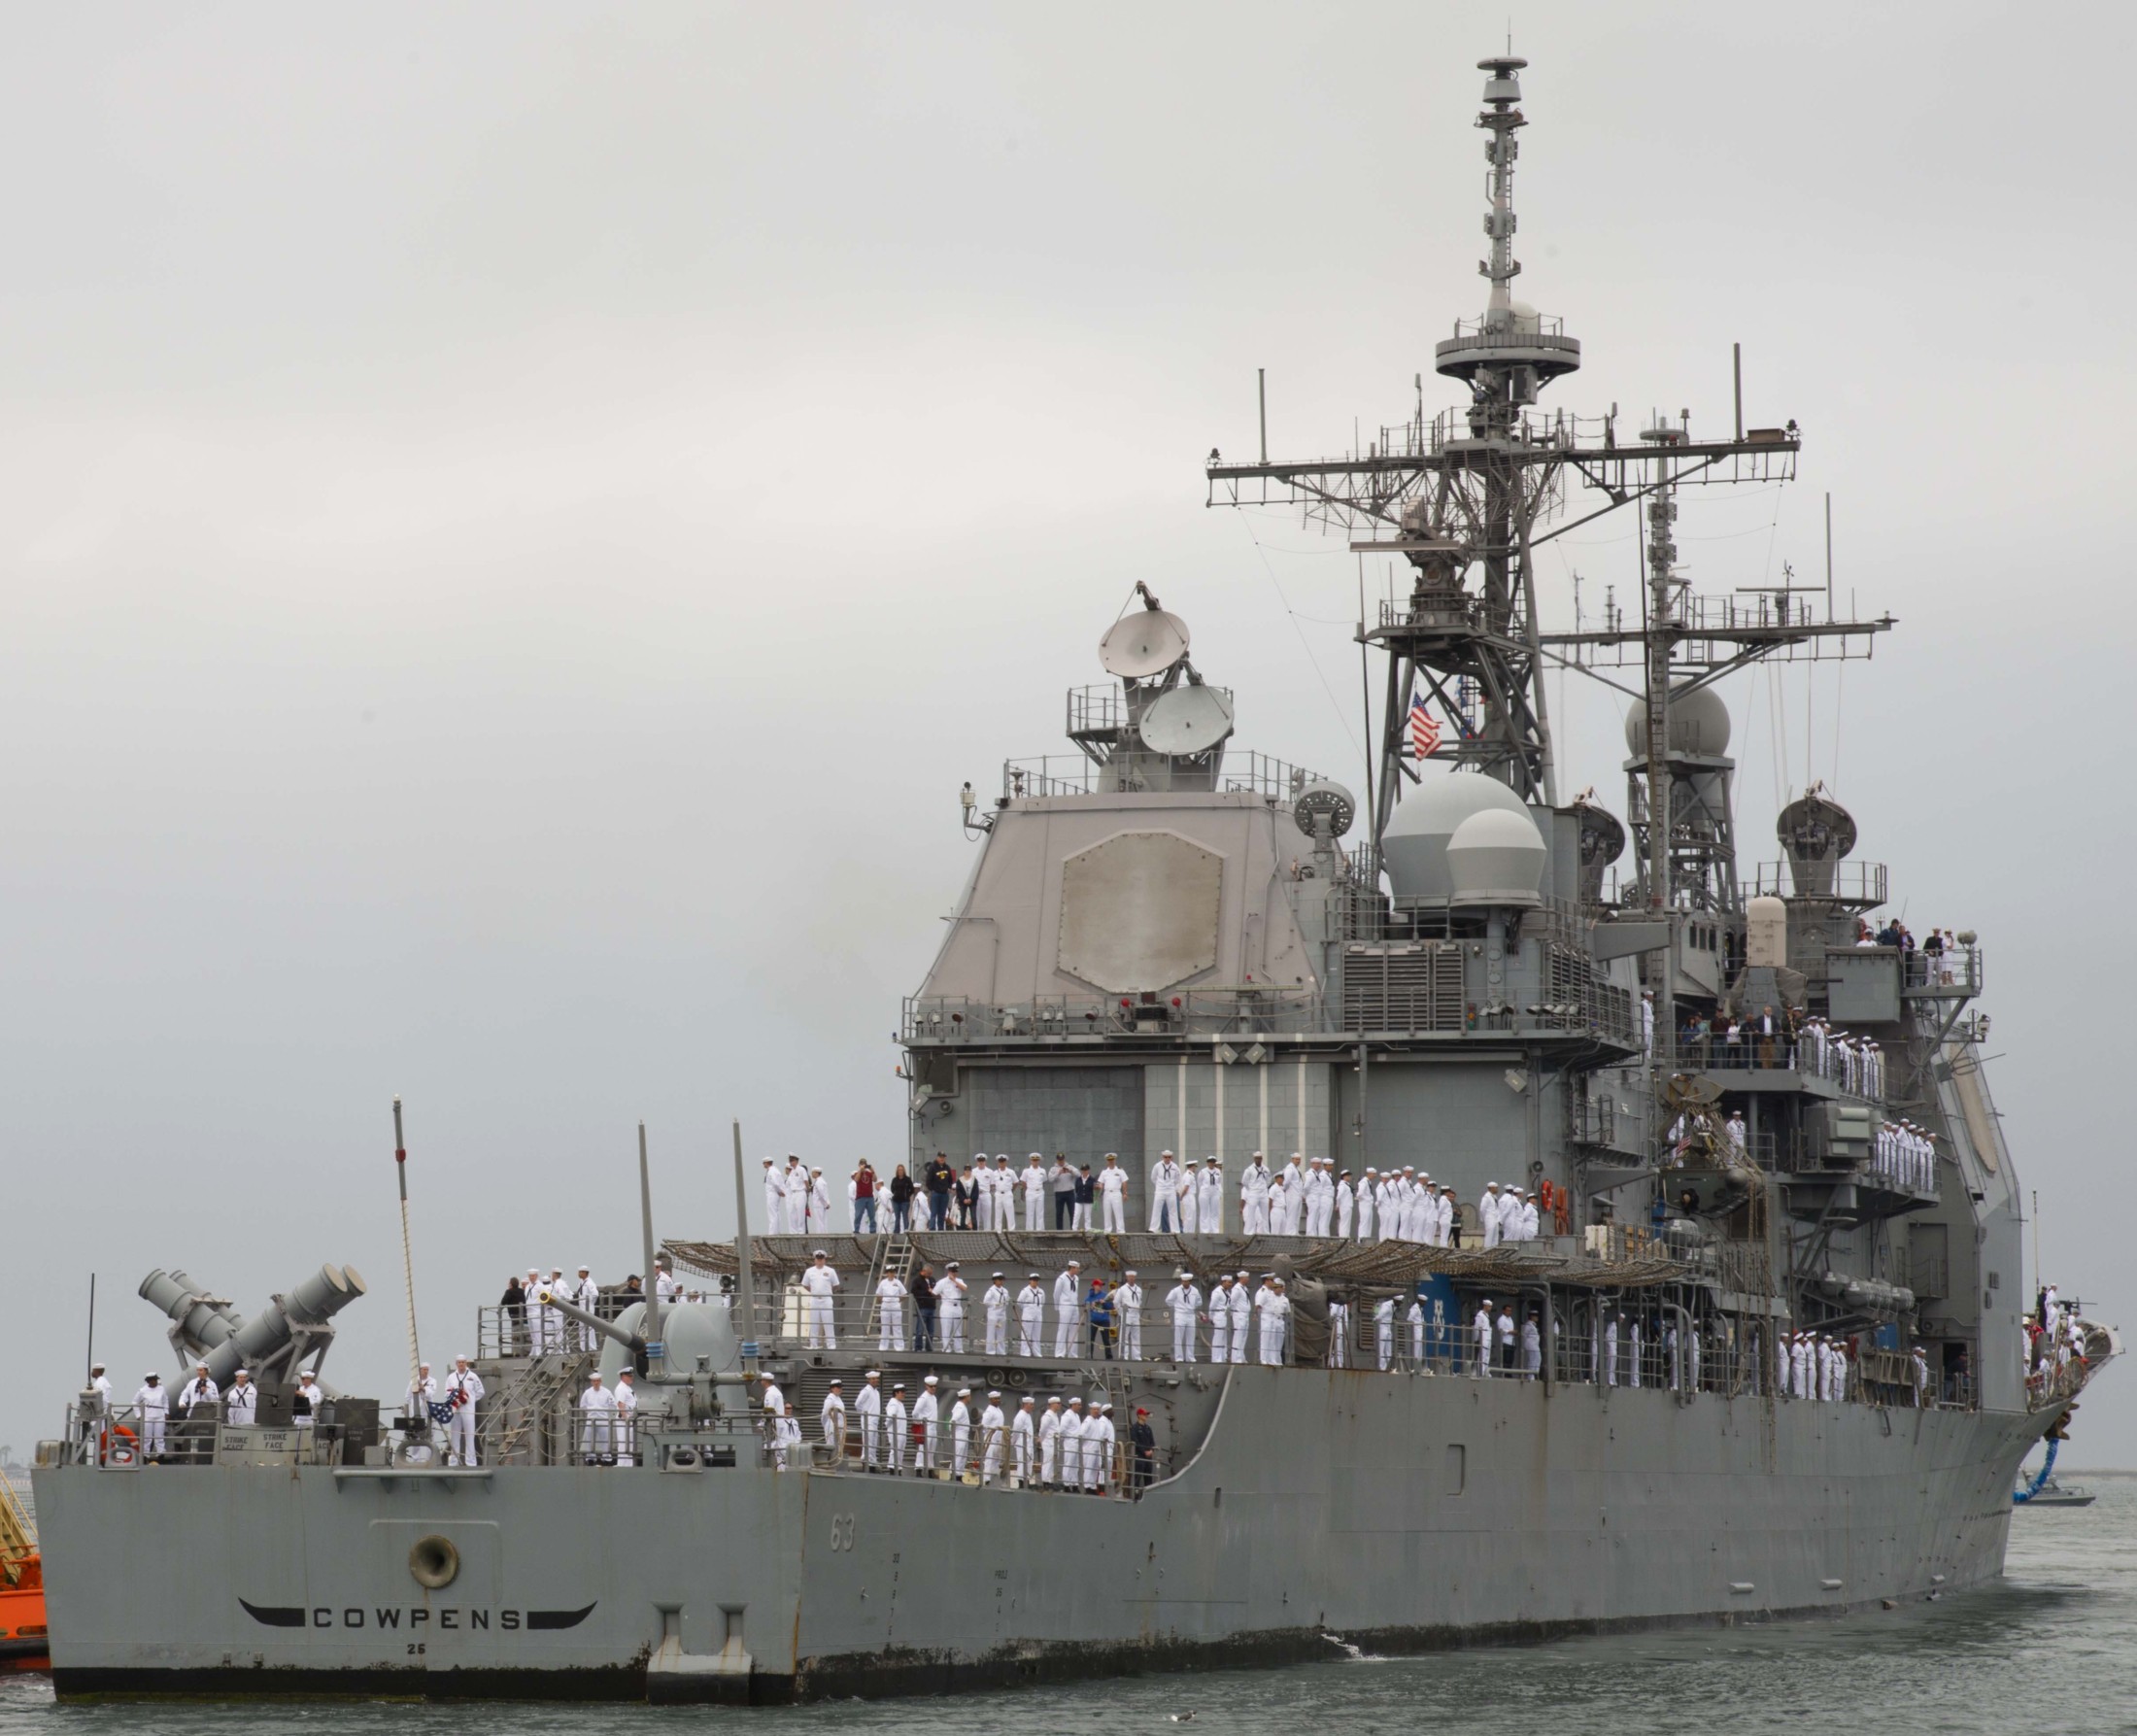 returning to Naval Base San Diego, California - April 2014 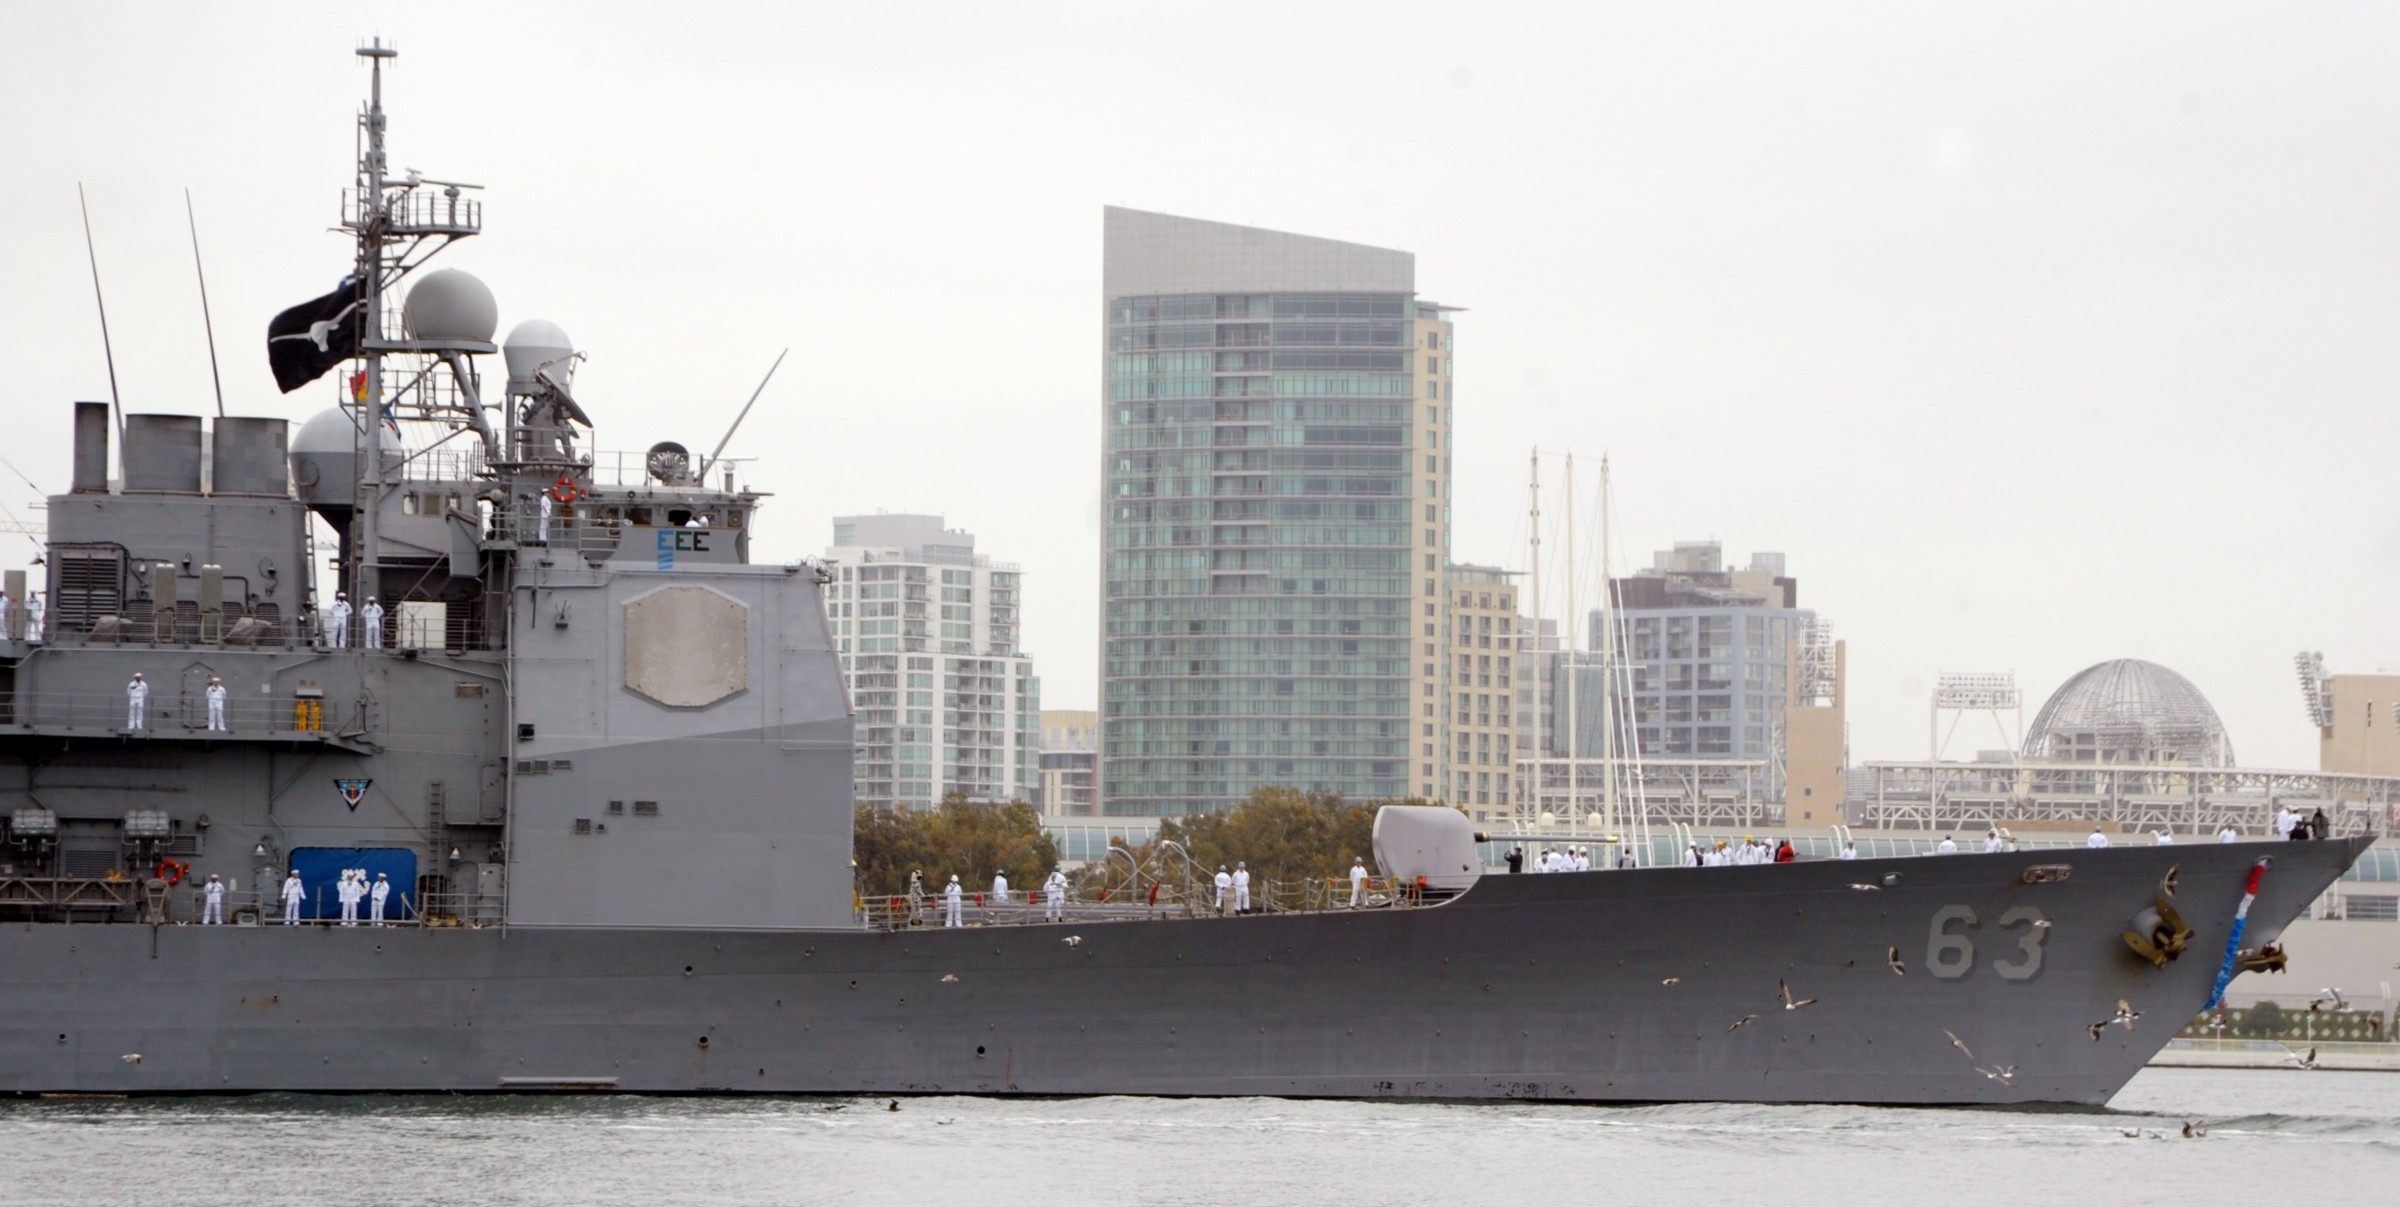 returning to Naval Base San Diego, California - April 2014 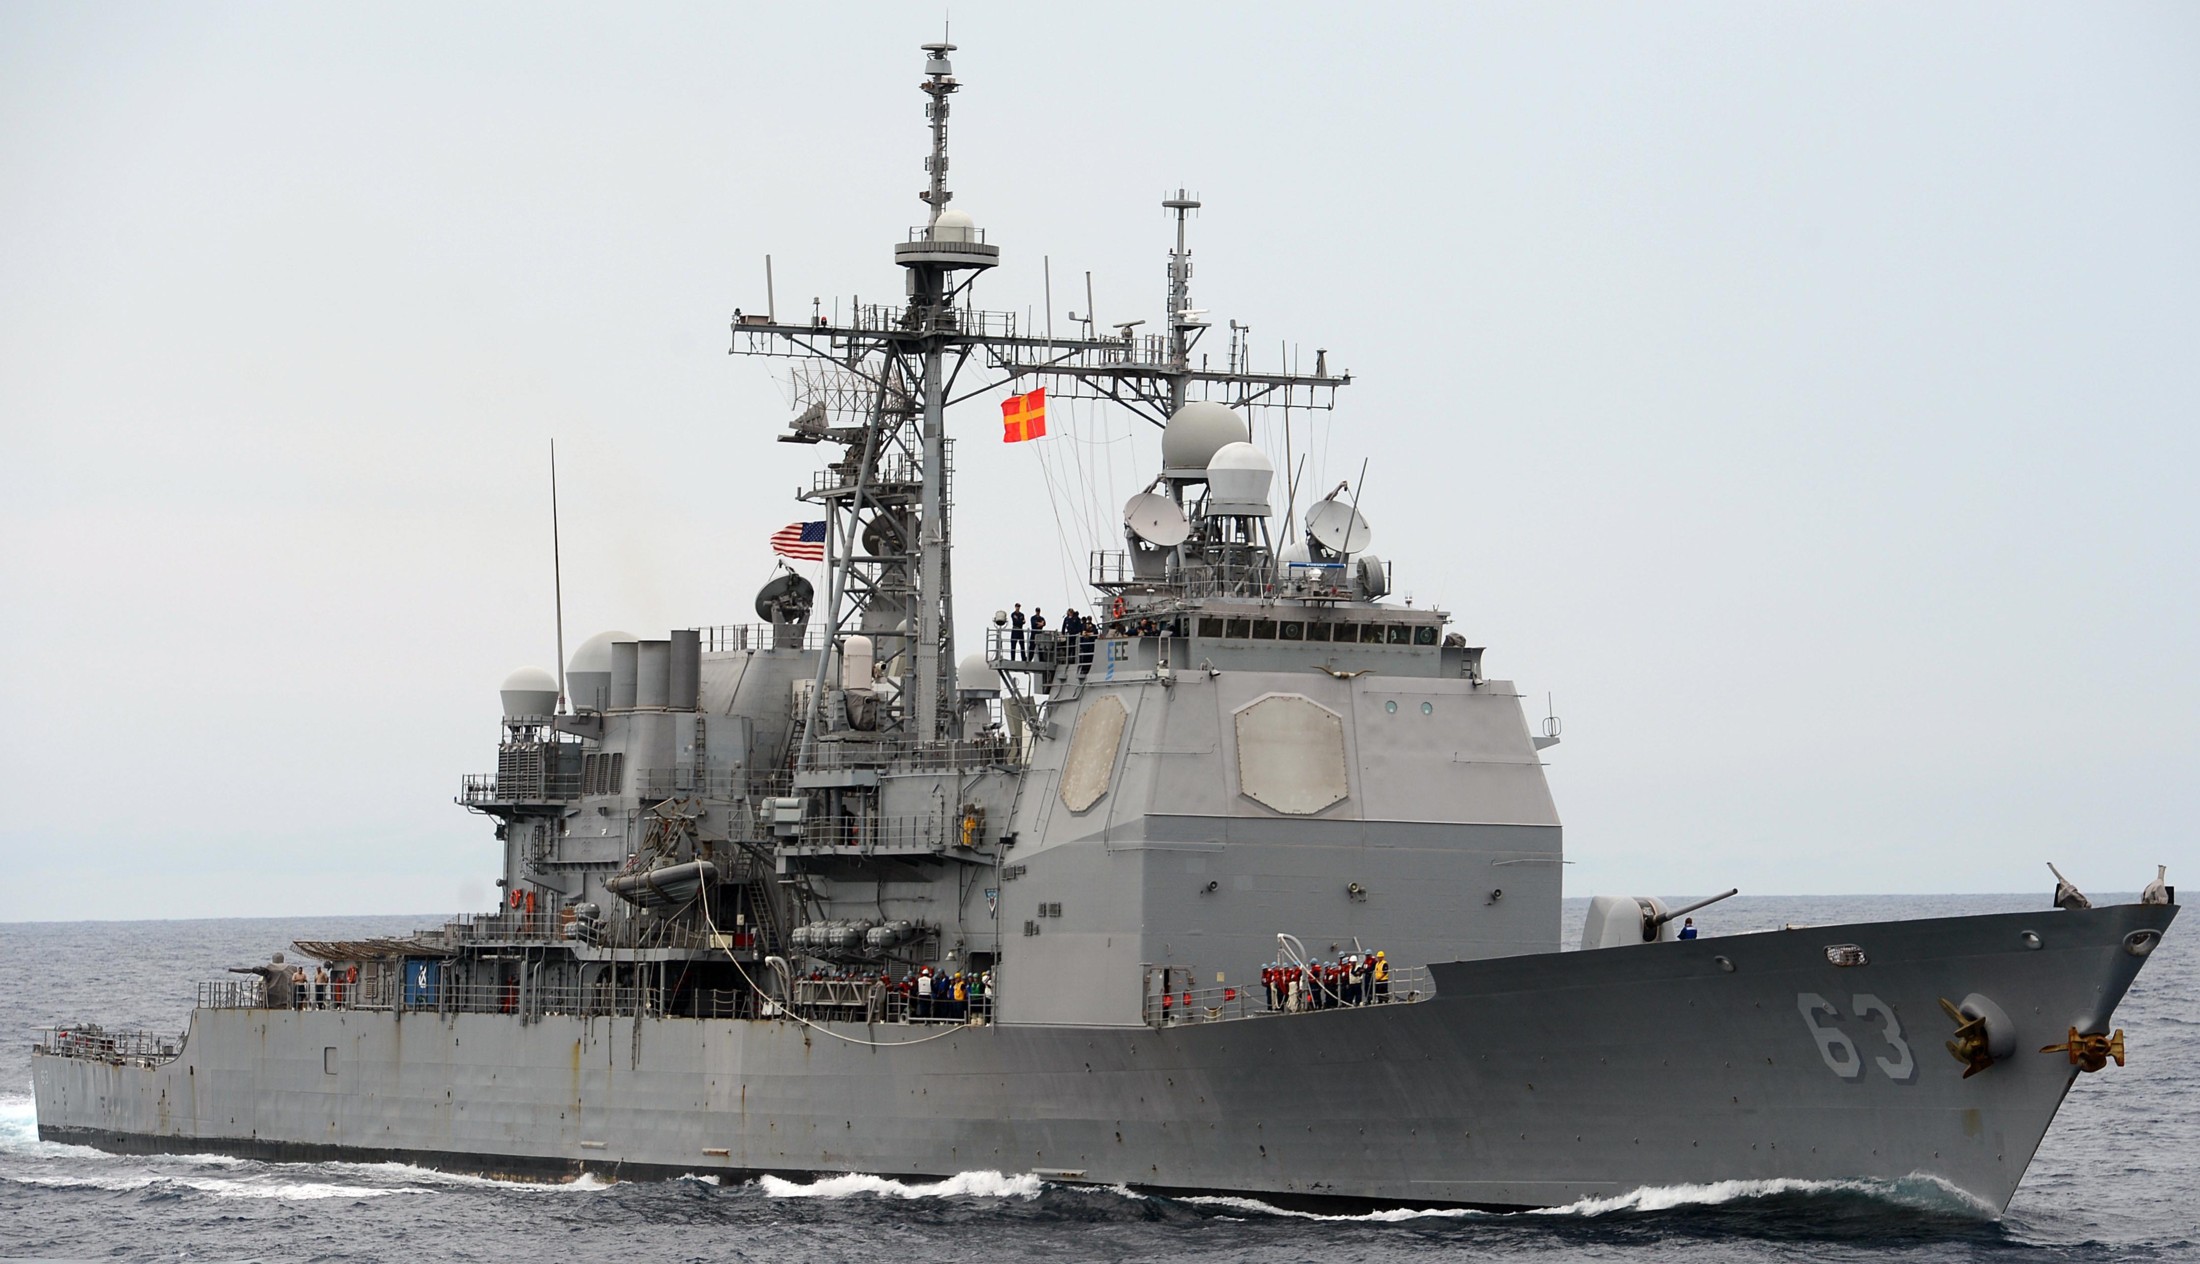 South China Sea - October 2013  South China Sea - October 2013 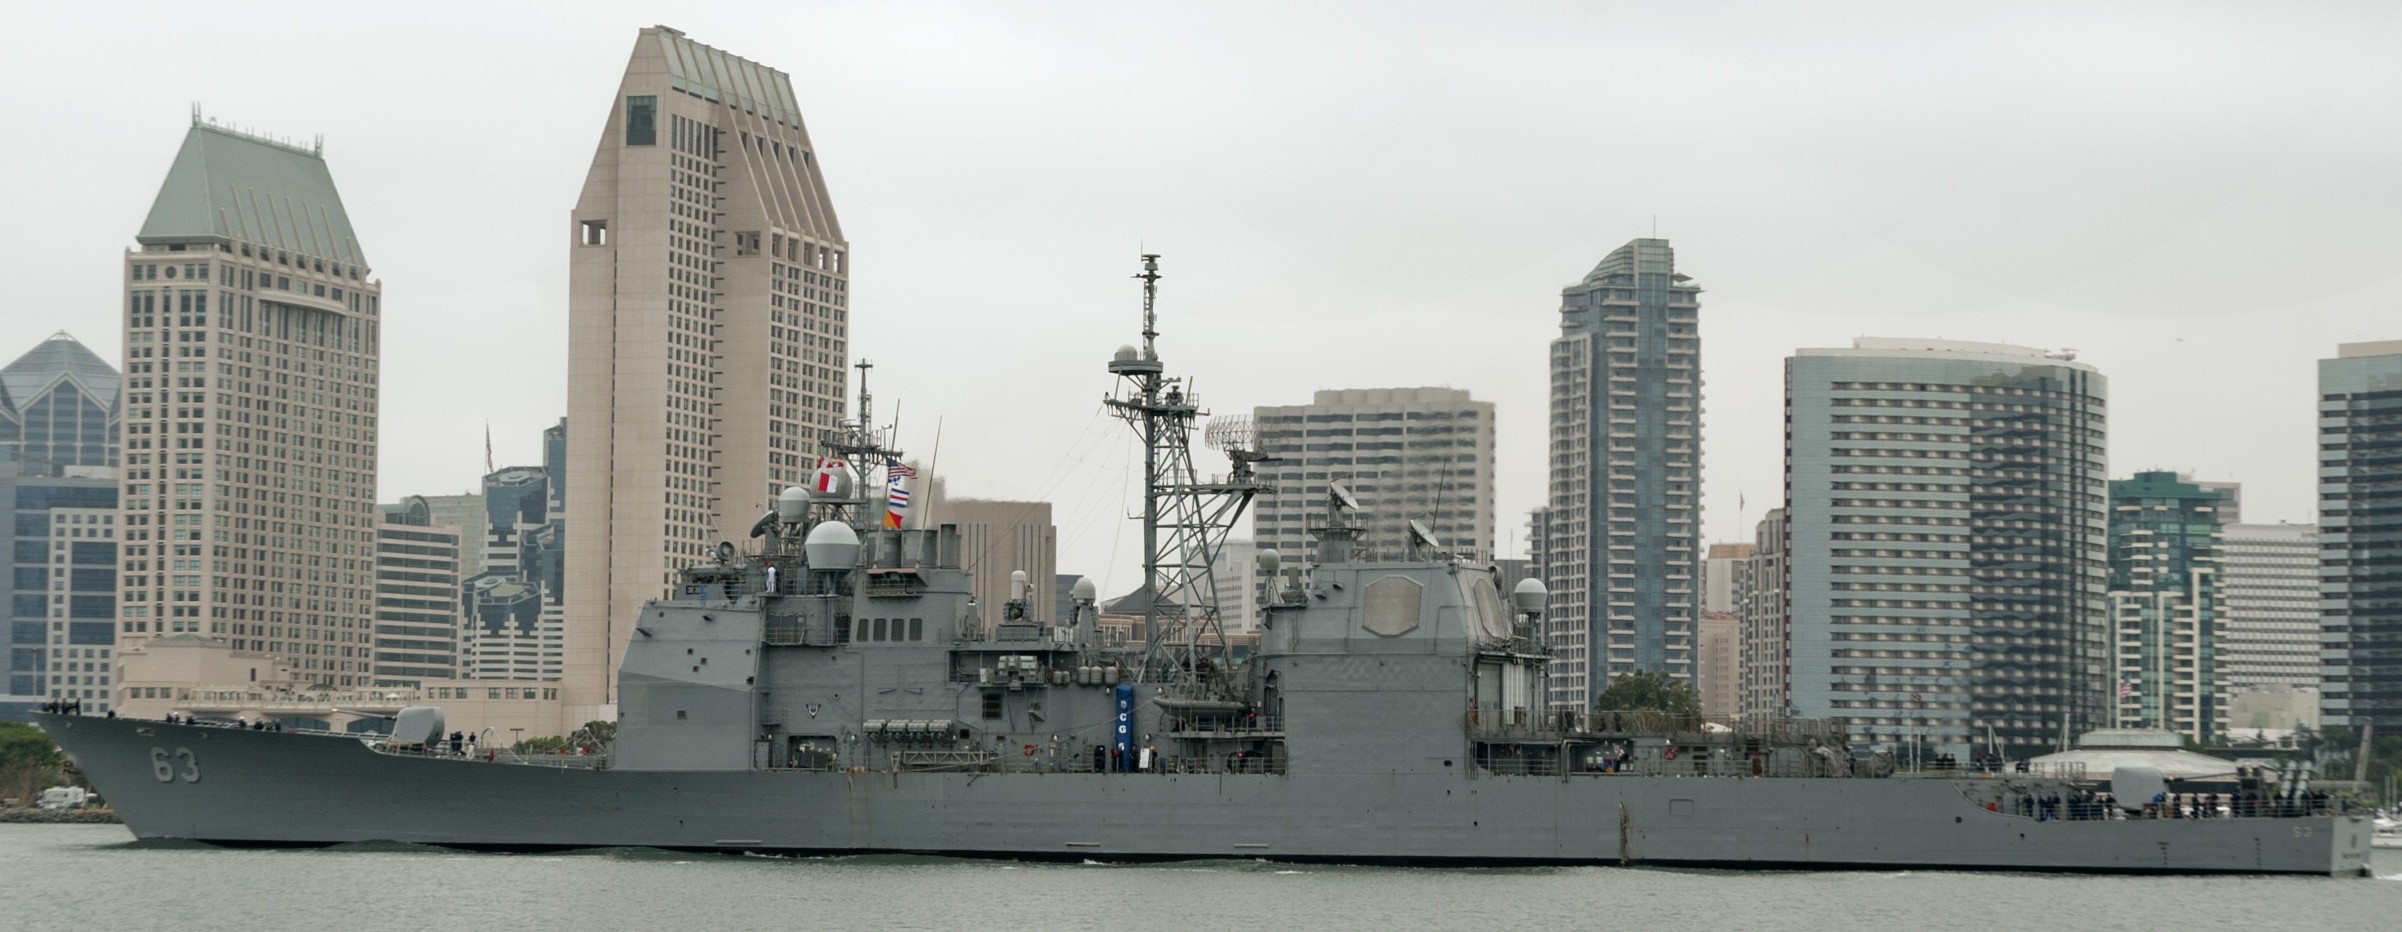 departing Naval Base San Diego, California - September 2013 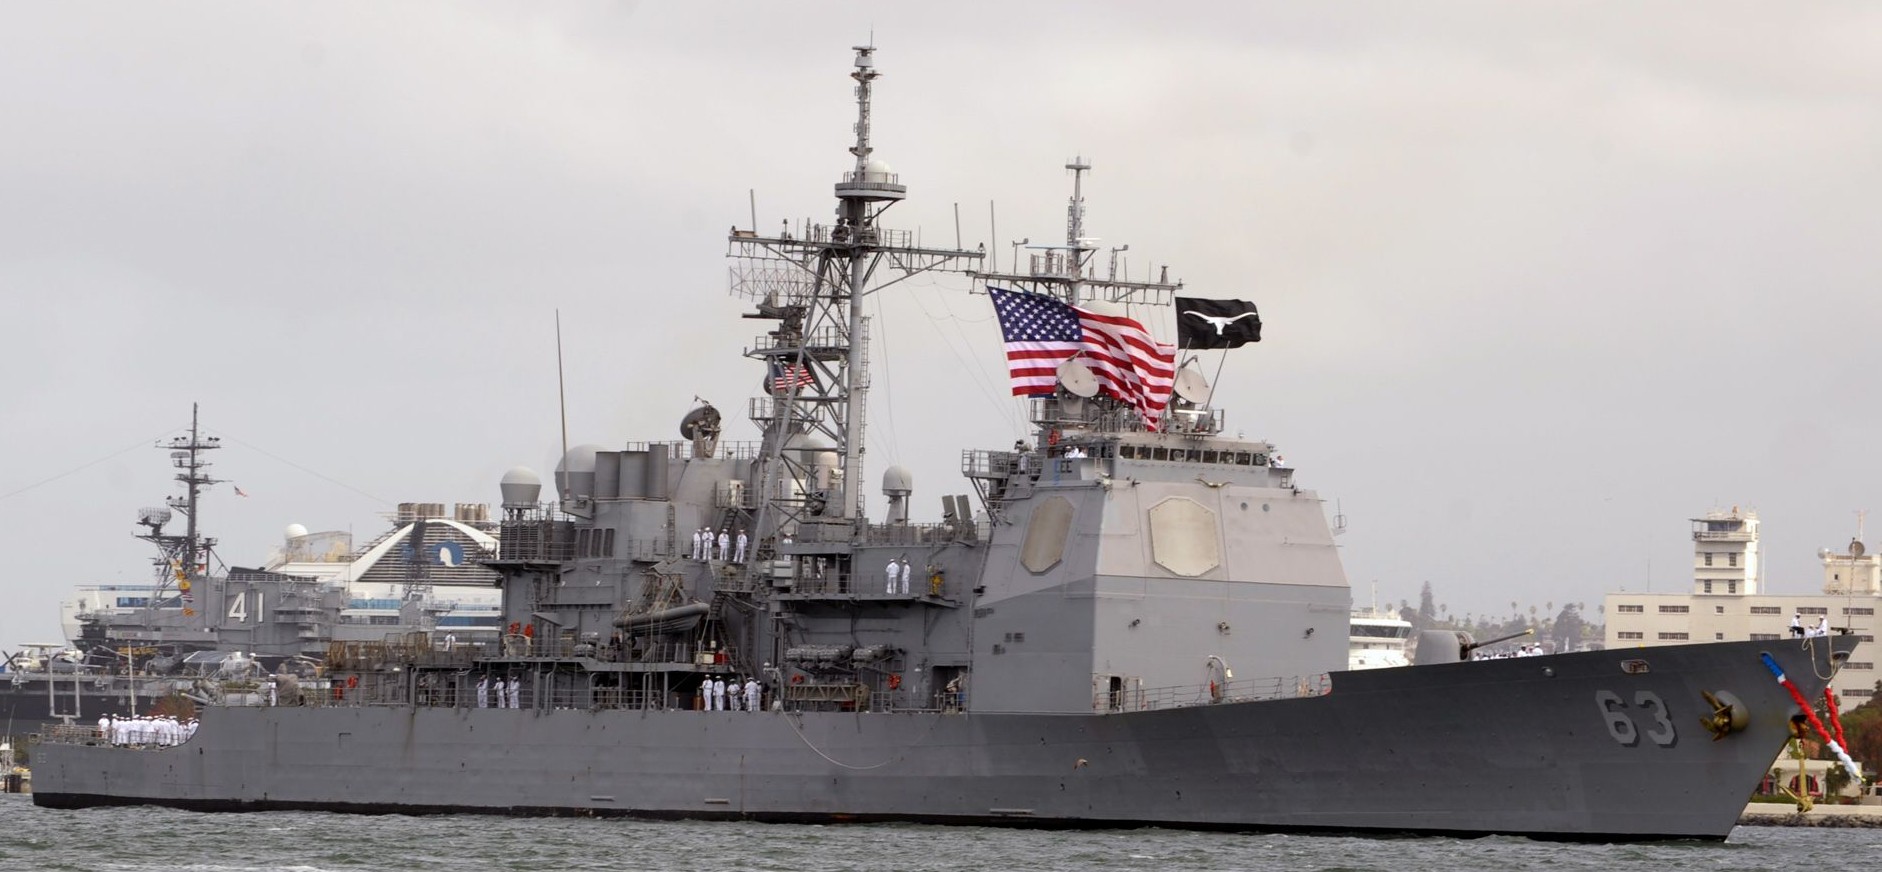 arriving at her new homeport, Naval Base San Diego, California - April 2013 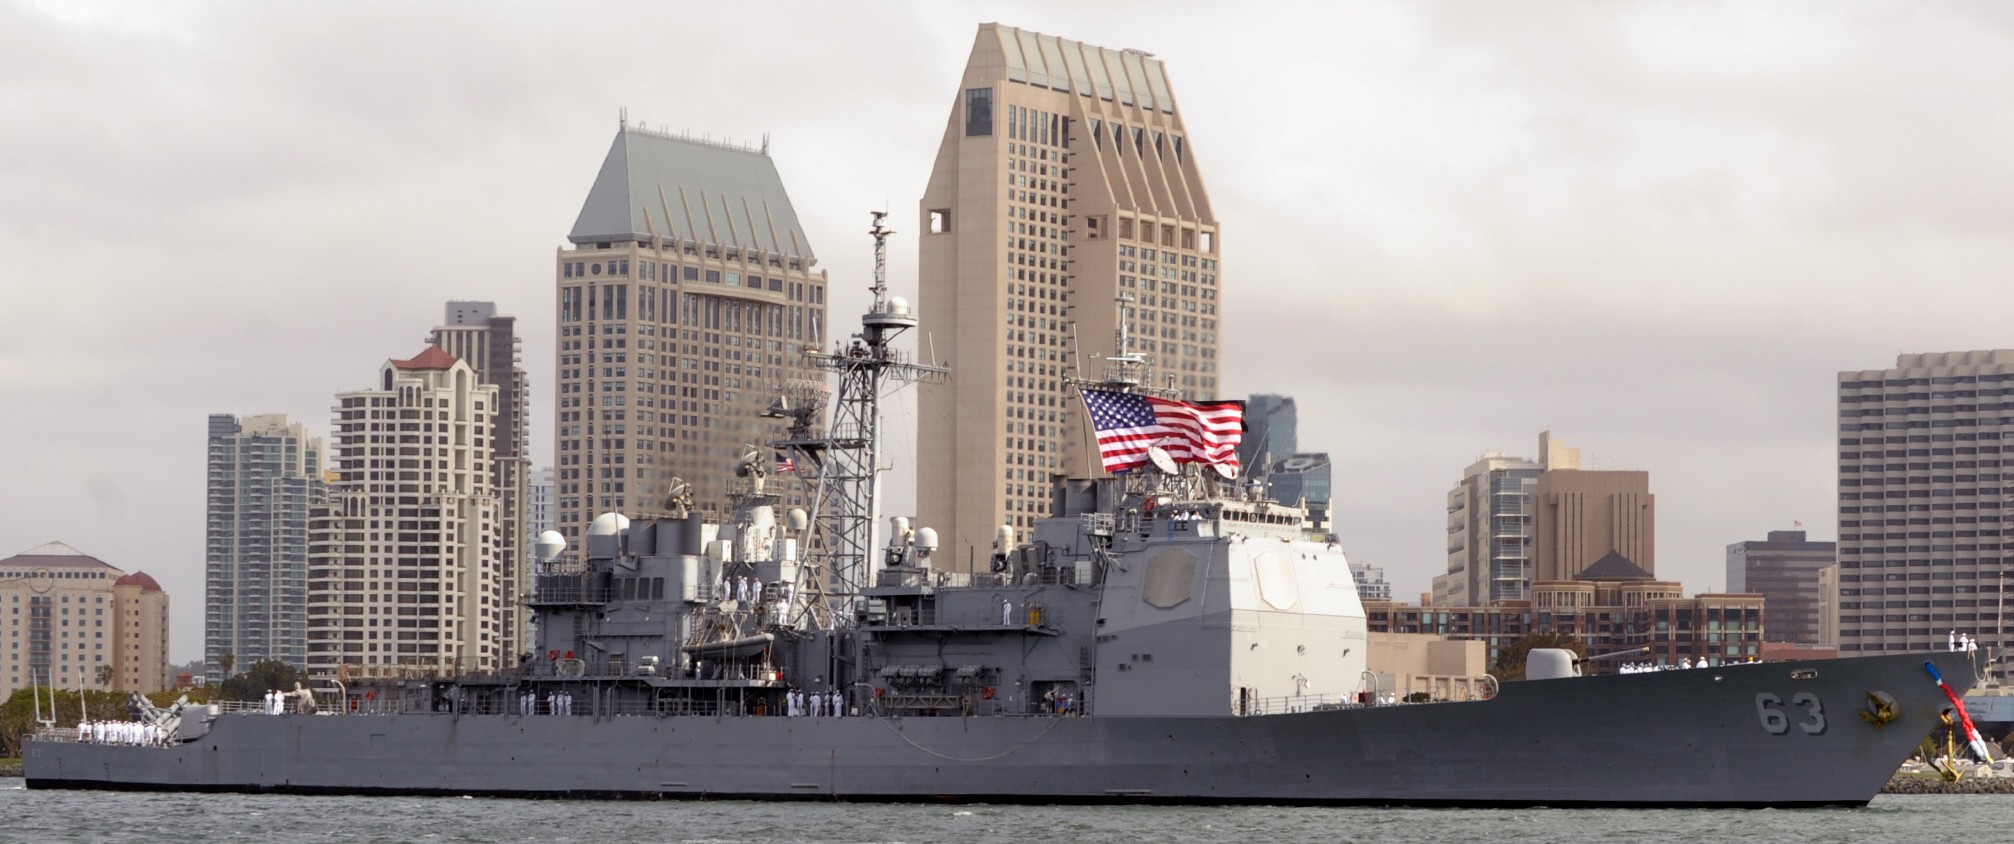 arriving at her new homeport, Naval Base San Diego, California - April 2013 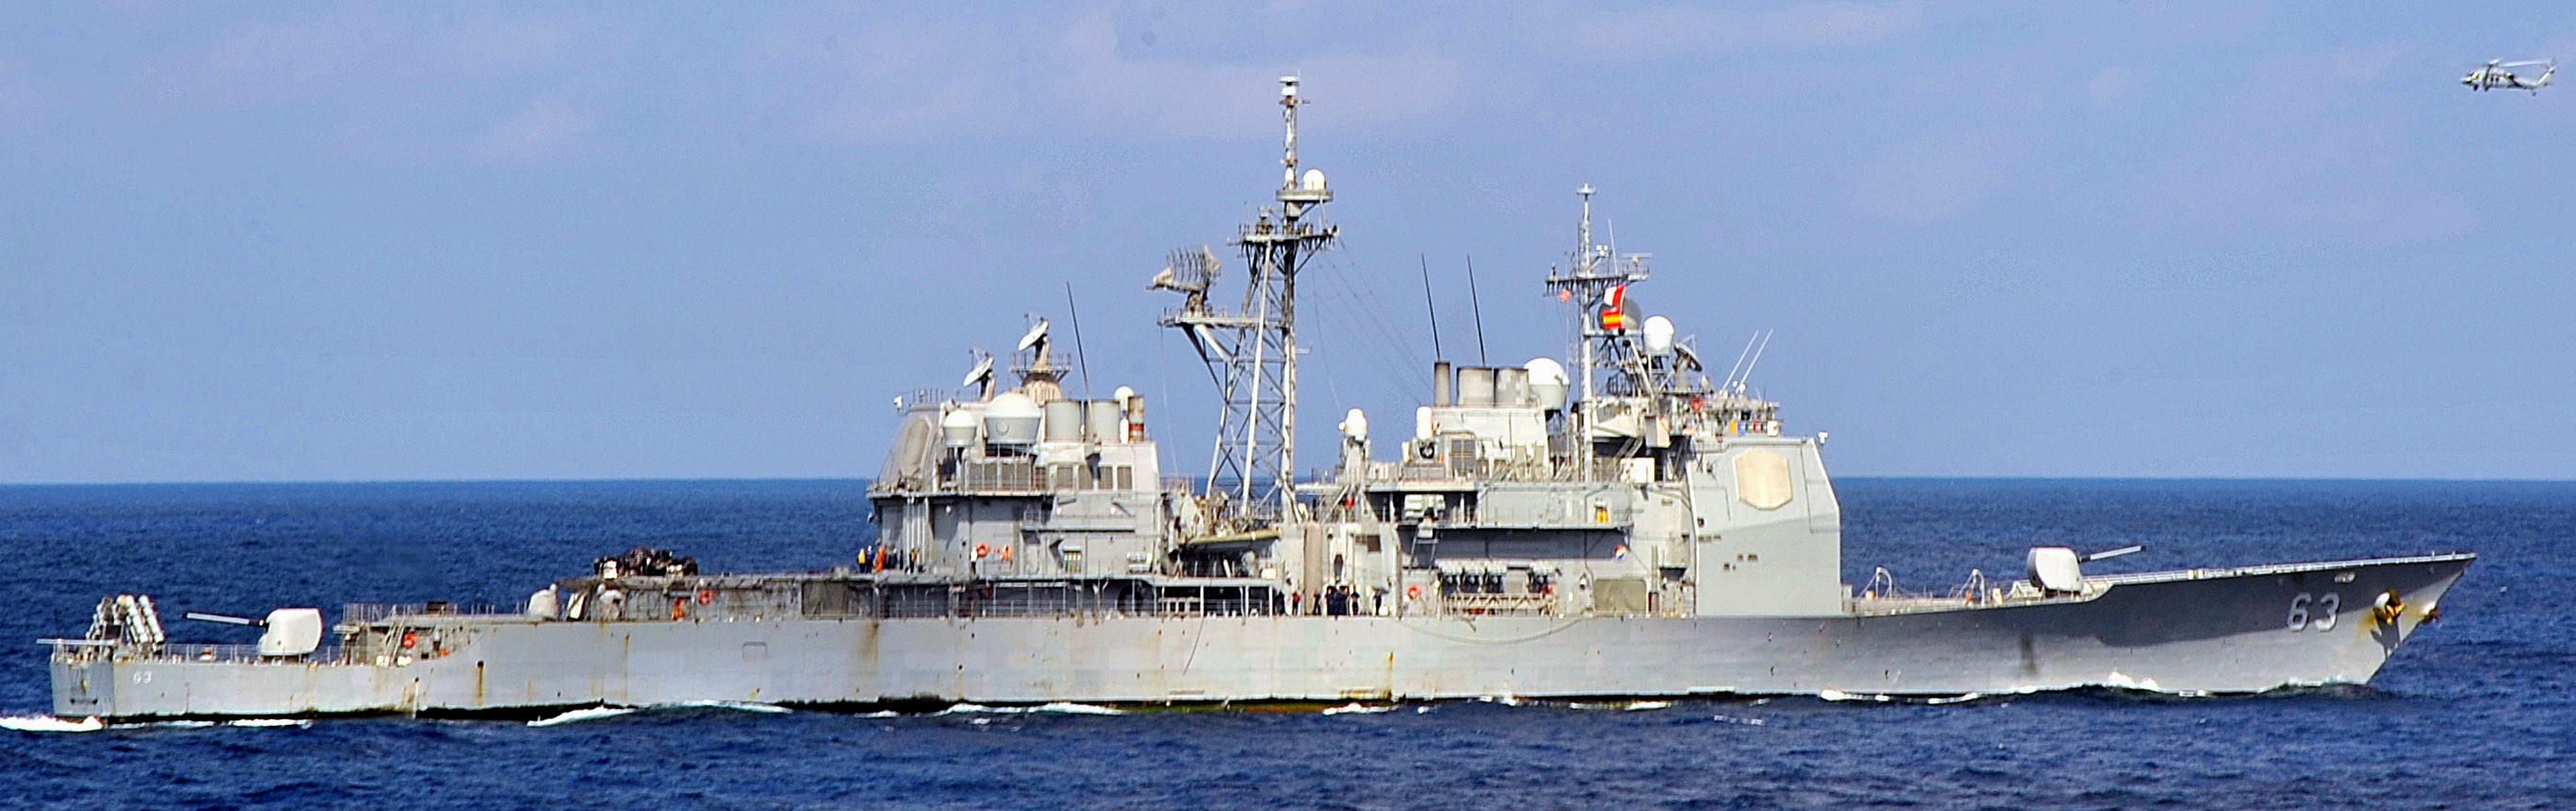 Philippine Sea - November 2012 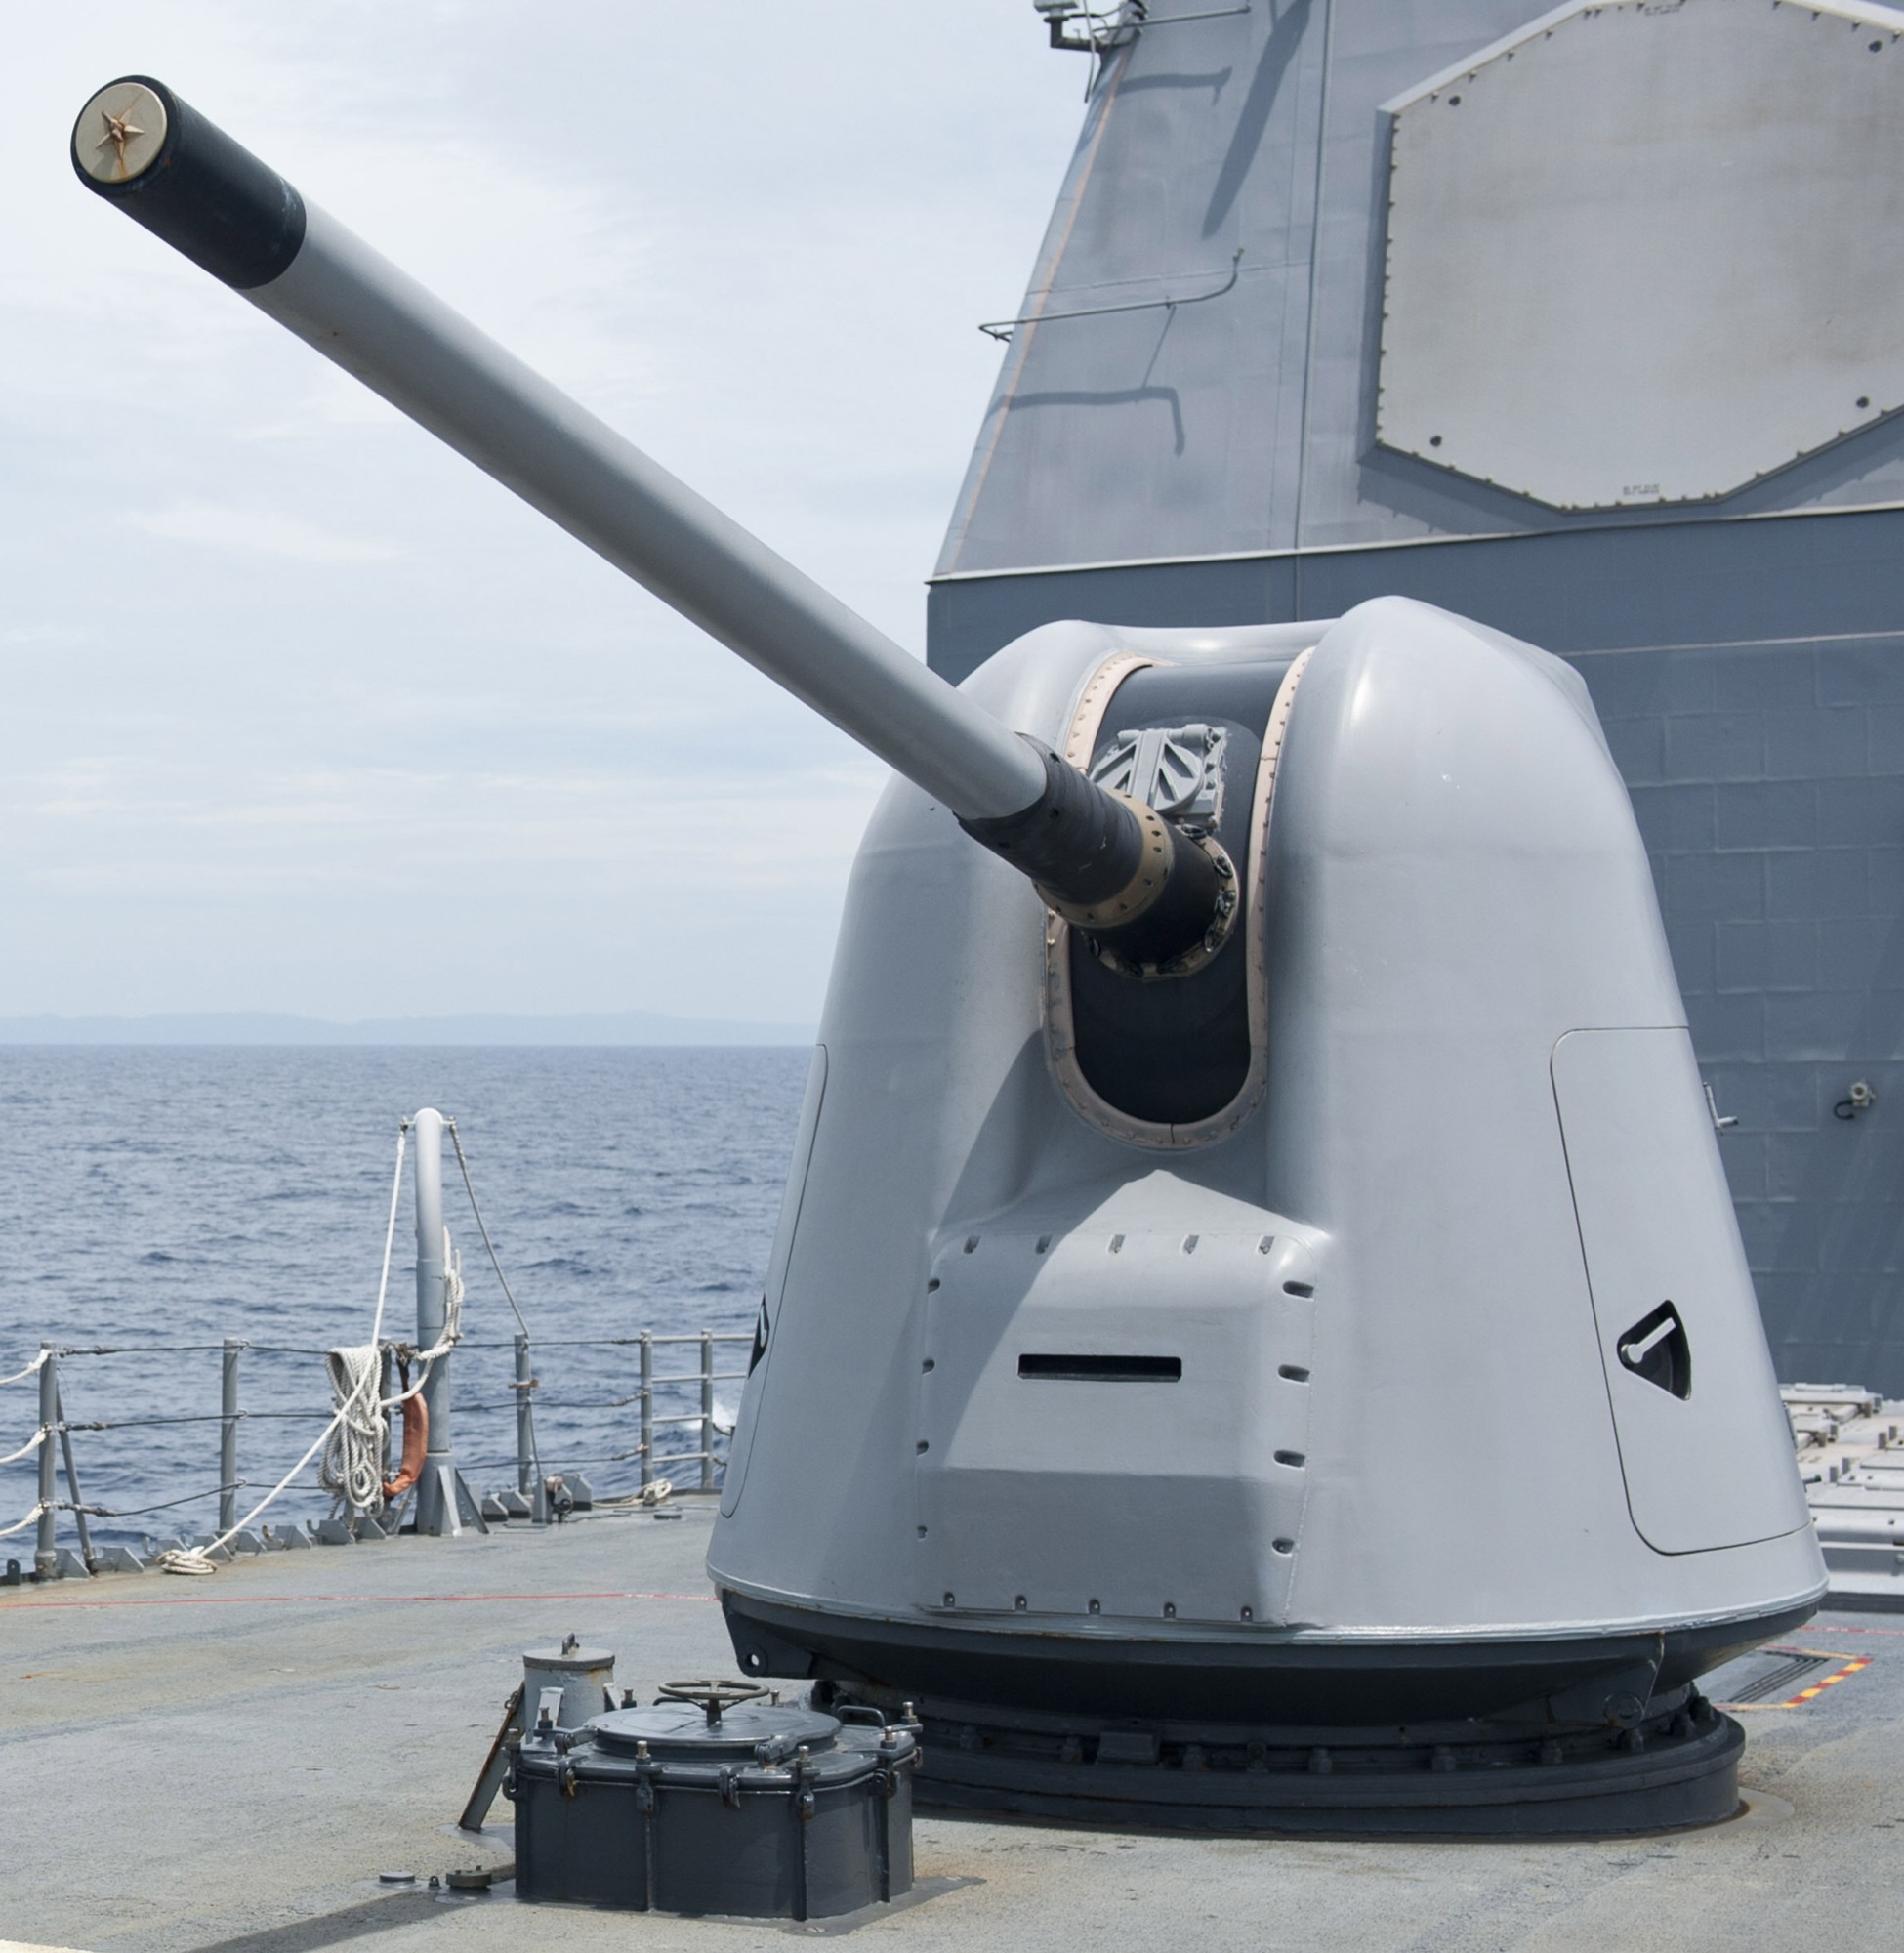 Mk.45 Mod.2 (5-inches/54-caliber) gun - October 2012 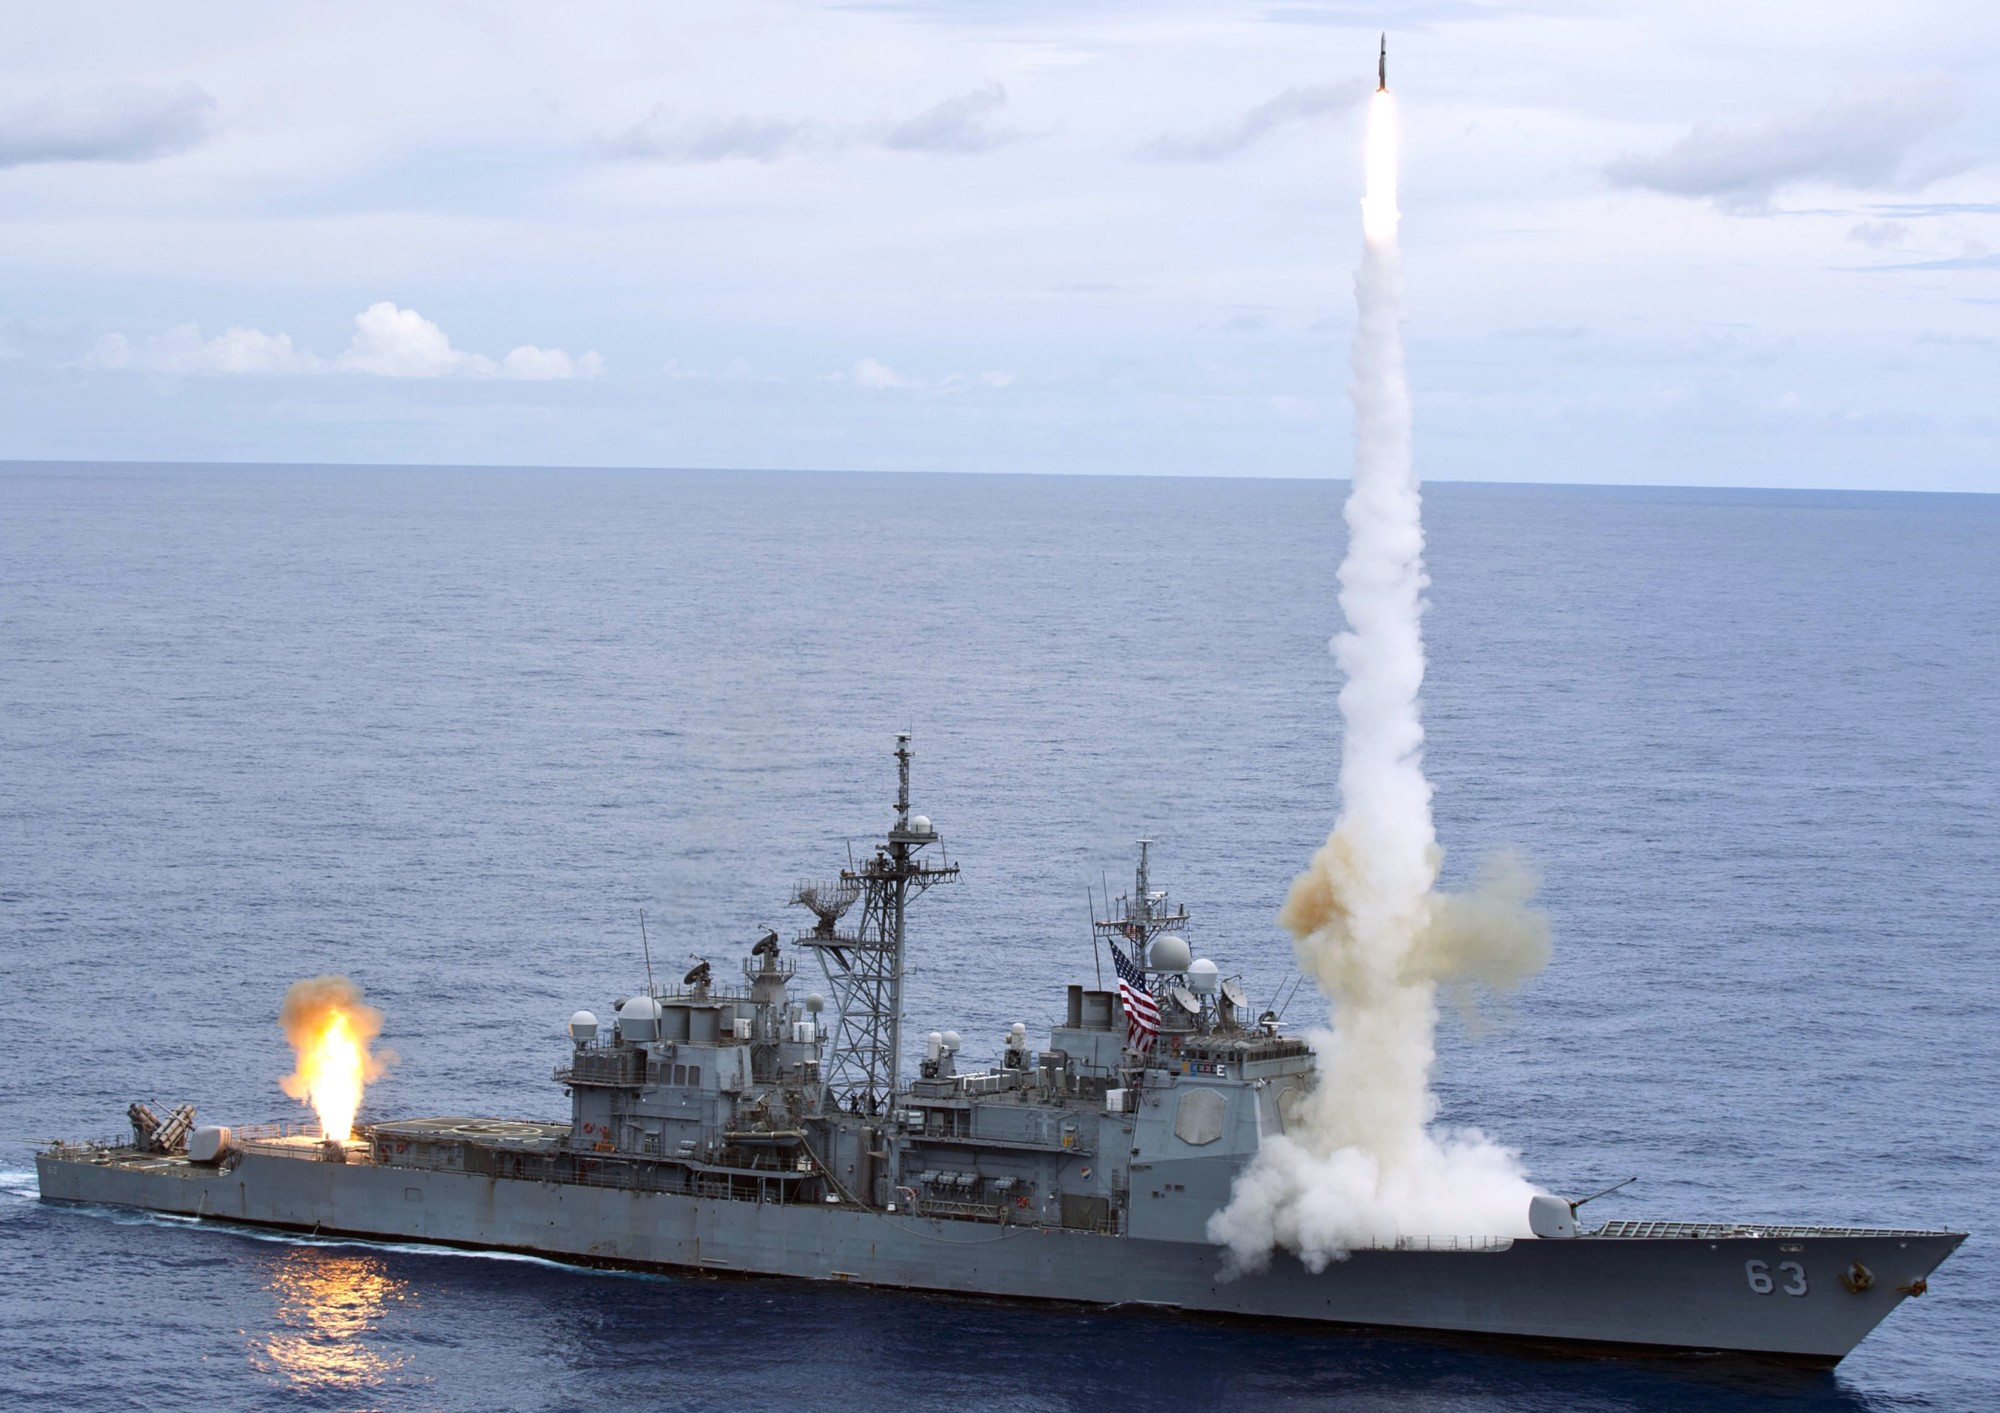 missile live firing exercise - Pacific Ocean - September 2012 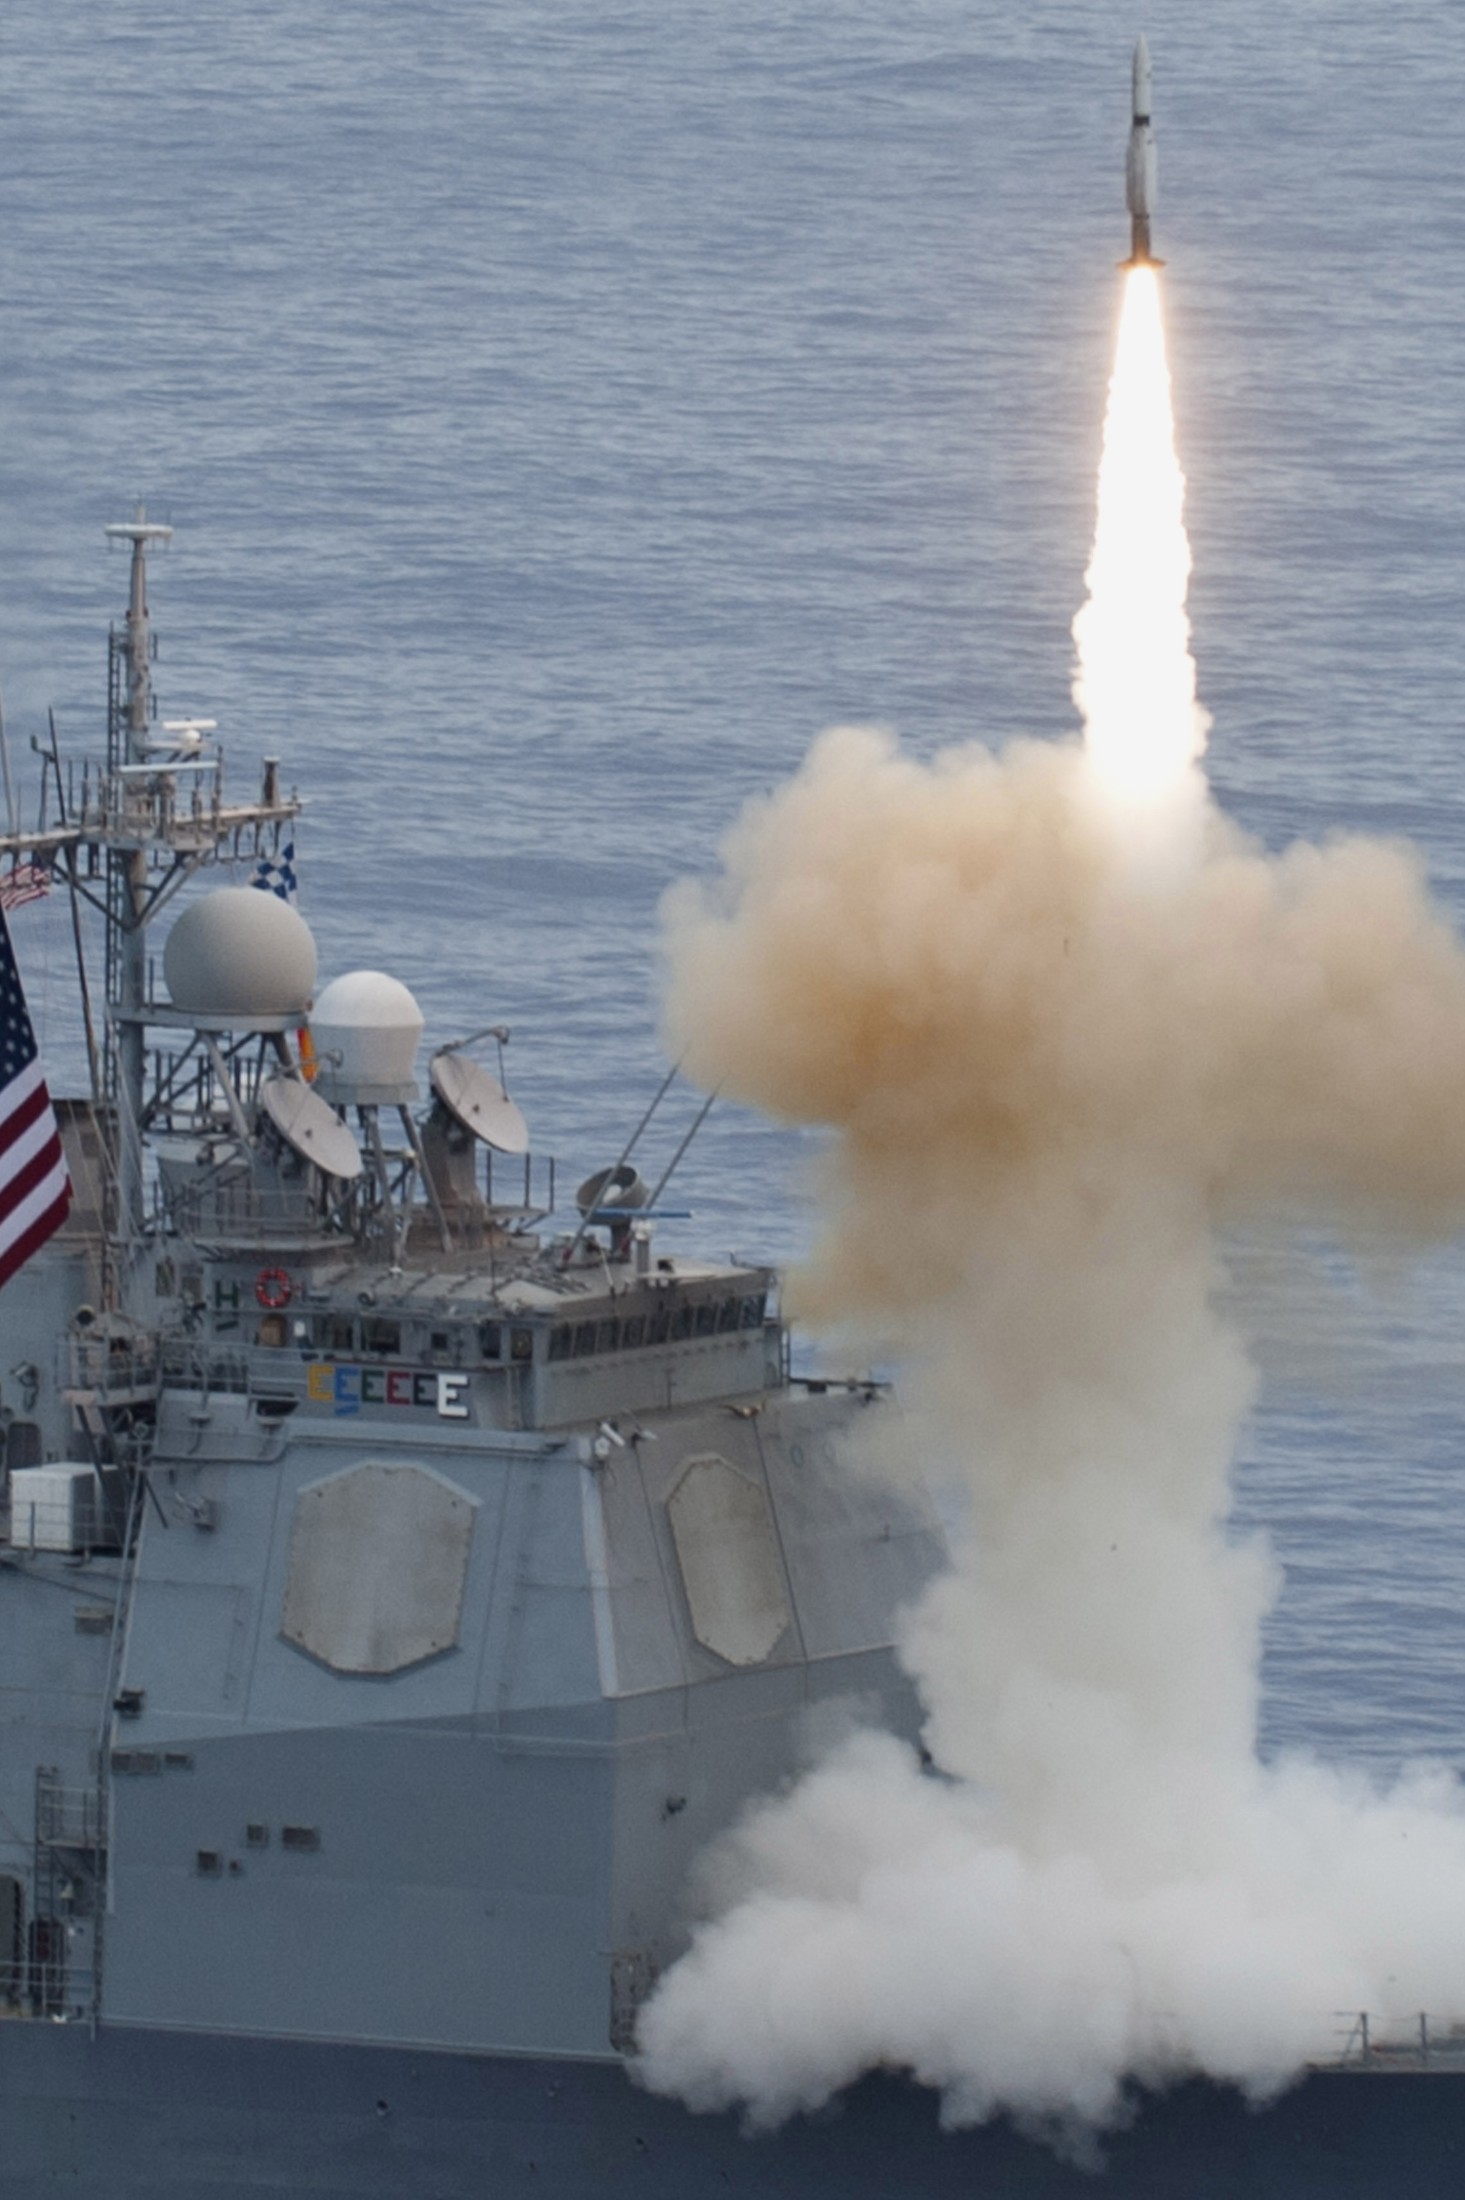 Pacific Ocean - September 2012 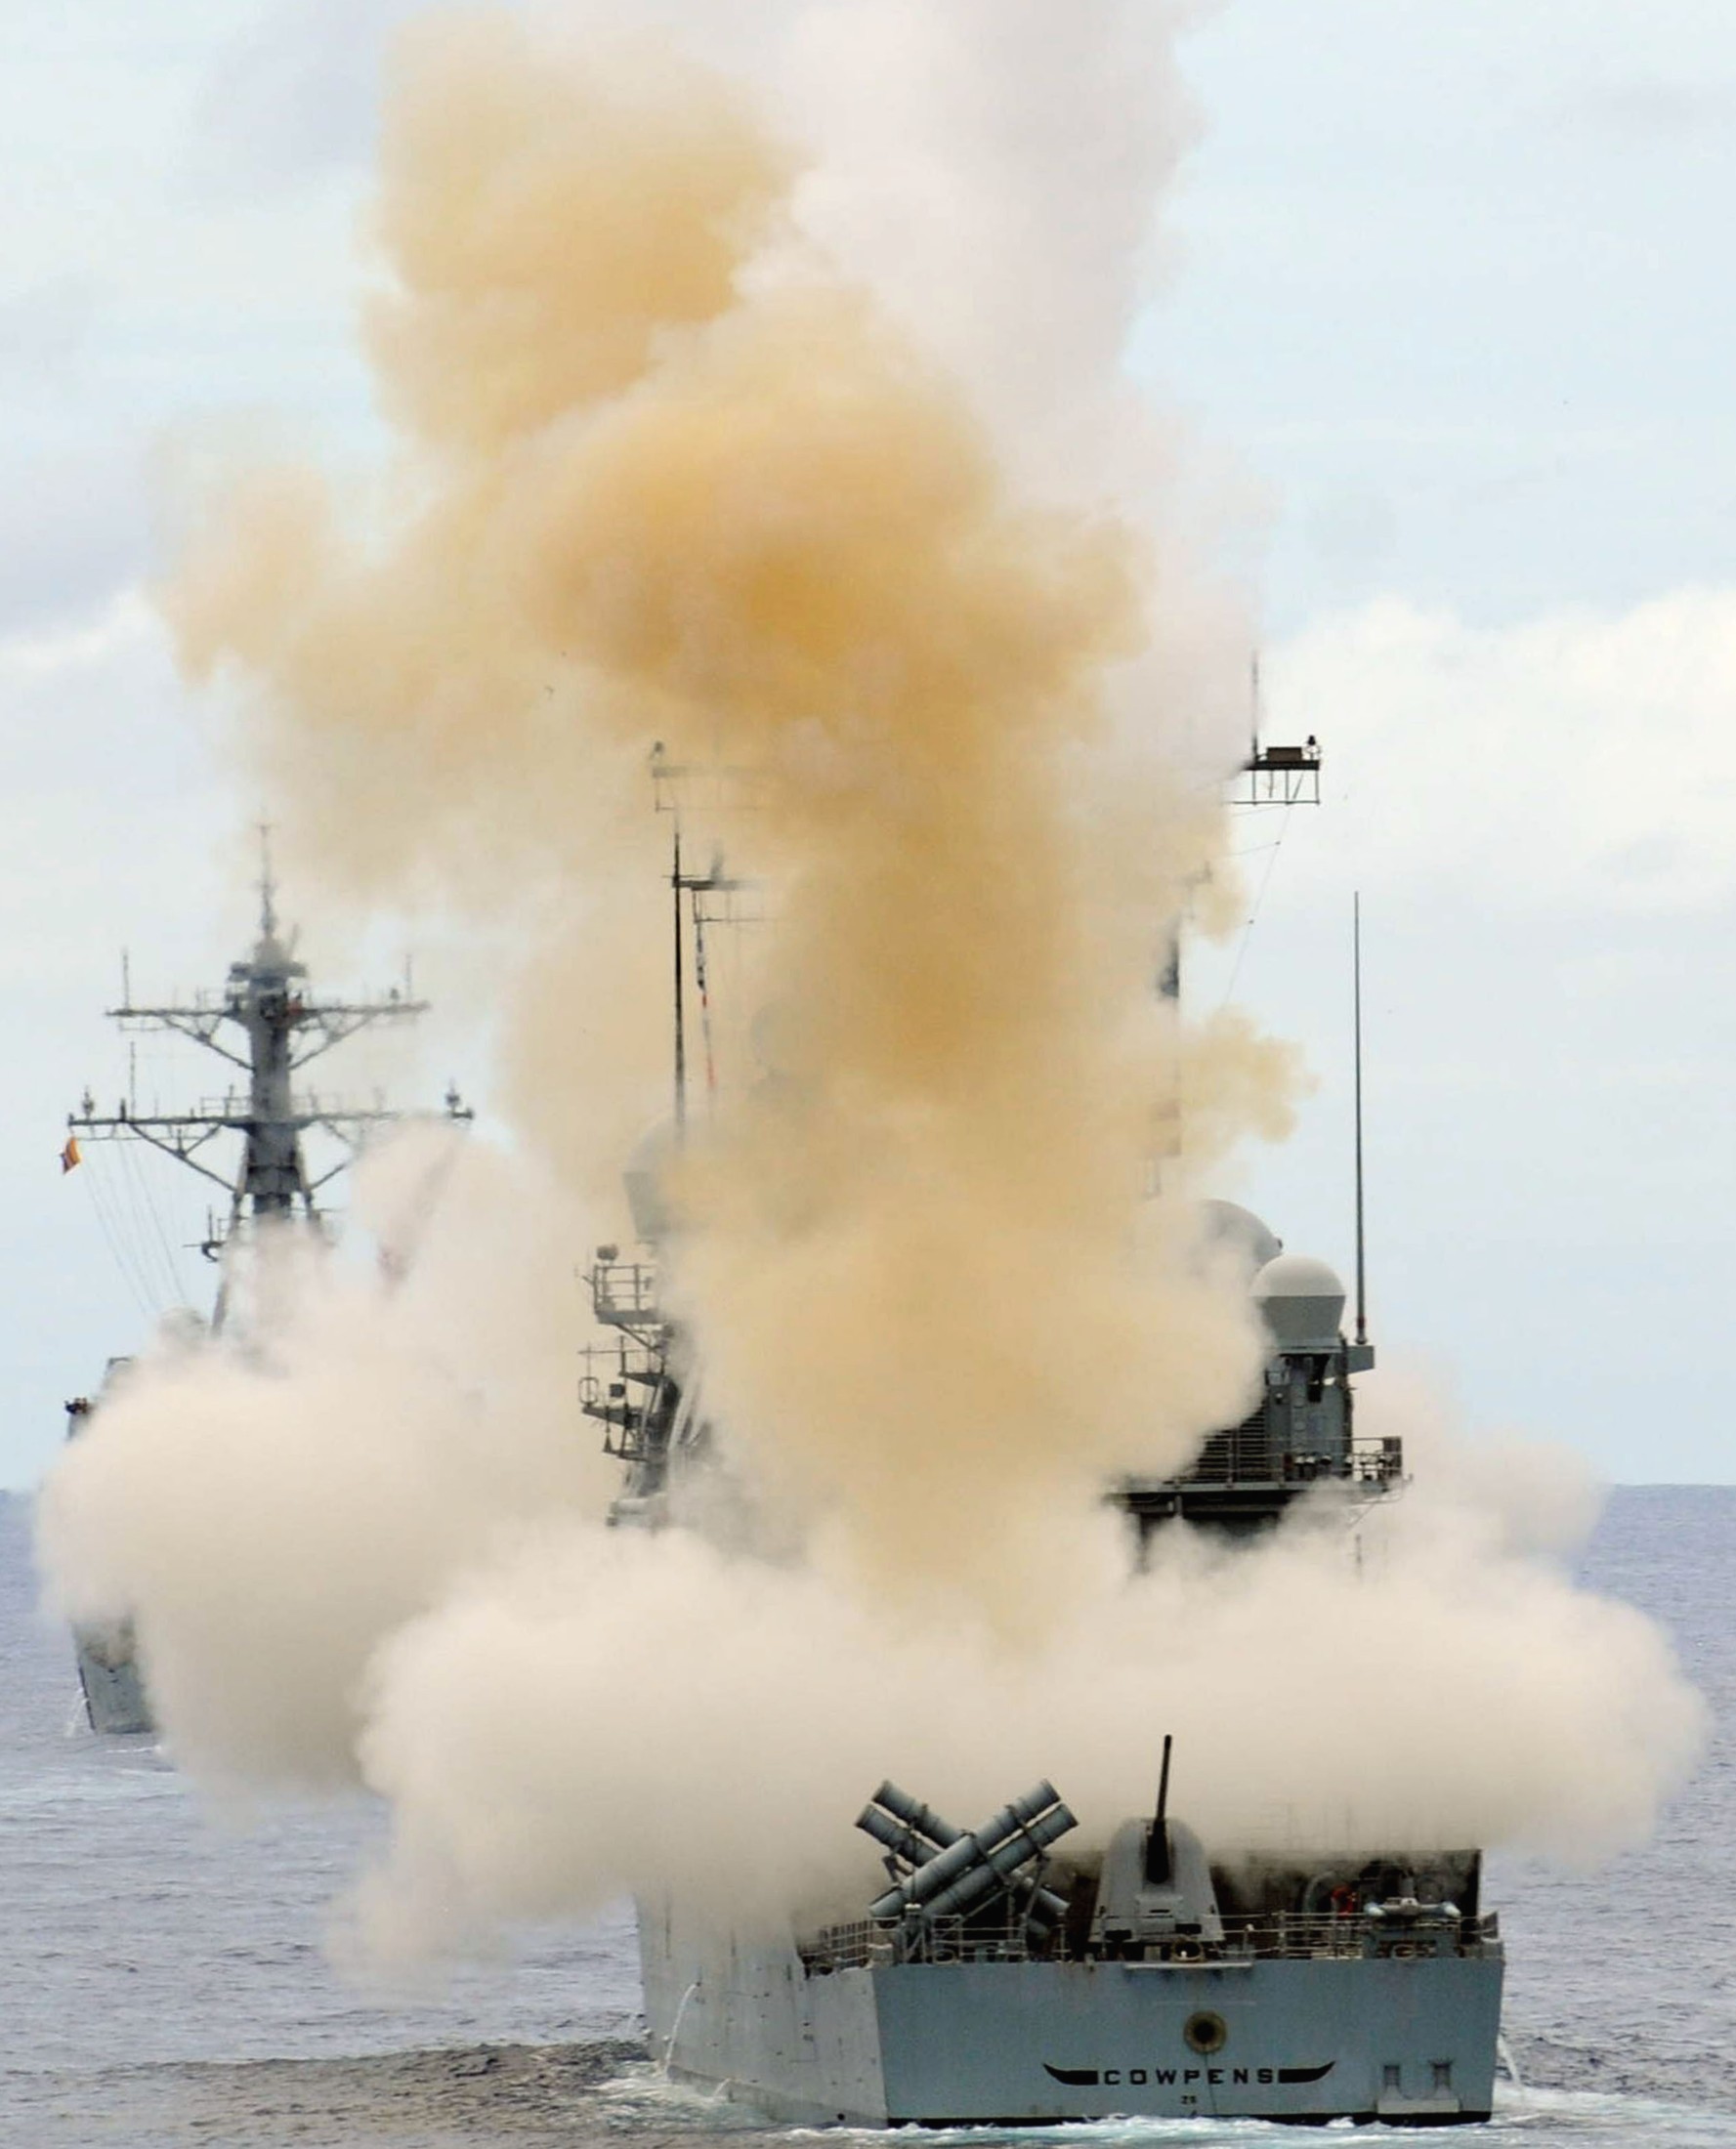 a Standard Missile SM-2 was fired - Pacific Ocean - September 2012 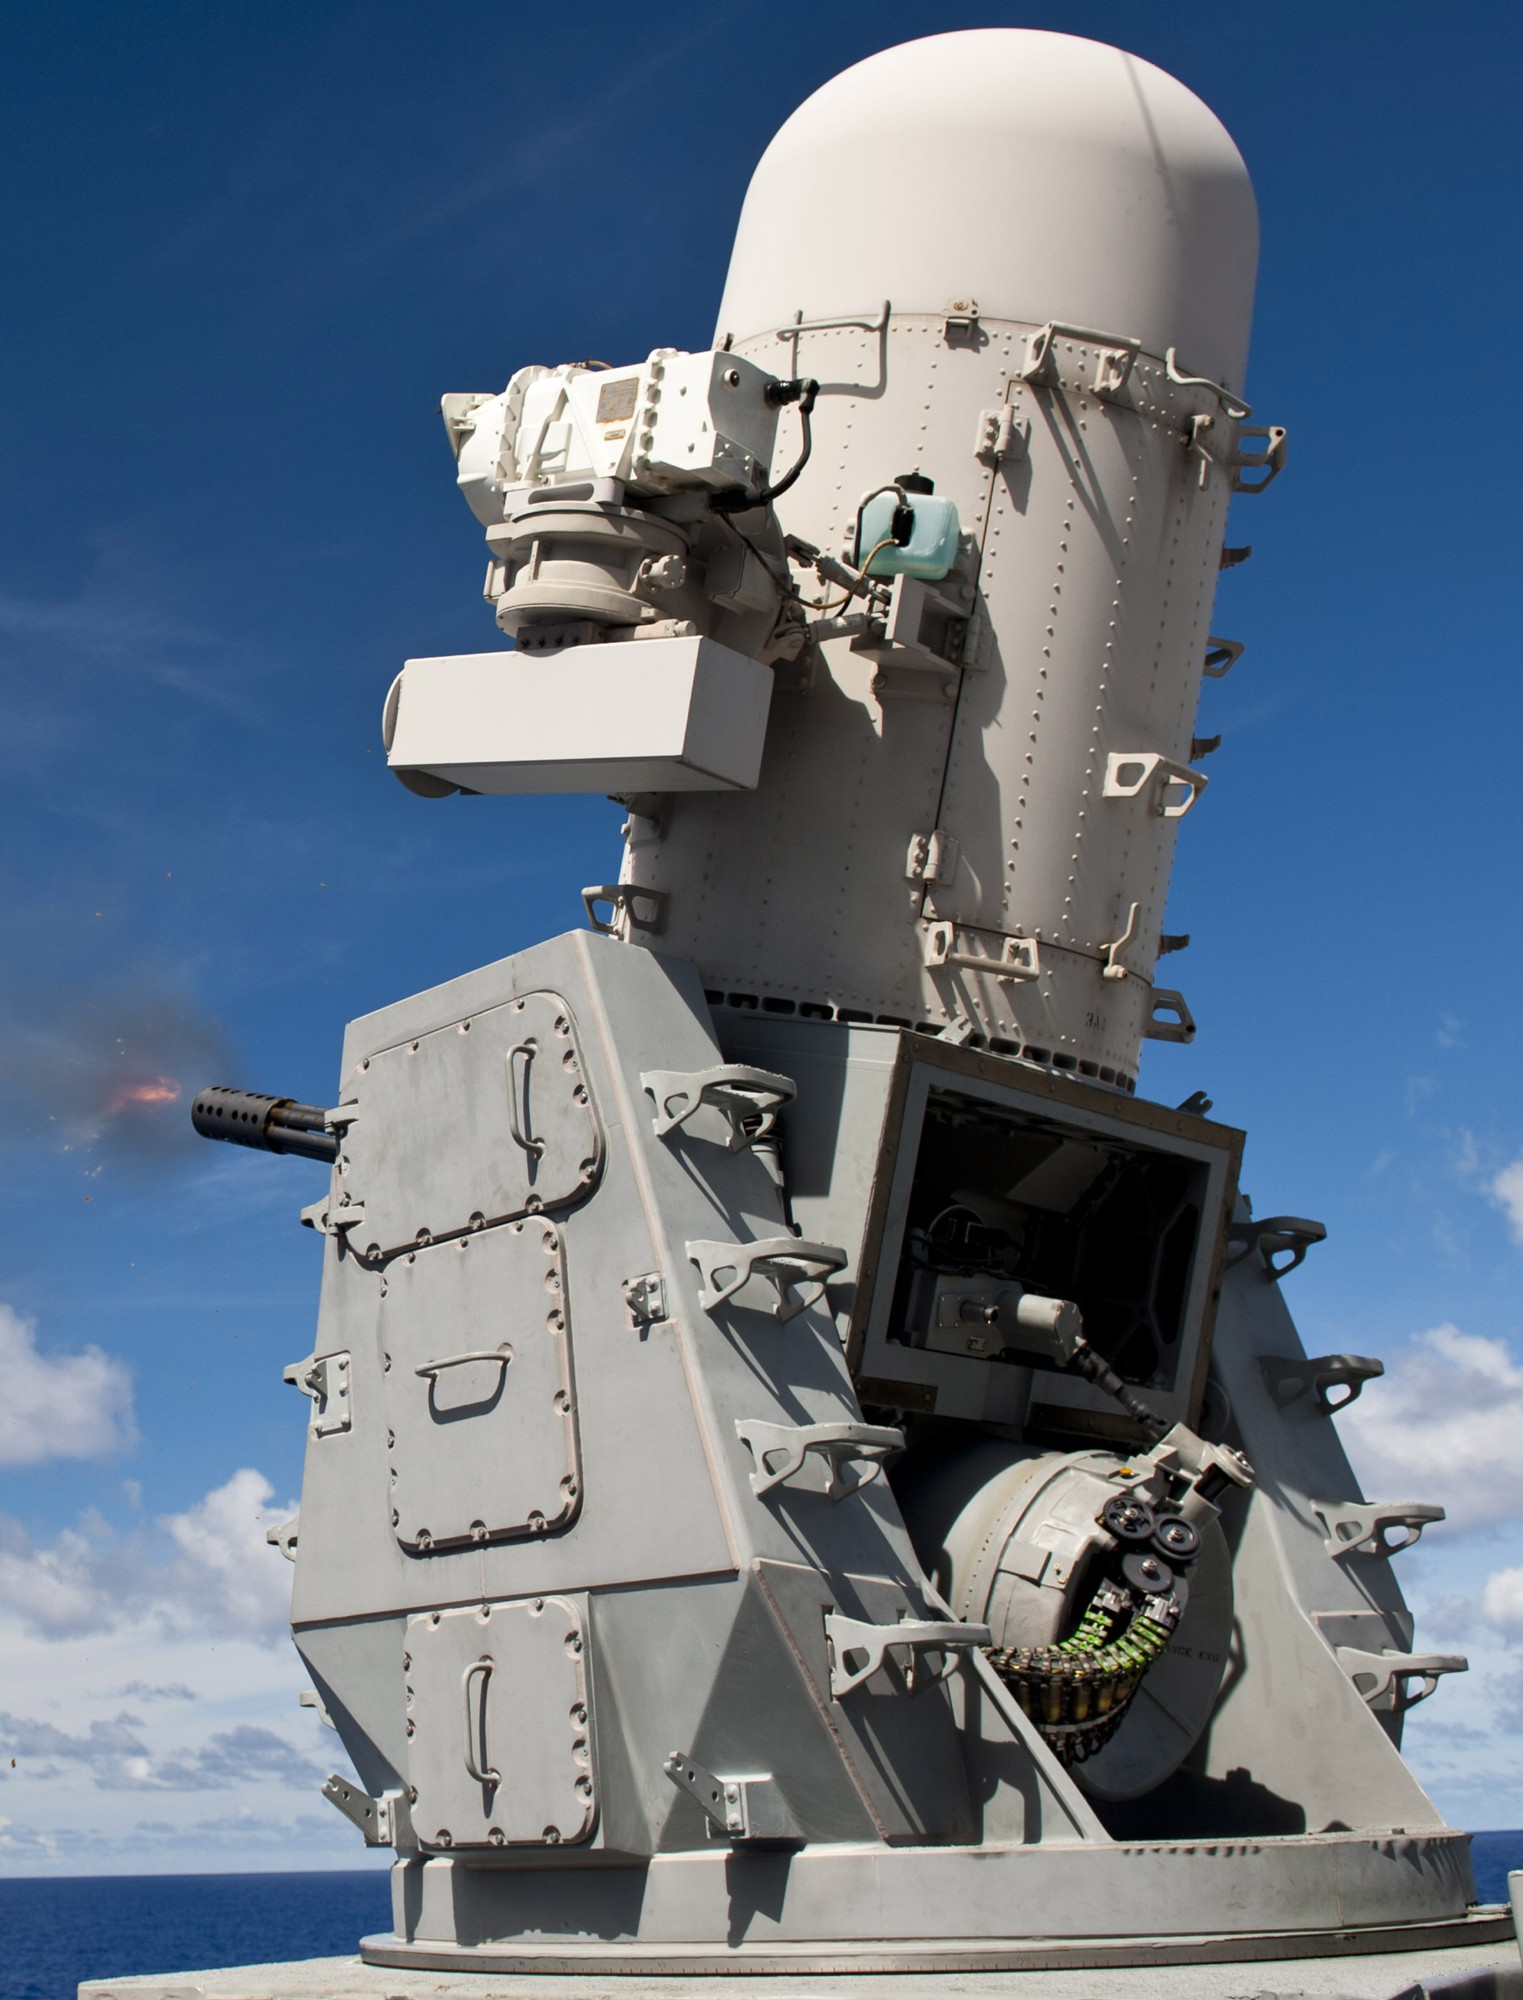 Mk.15 Phalanx CIWS fire exercise - Pacific Ocean - September 2012 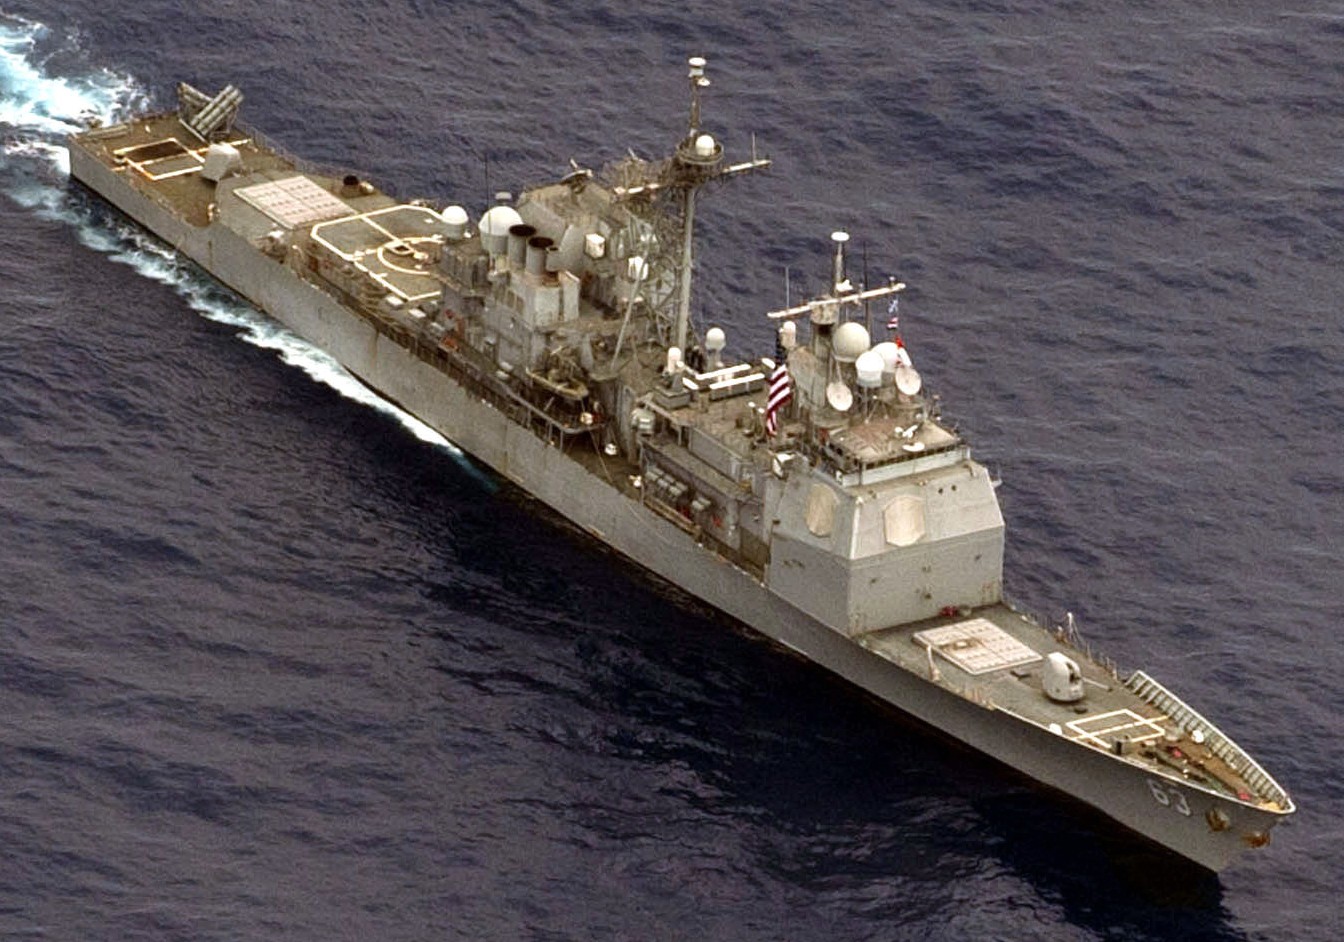 Pacific Ocean - September 2012 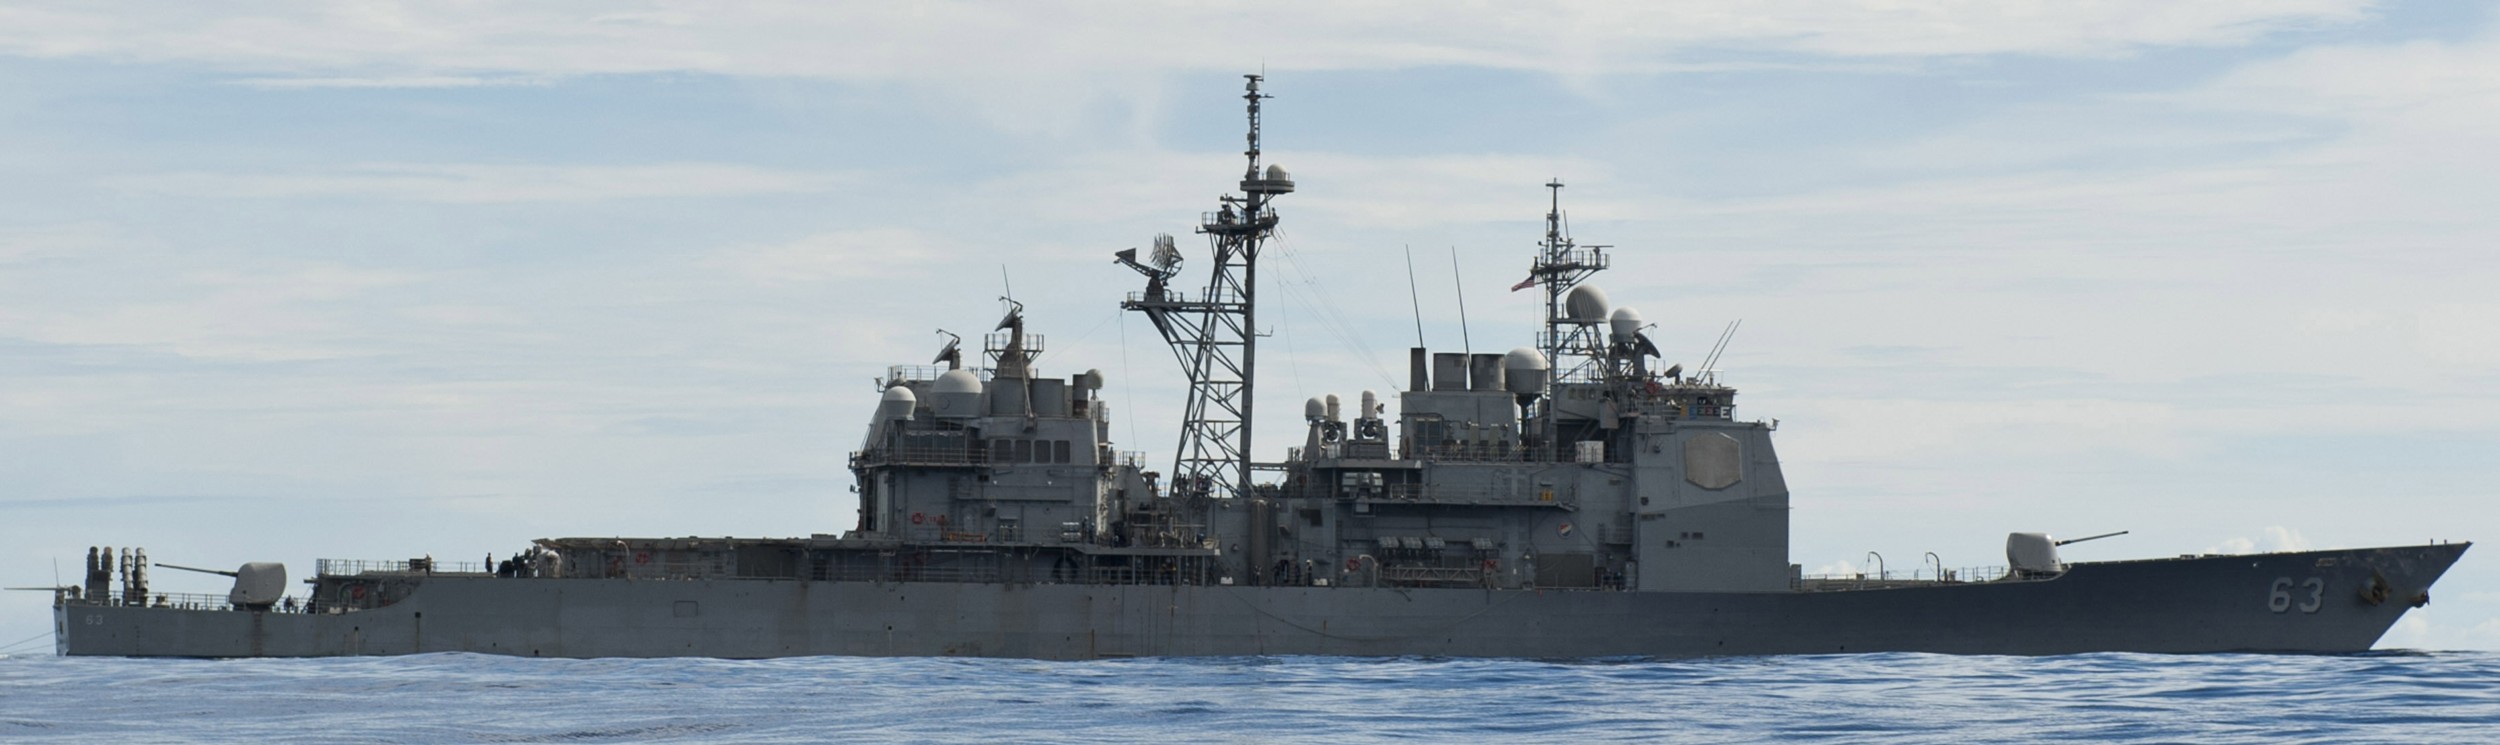 during Exercise Valiant Shield - Pacific Ocean - September 2012 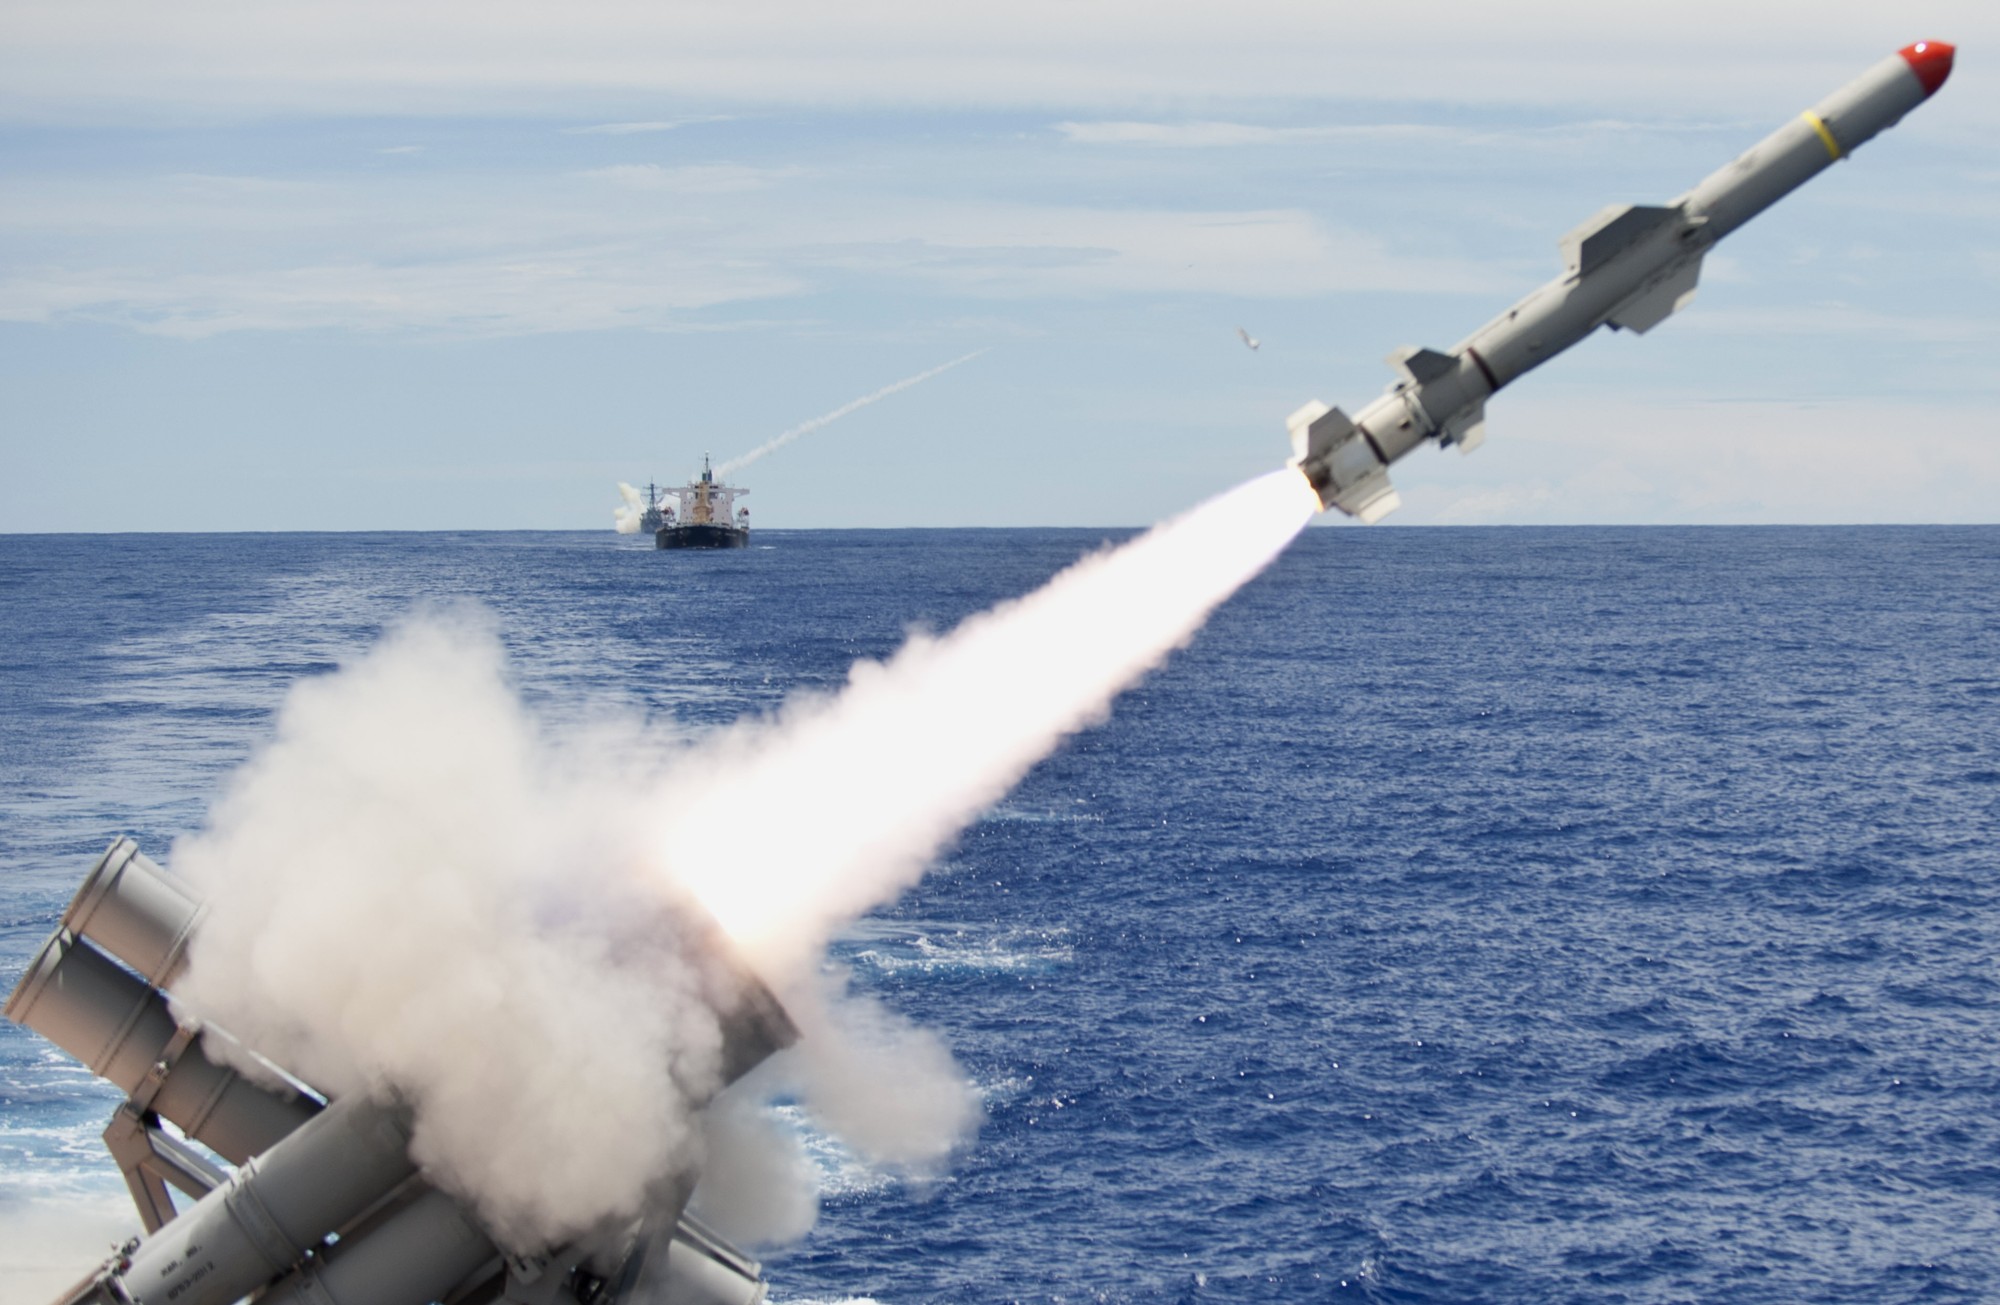 an RGM-84 Harpoon SSM was fired - Exercise Valiant Shield - Pacific Ocean - September 2012 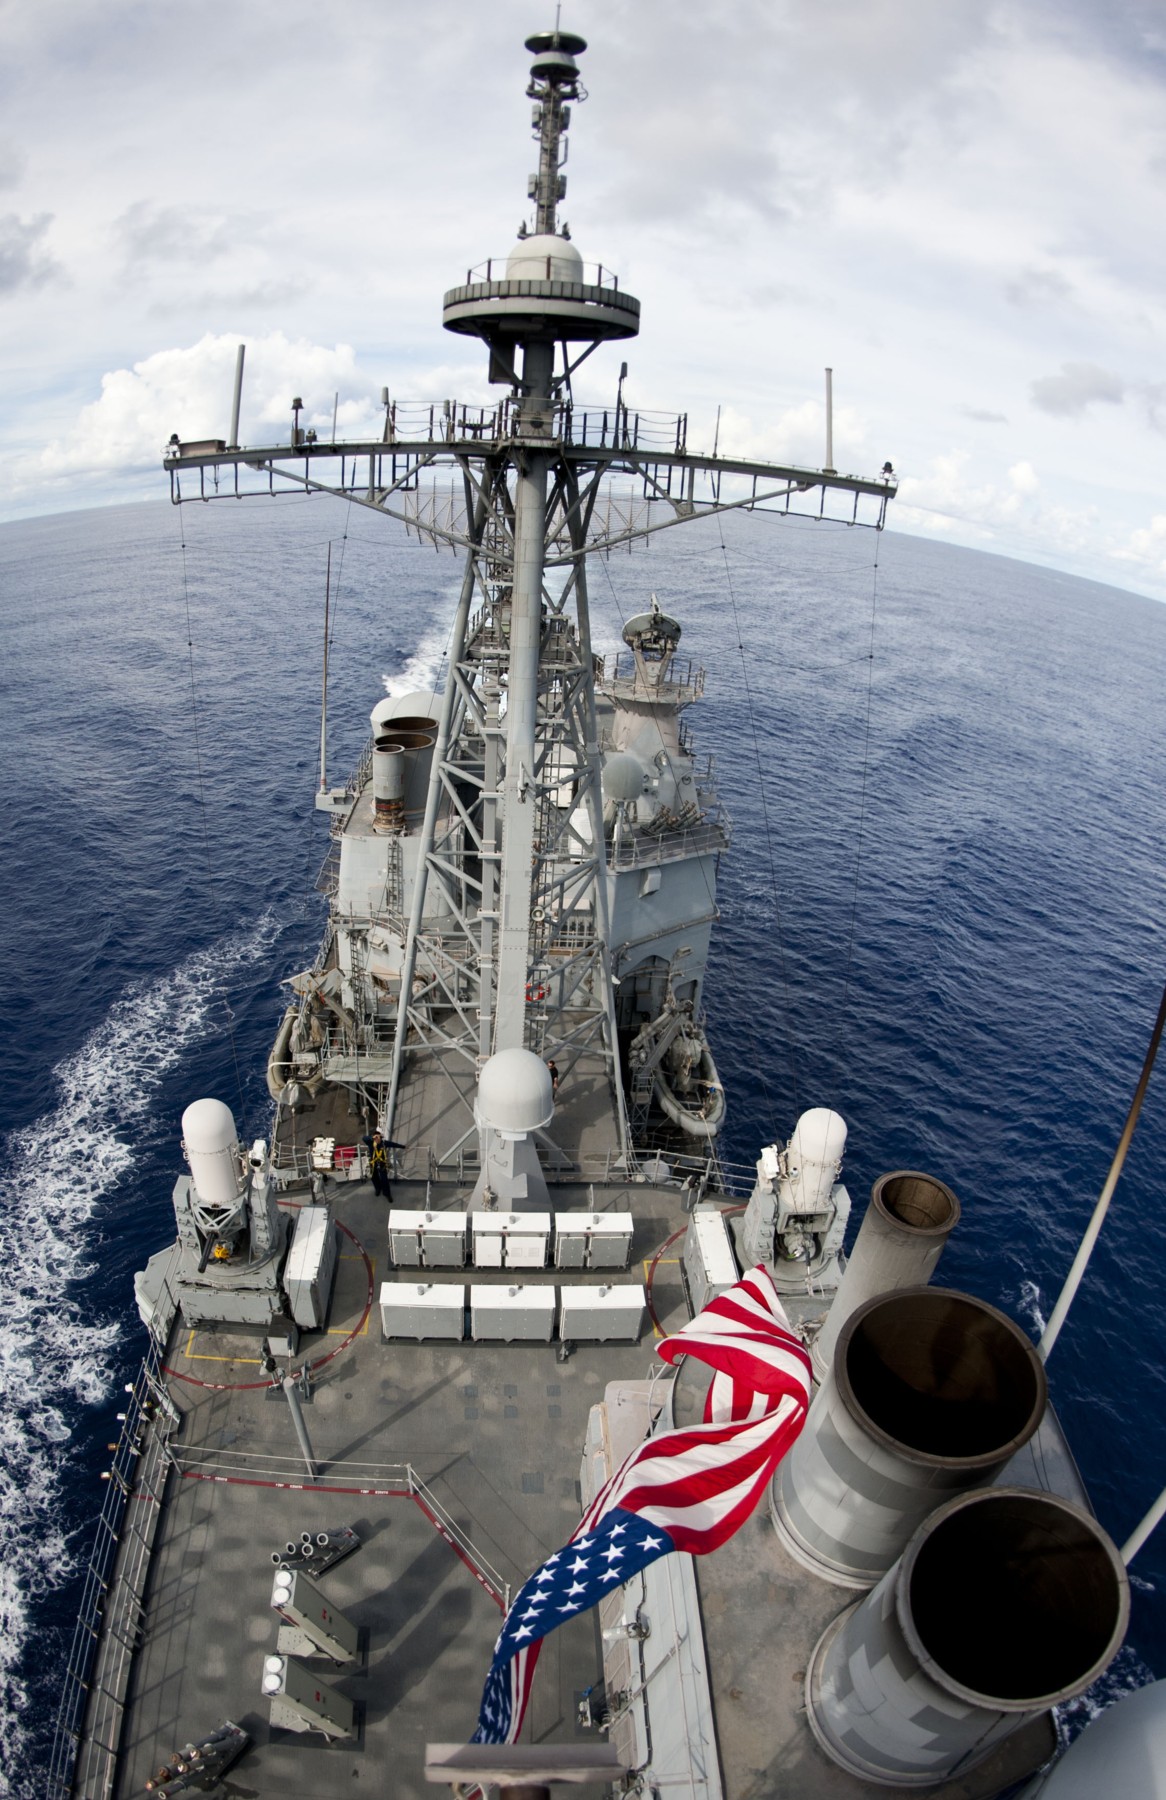 Pacific Ocean - September 2012 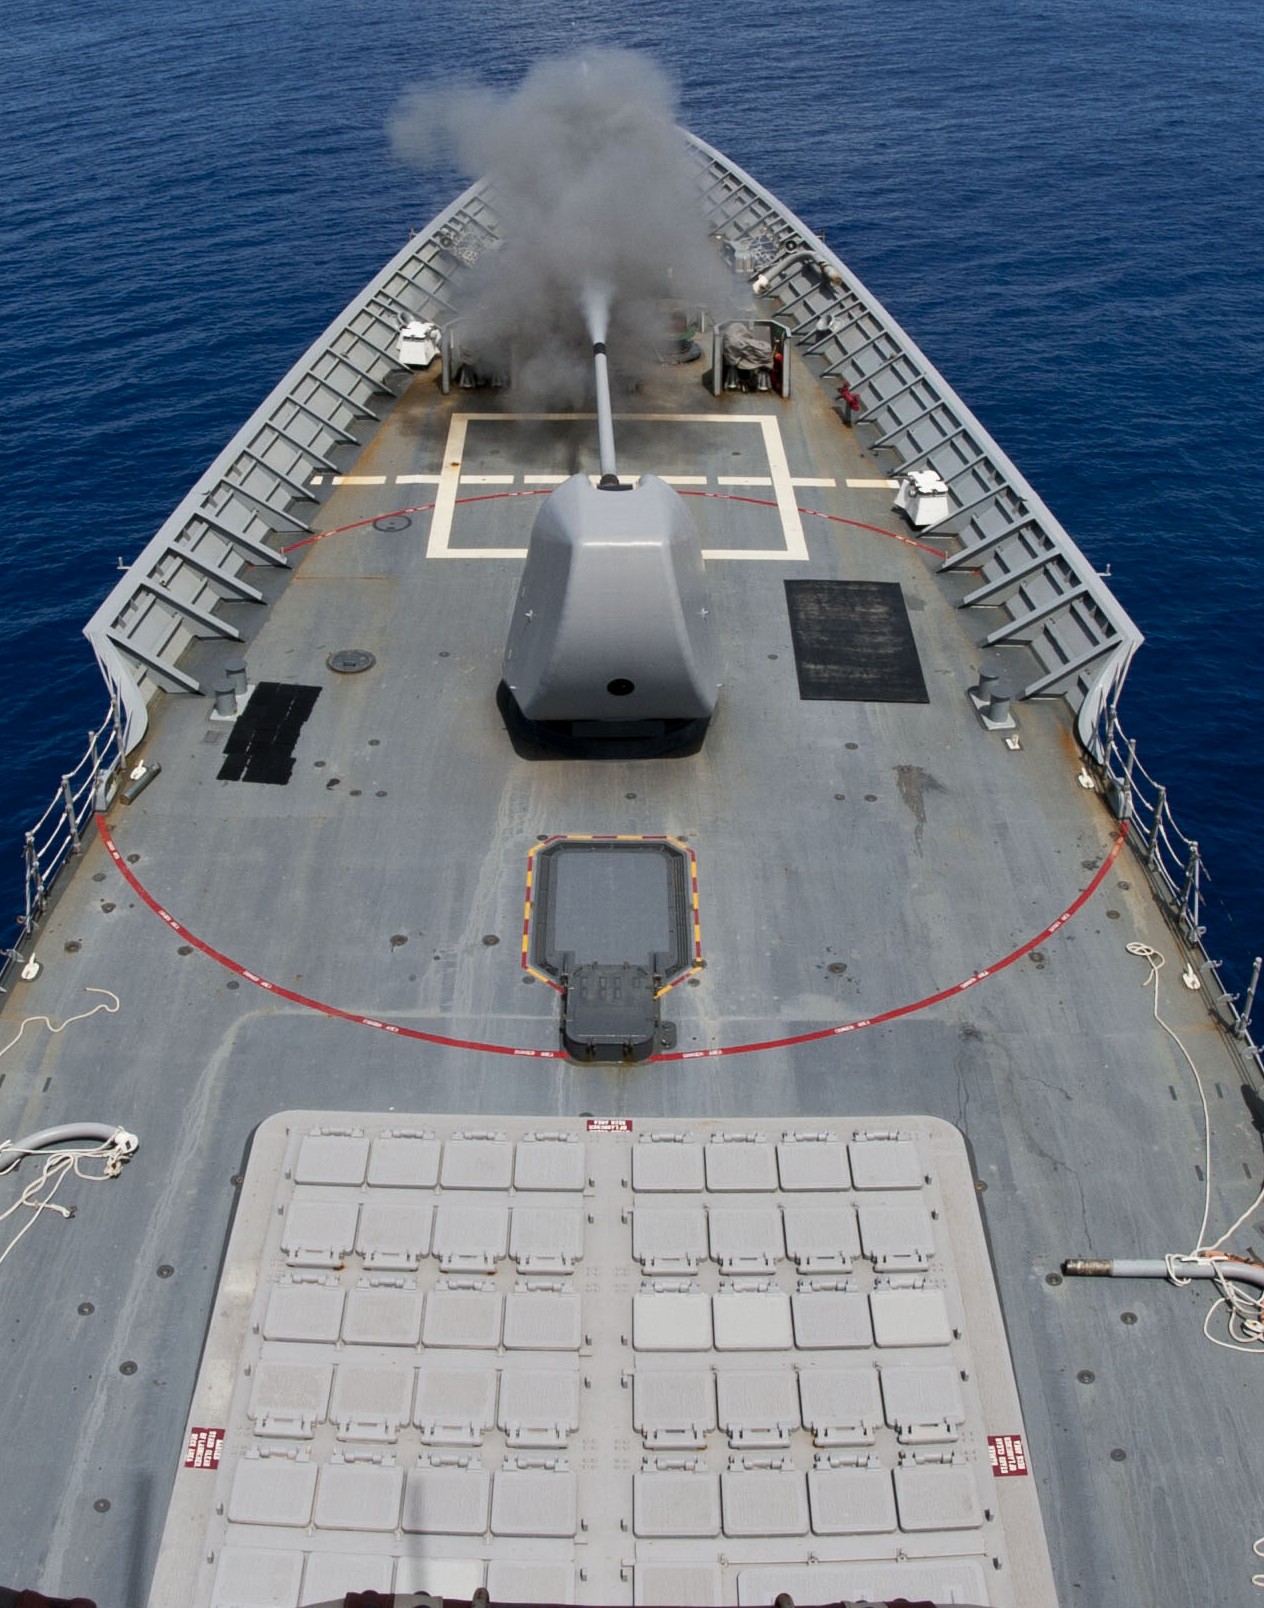 Mk.45 gun fire exercise - Pacific Ocean - September 2012 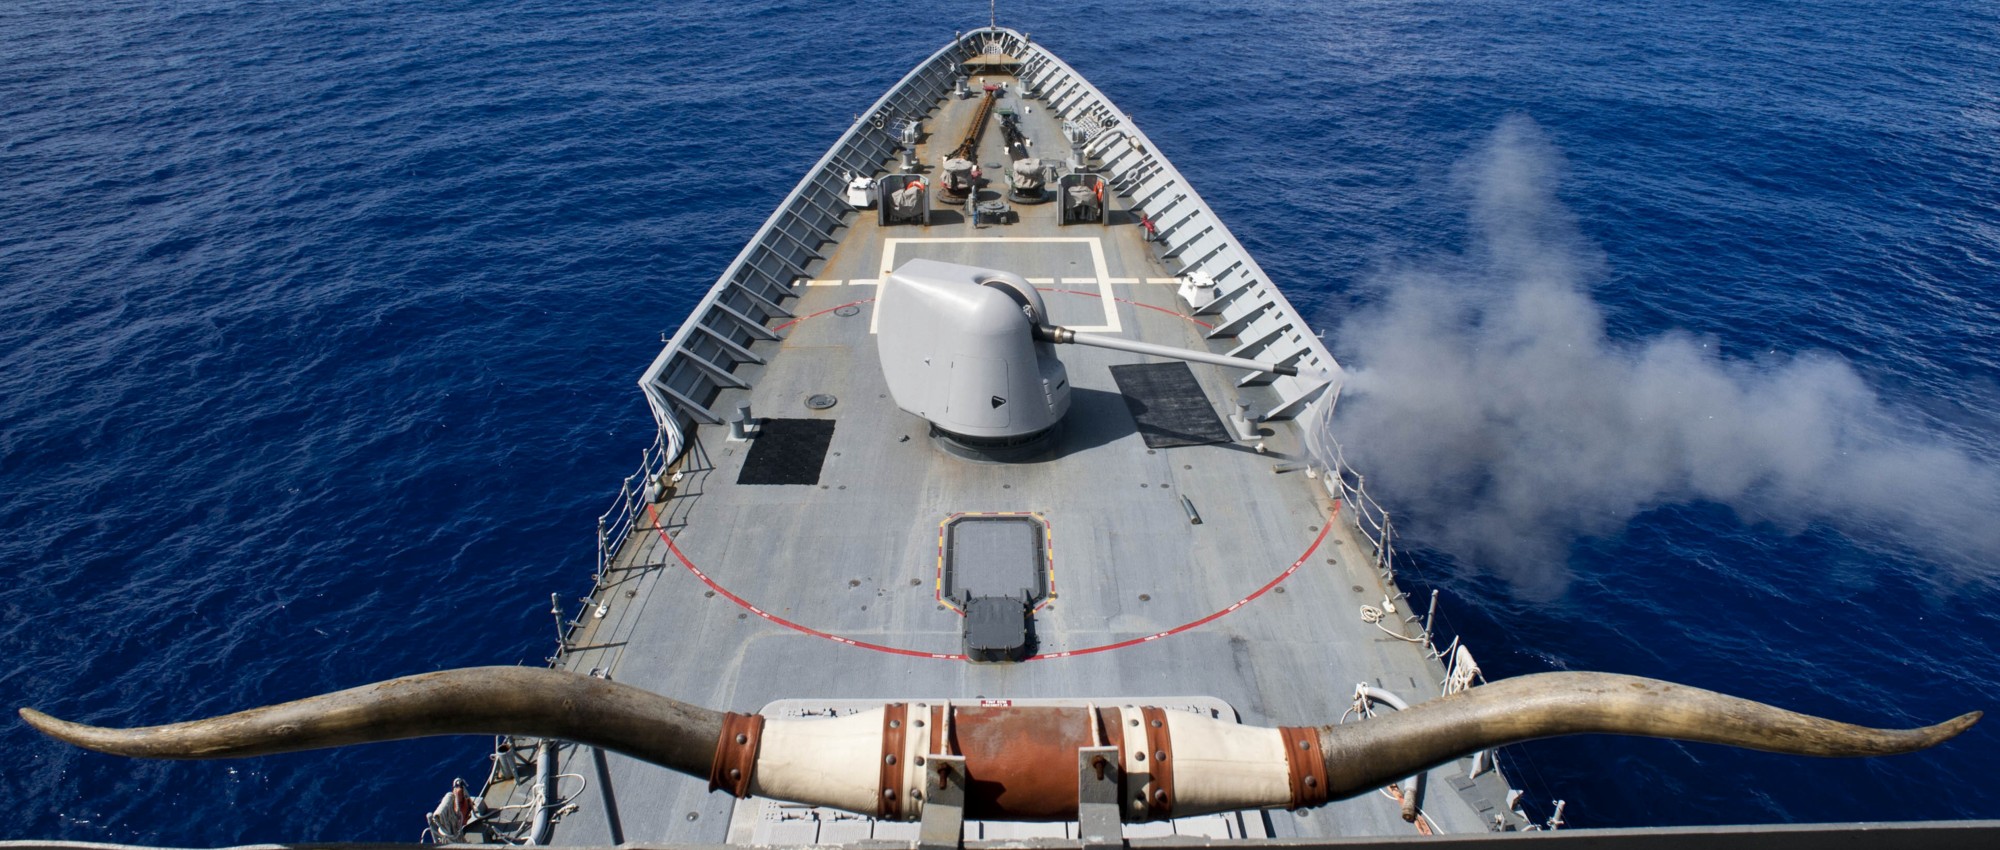 Mk.45 gun fire exercise - Pacific Ocean - September 2012 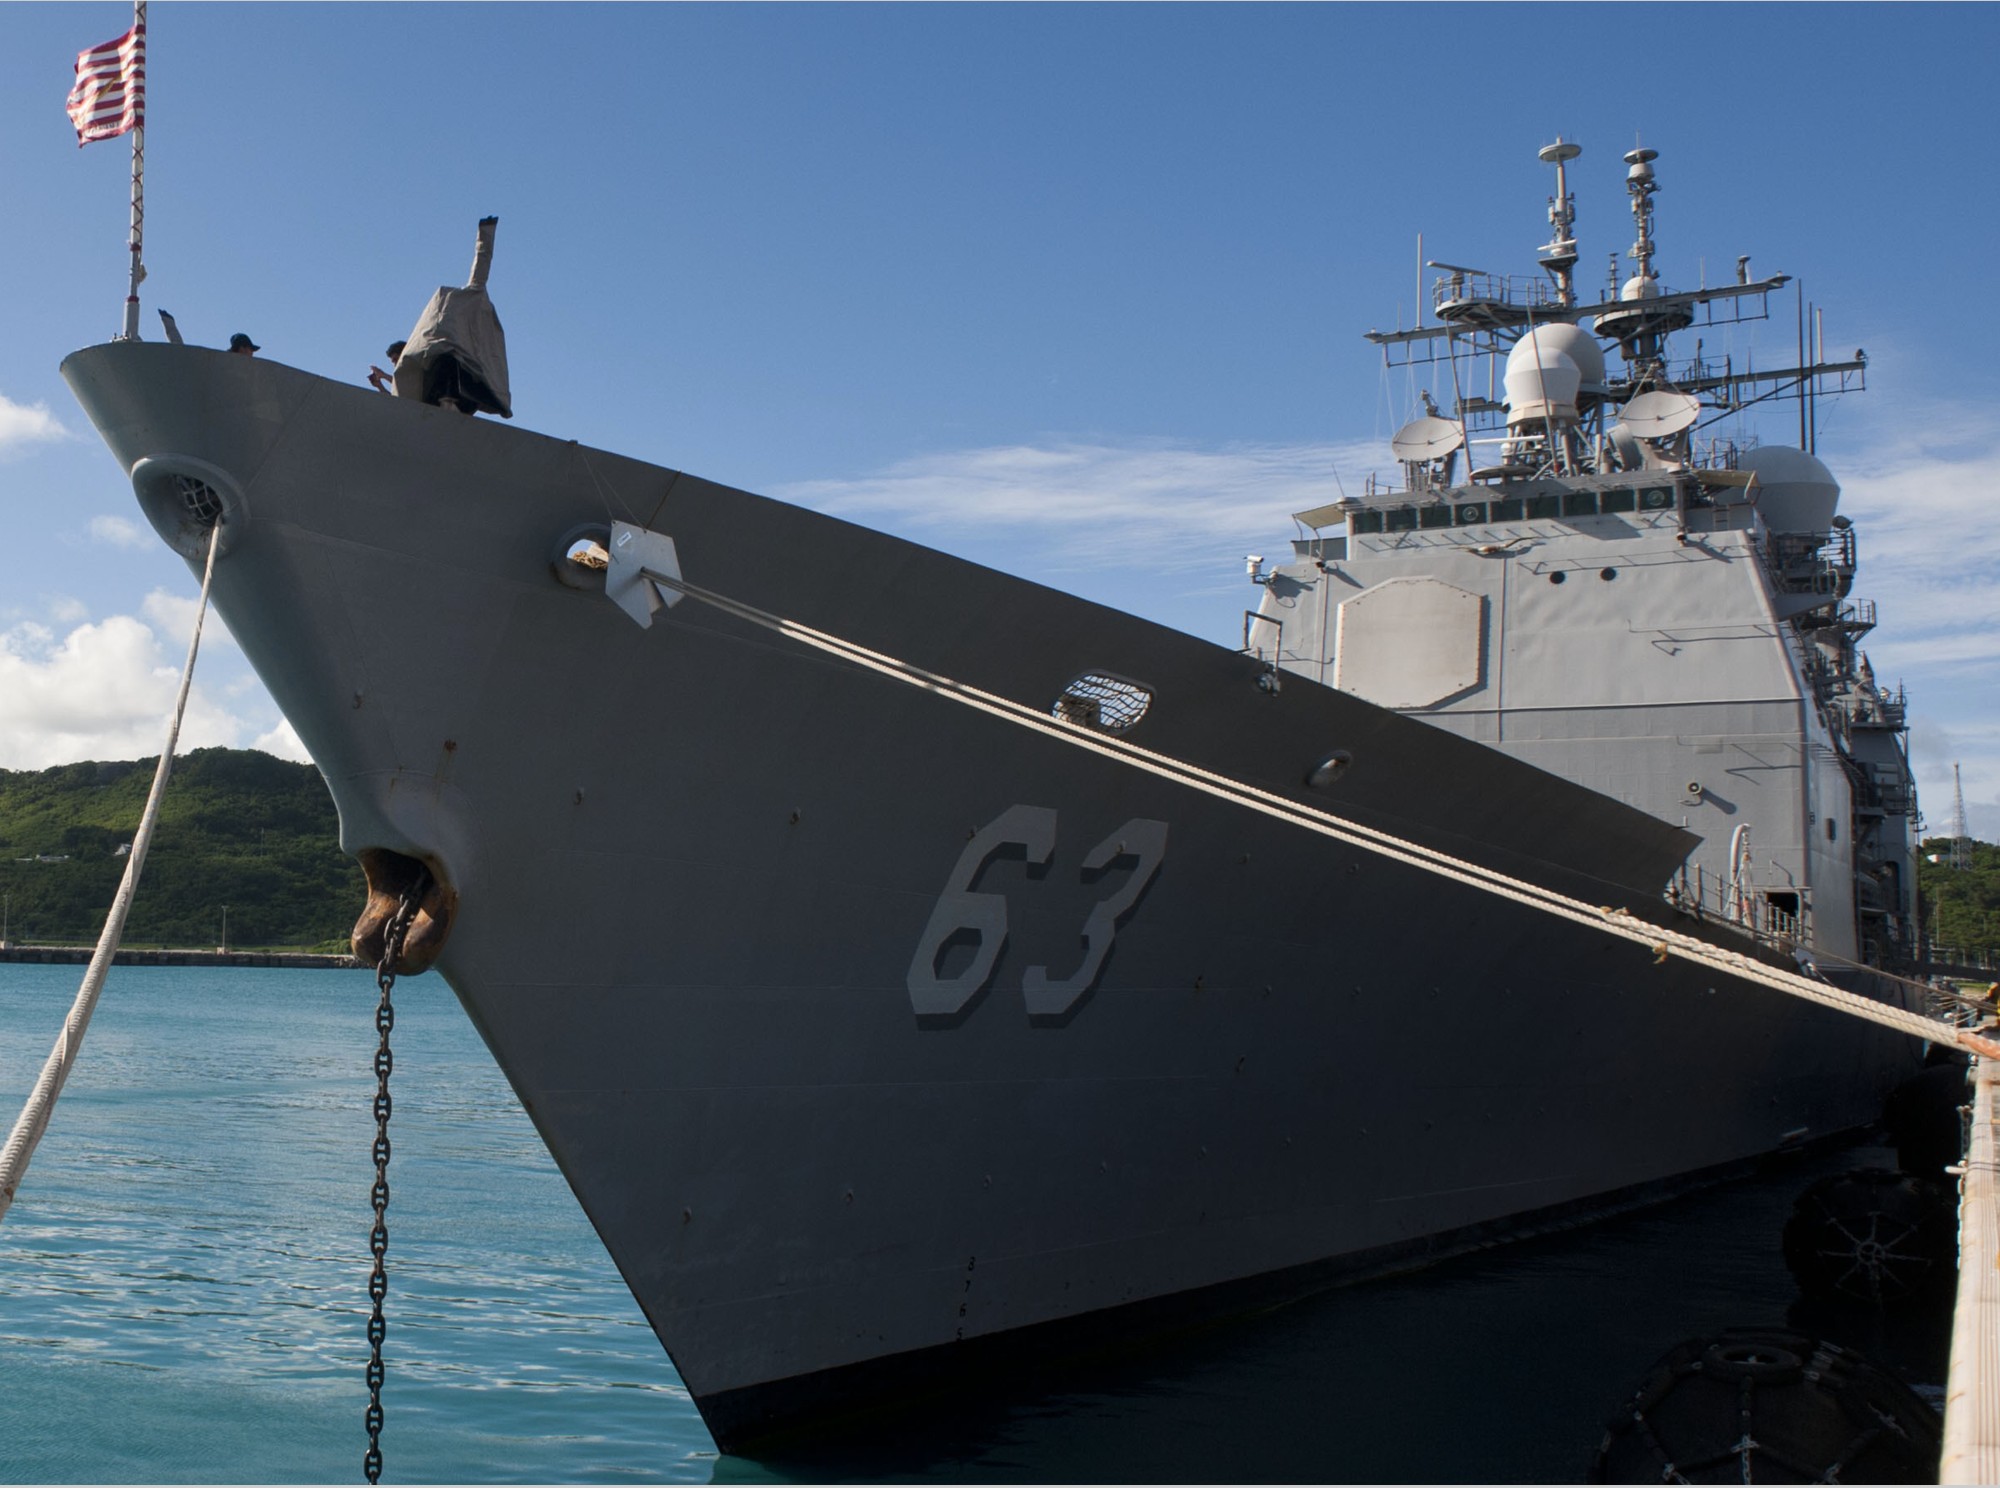 White Beach Naval Facility, Okinawa, Japan - July 2012 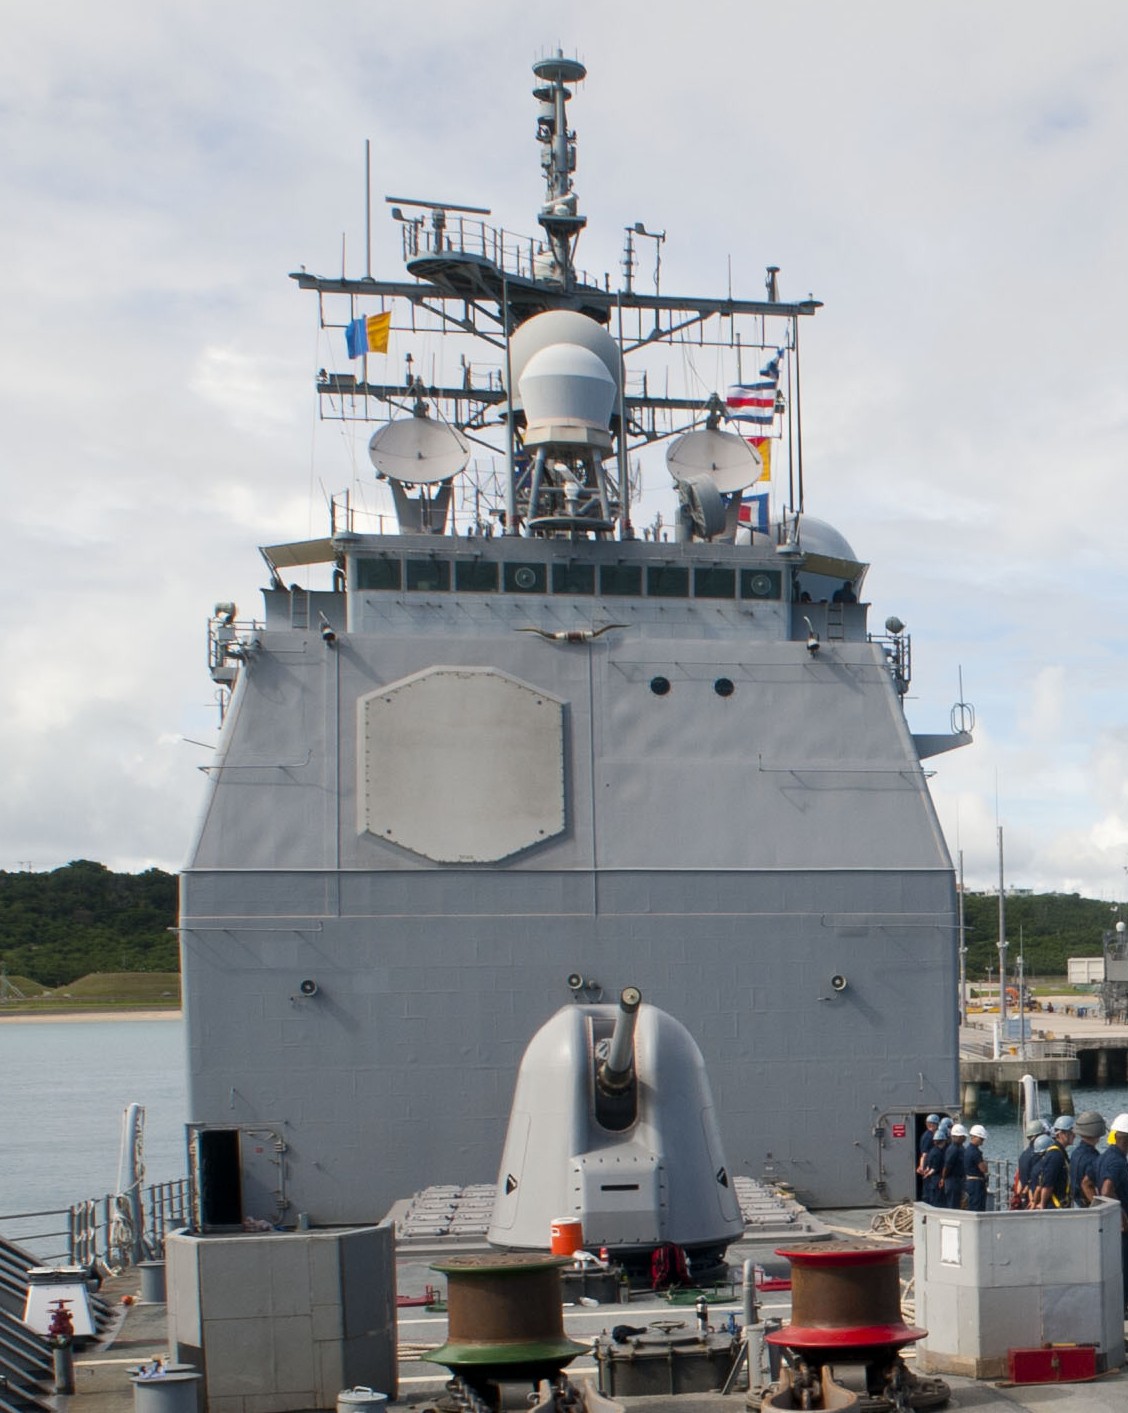 White Beach Naval Facility, Okinawa, Japan - July 2012 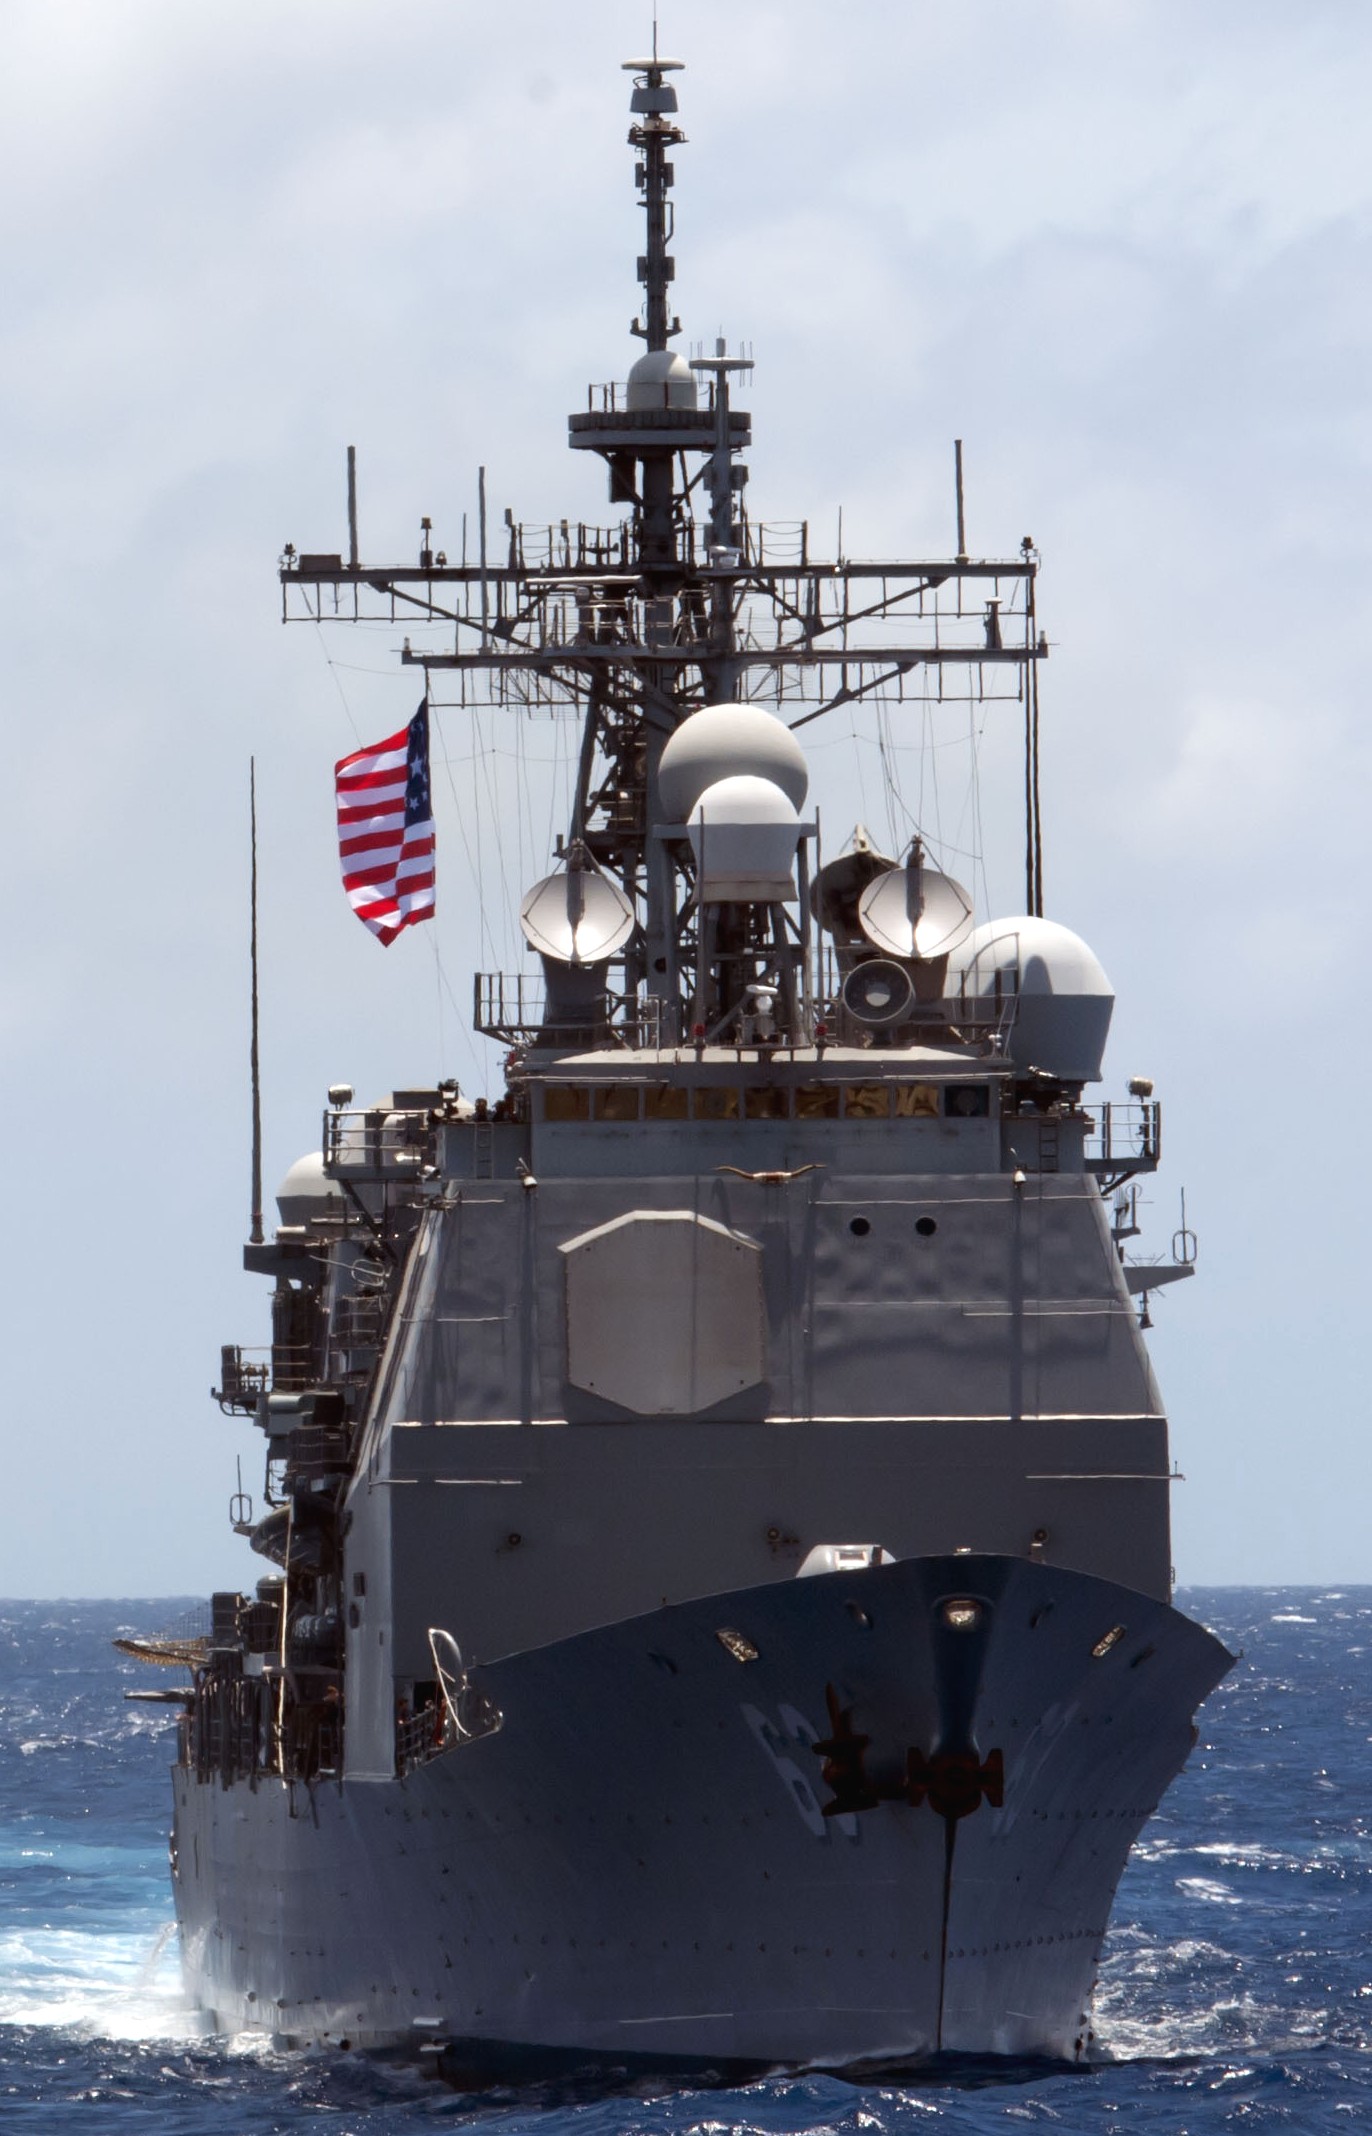 Pacific Ocean - July 2012 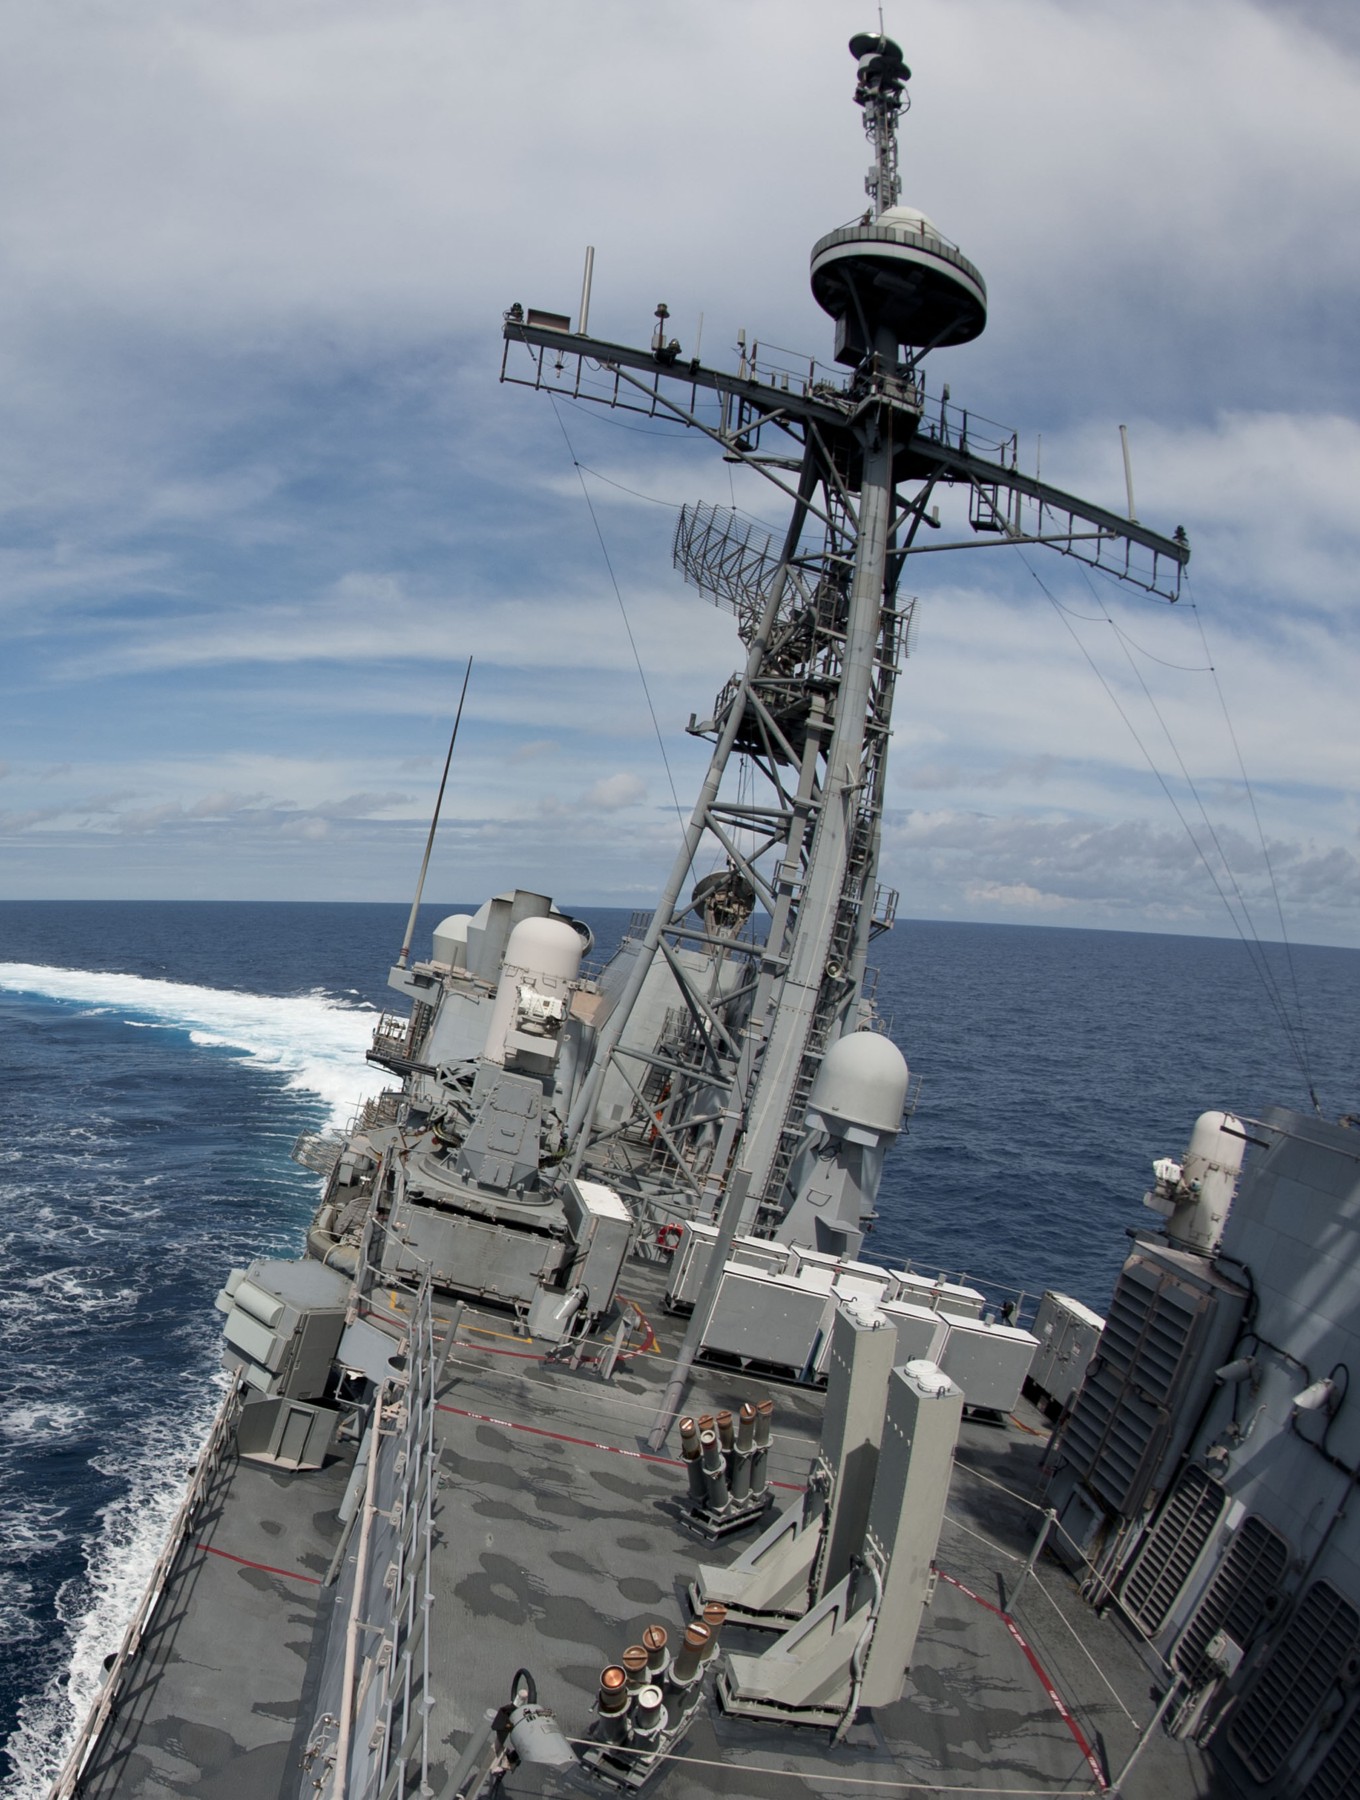 South China Sea - July 2012 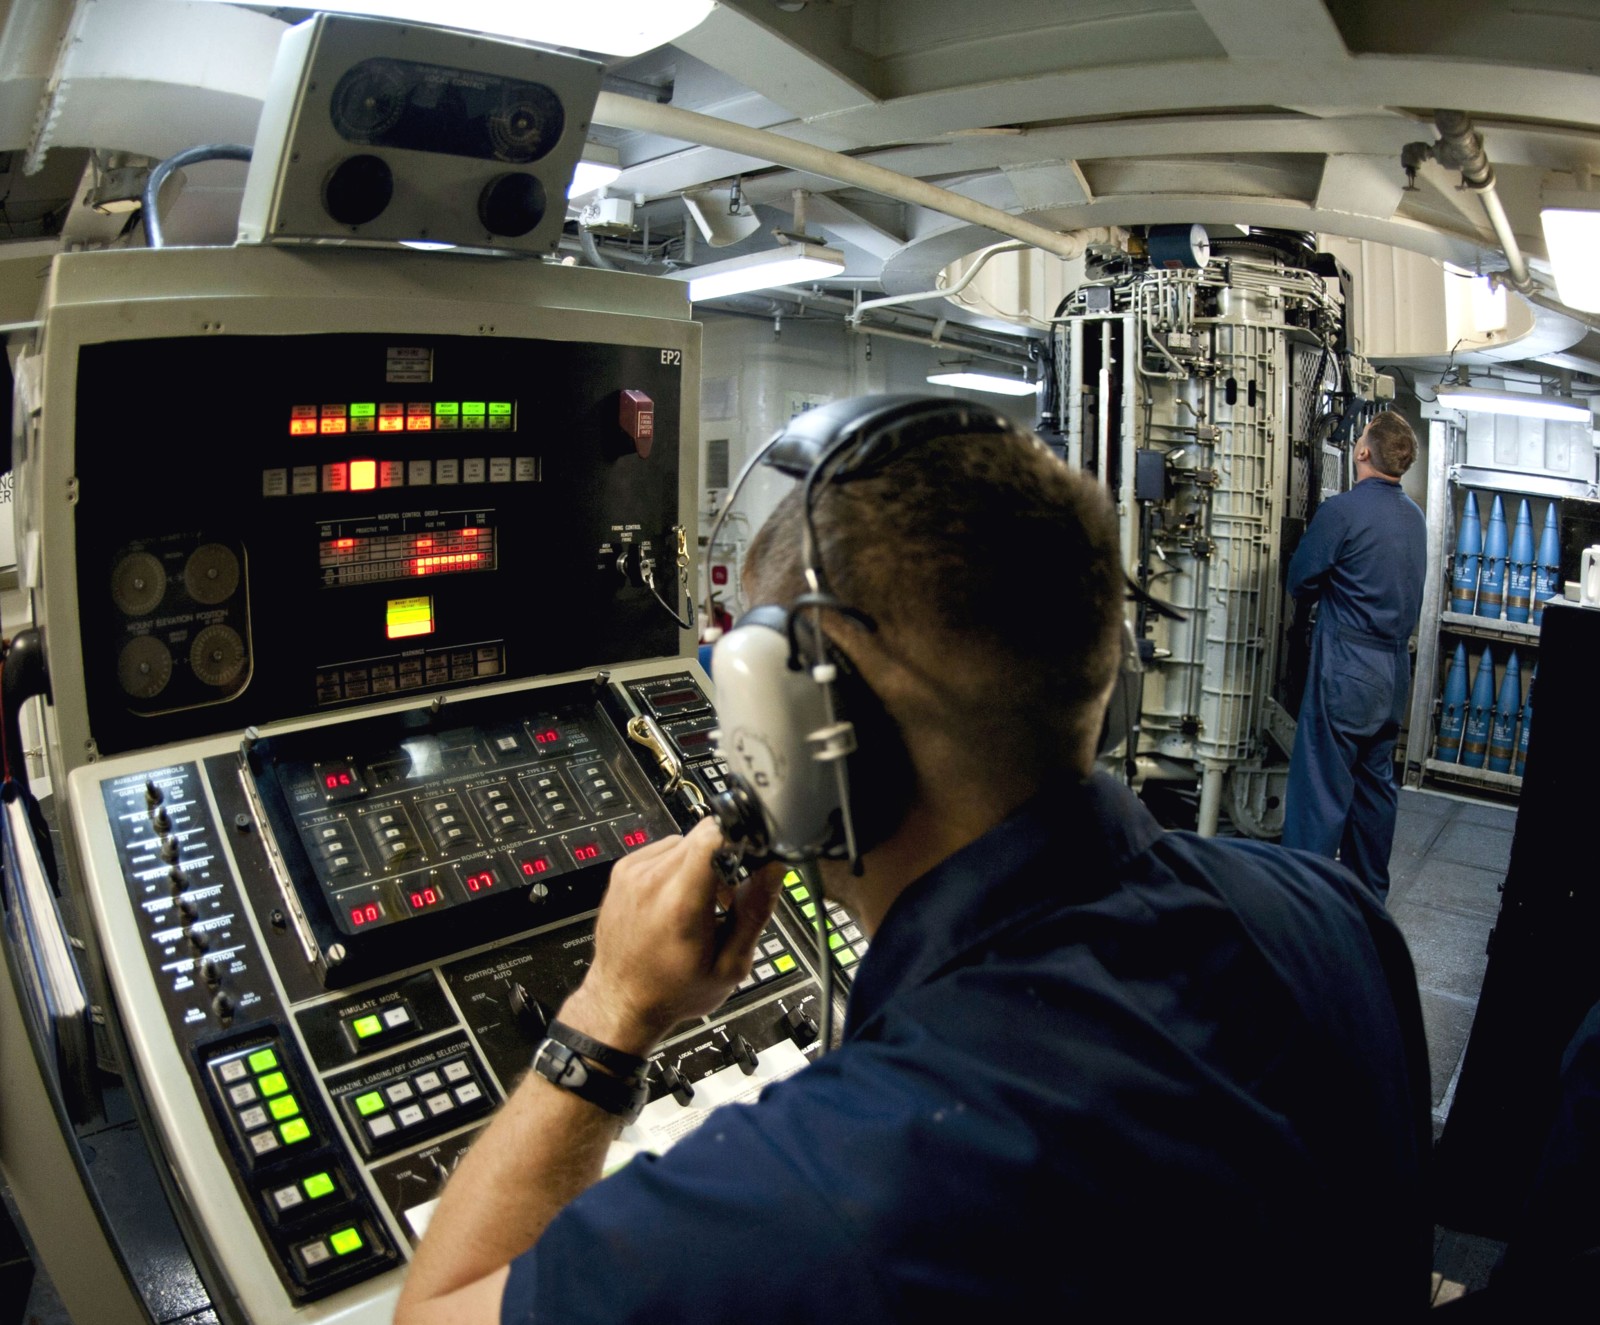 gun control console - Pacific Ocean - April 2012 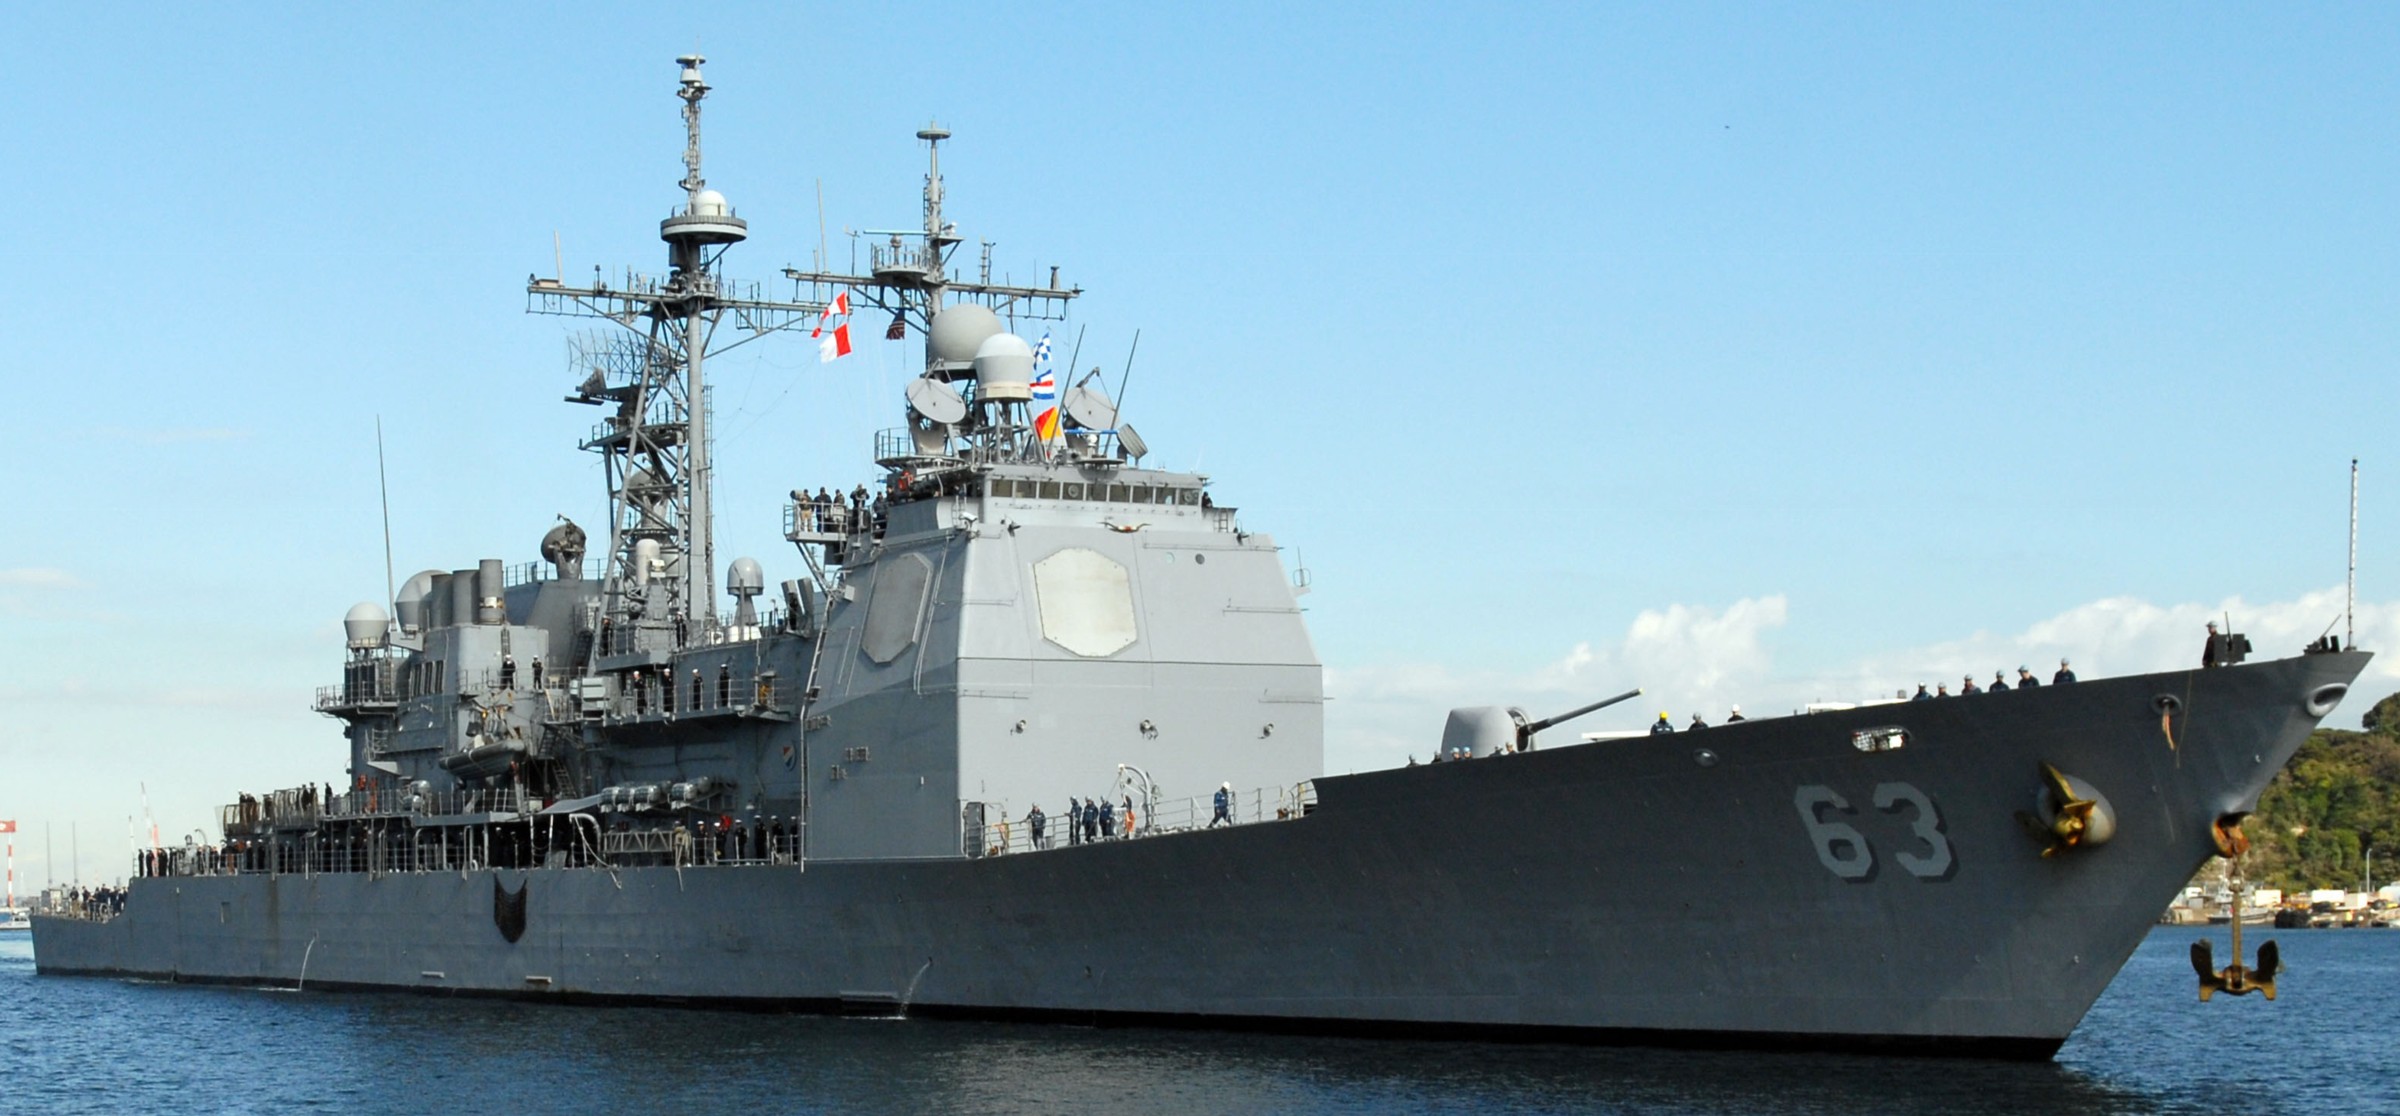 returning to Fleet Activities Yokosuka, Japan - November 2011 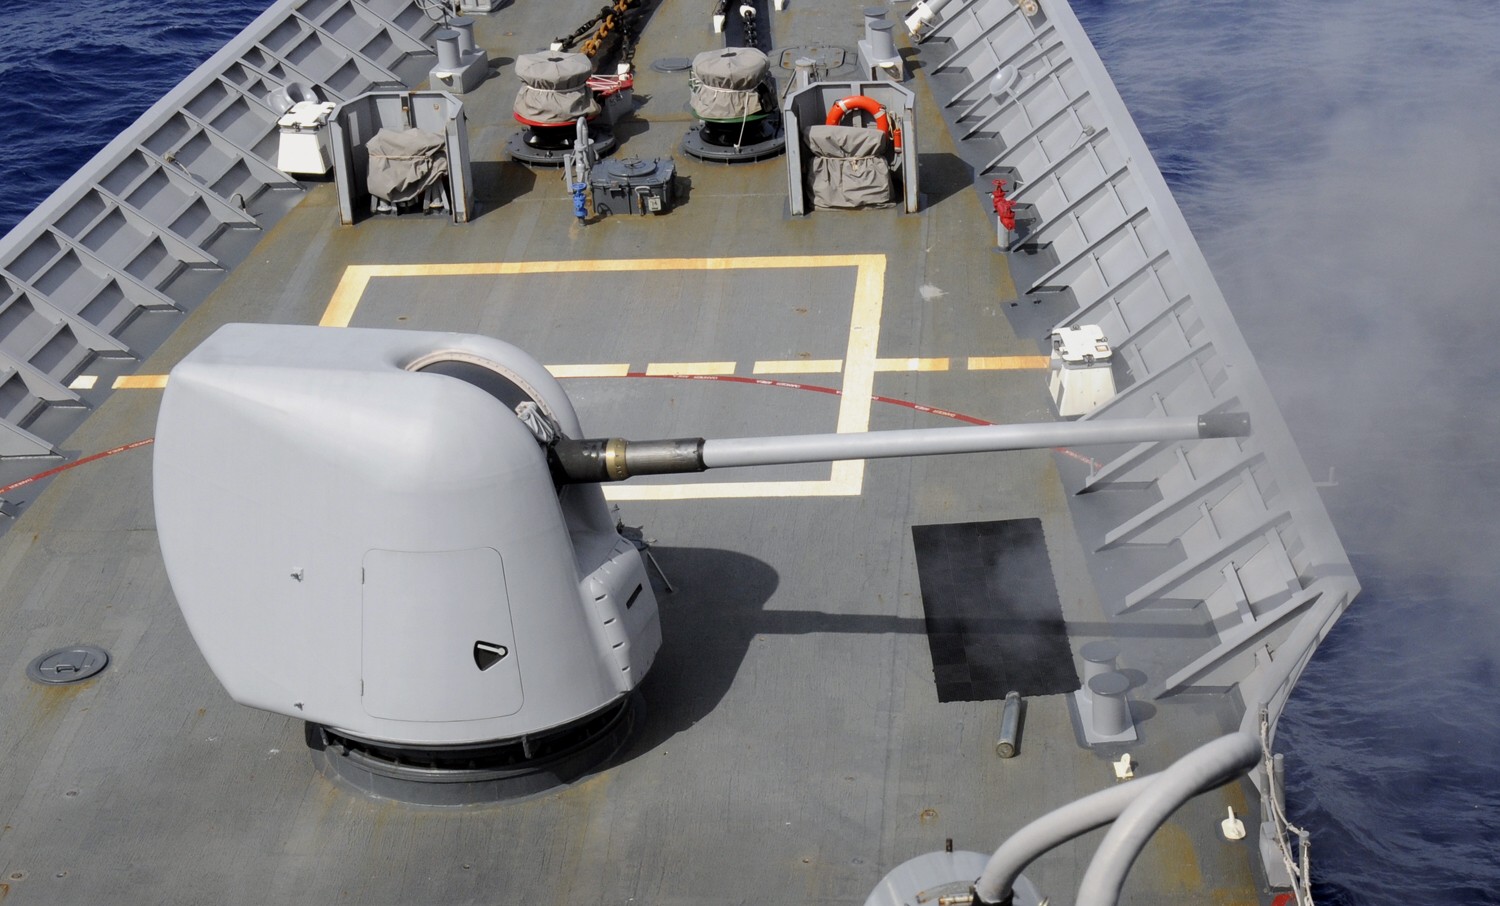 Mk.45 gun fire exercise - Pacific Ocean - September 2011 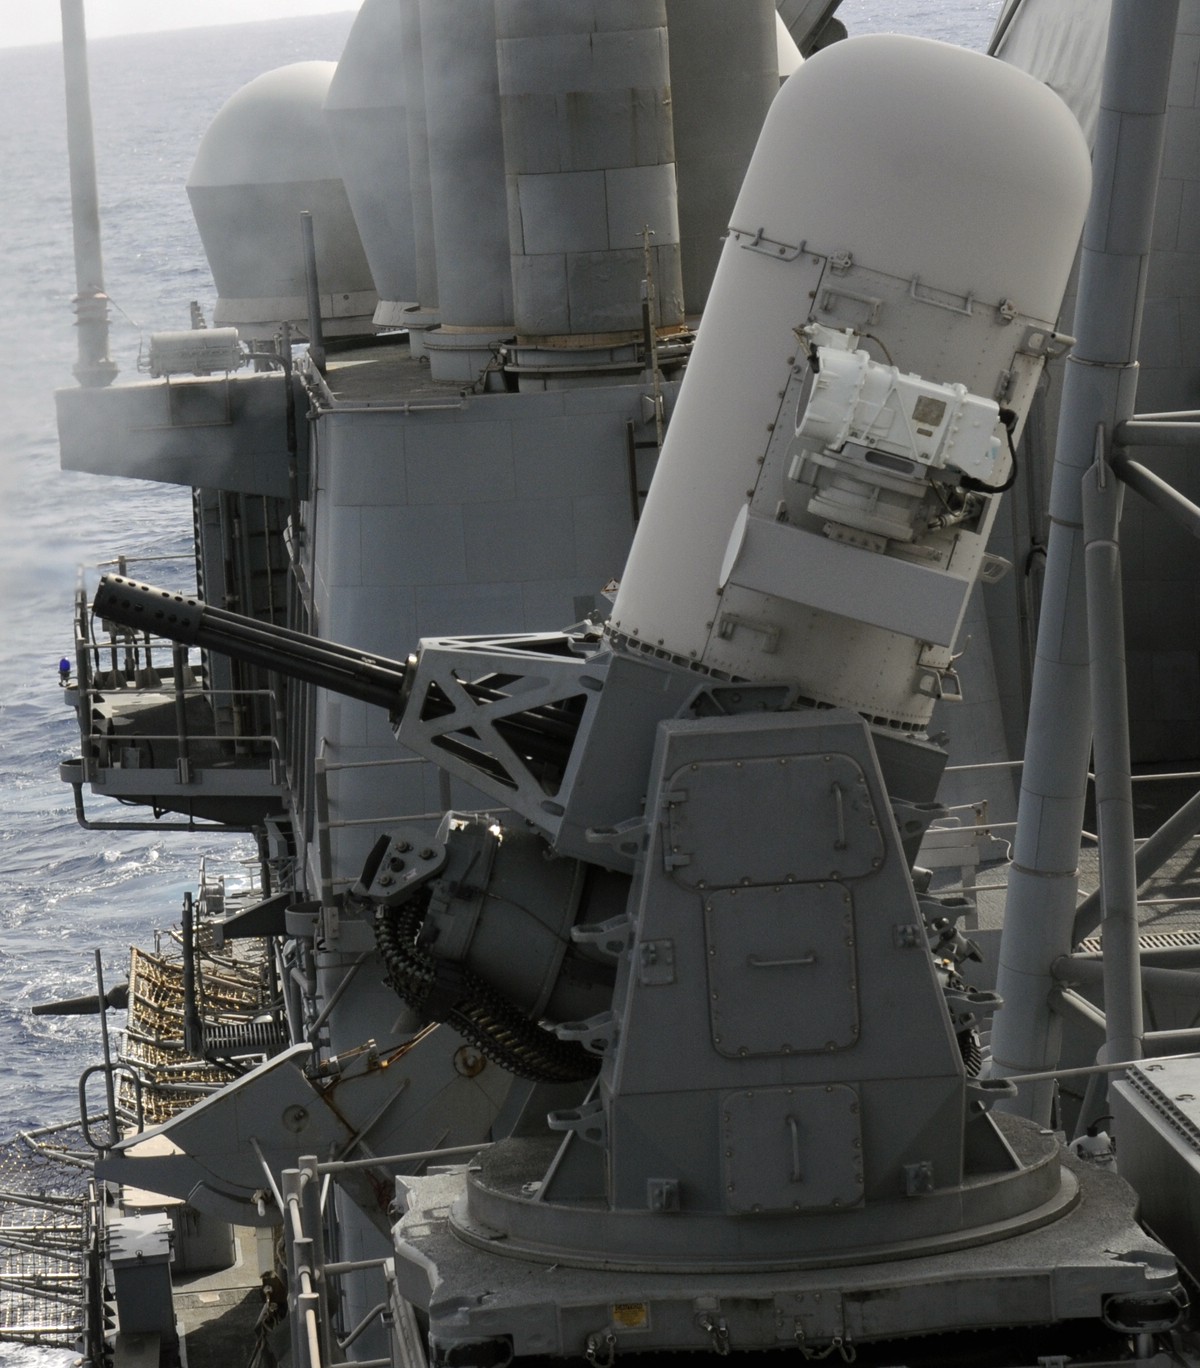 Mk.15 Phalanx CIWS fire exercise - Pacific Ocean - September 2011 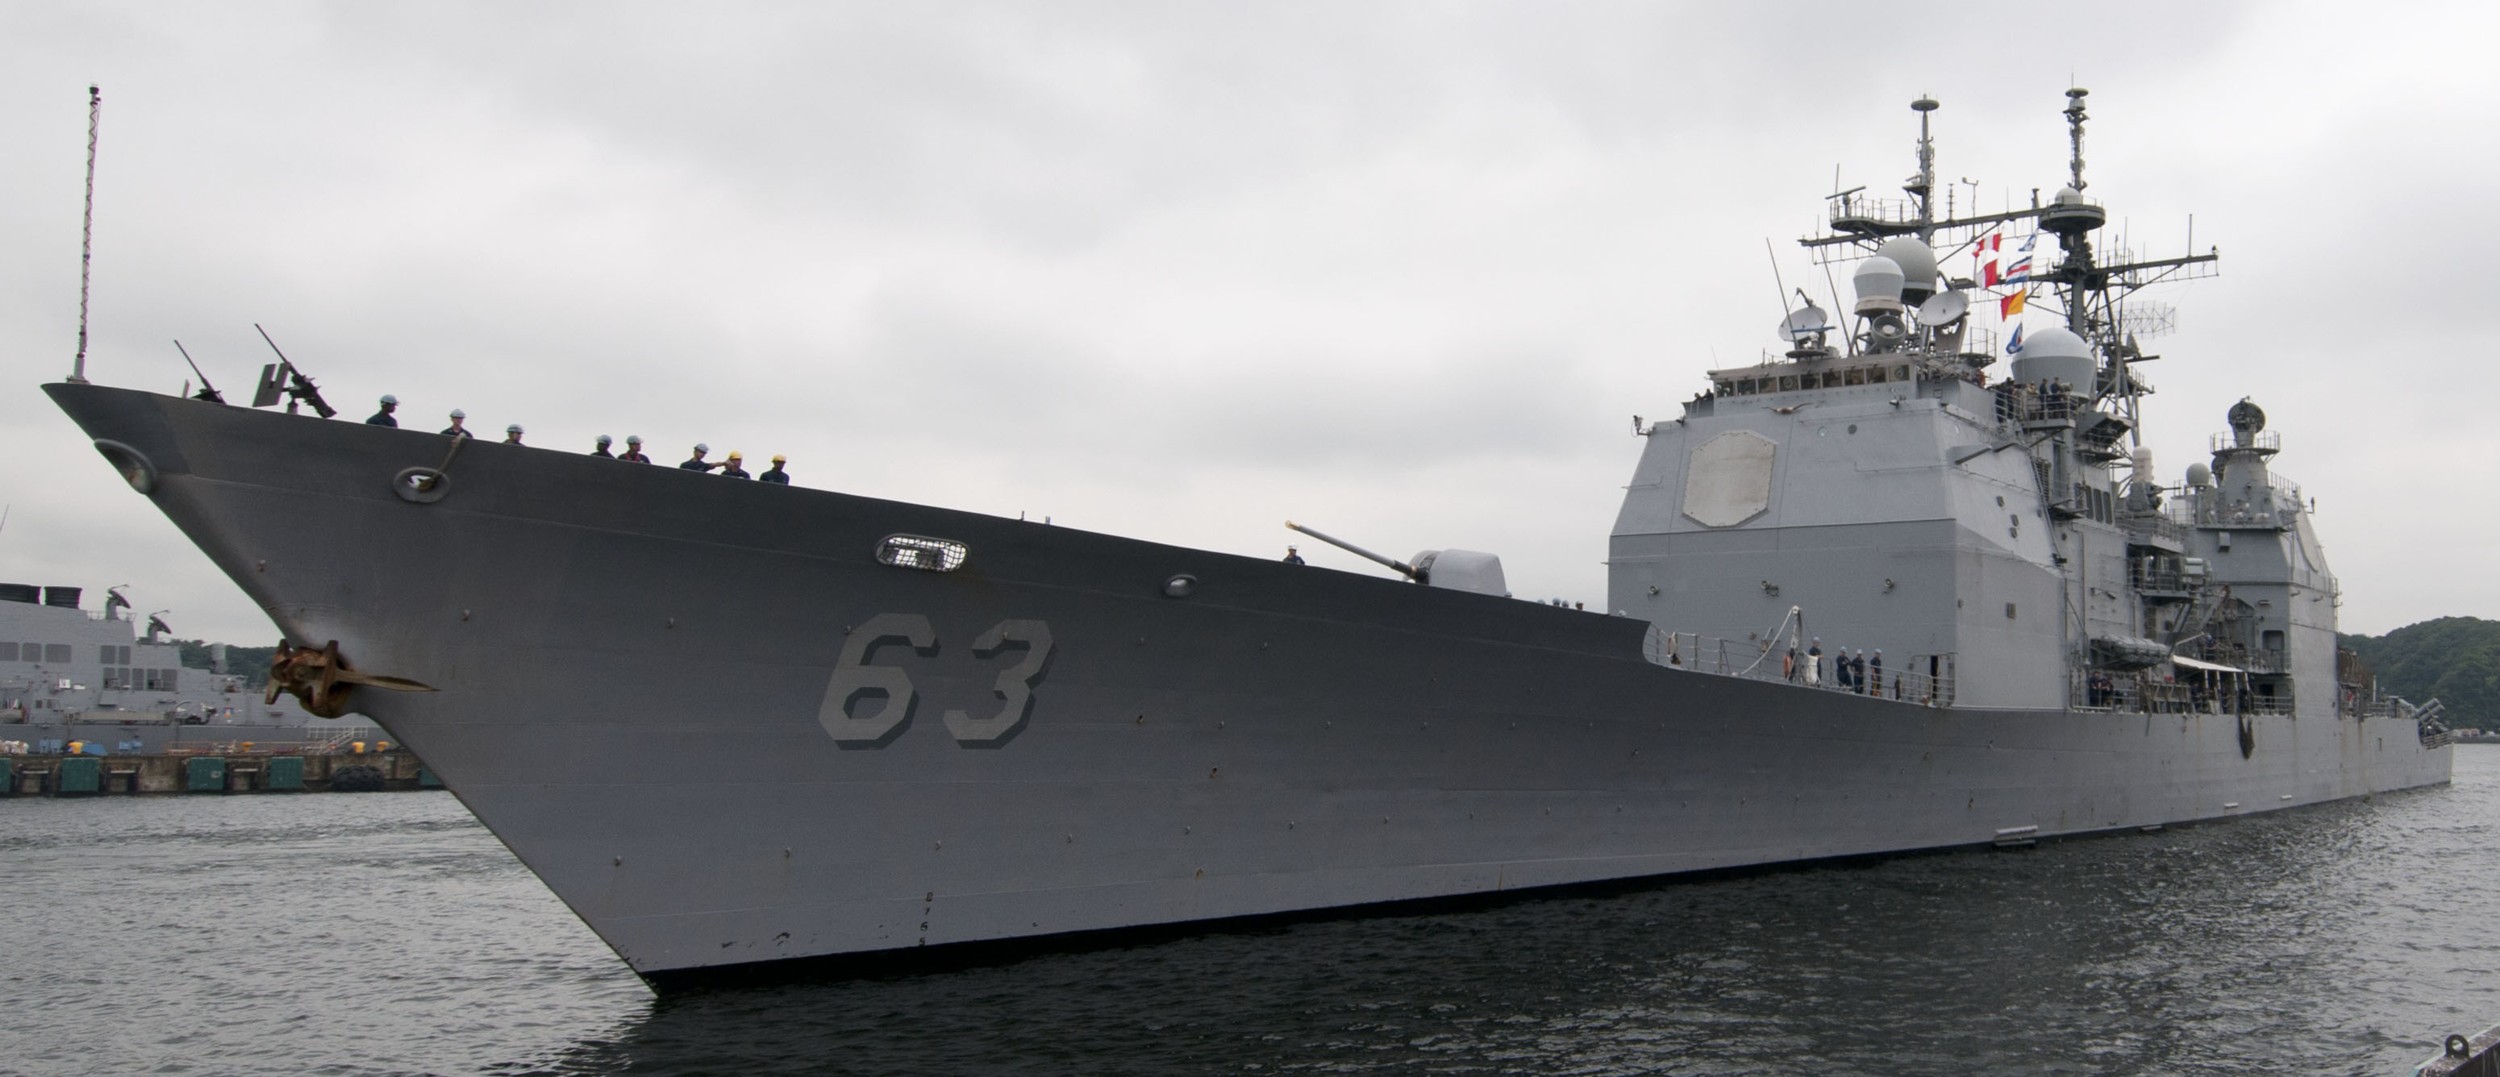 returning to Fleet Activities Yokosuka, Japan - August 2011 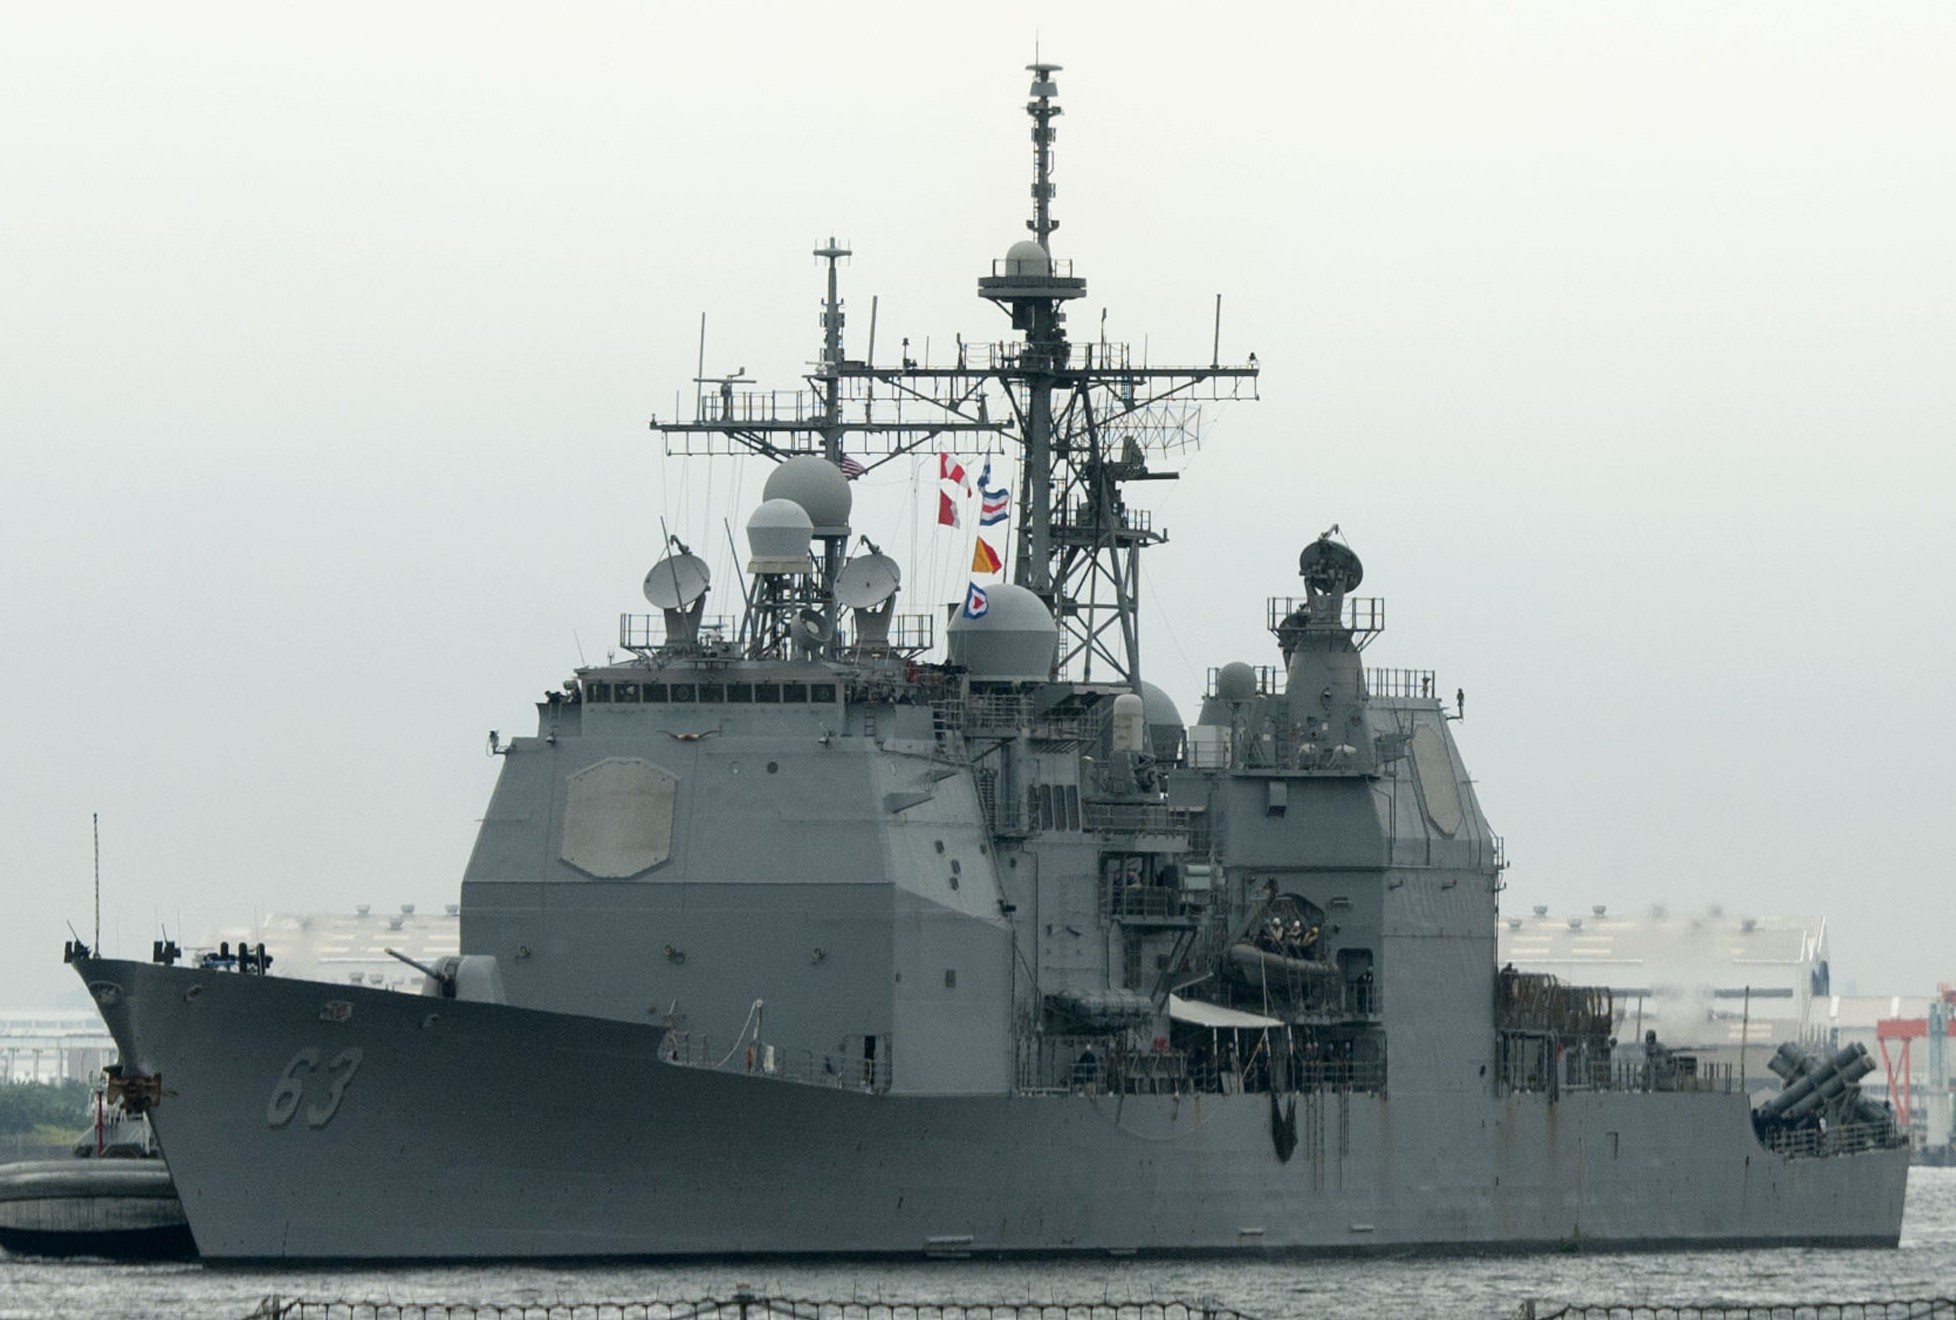 returning to Fleet Activities Yokosuka, Japan - August 2011 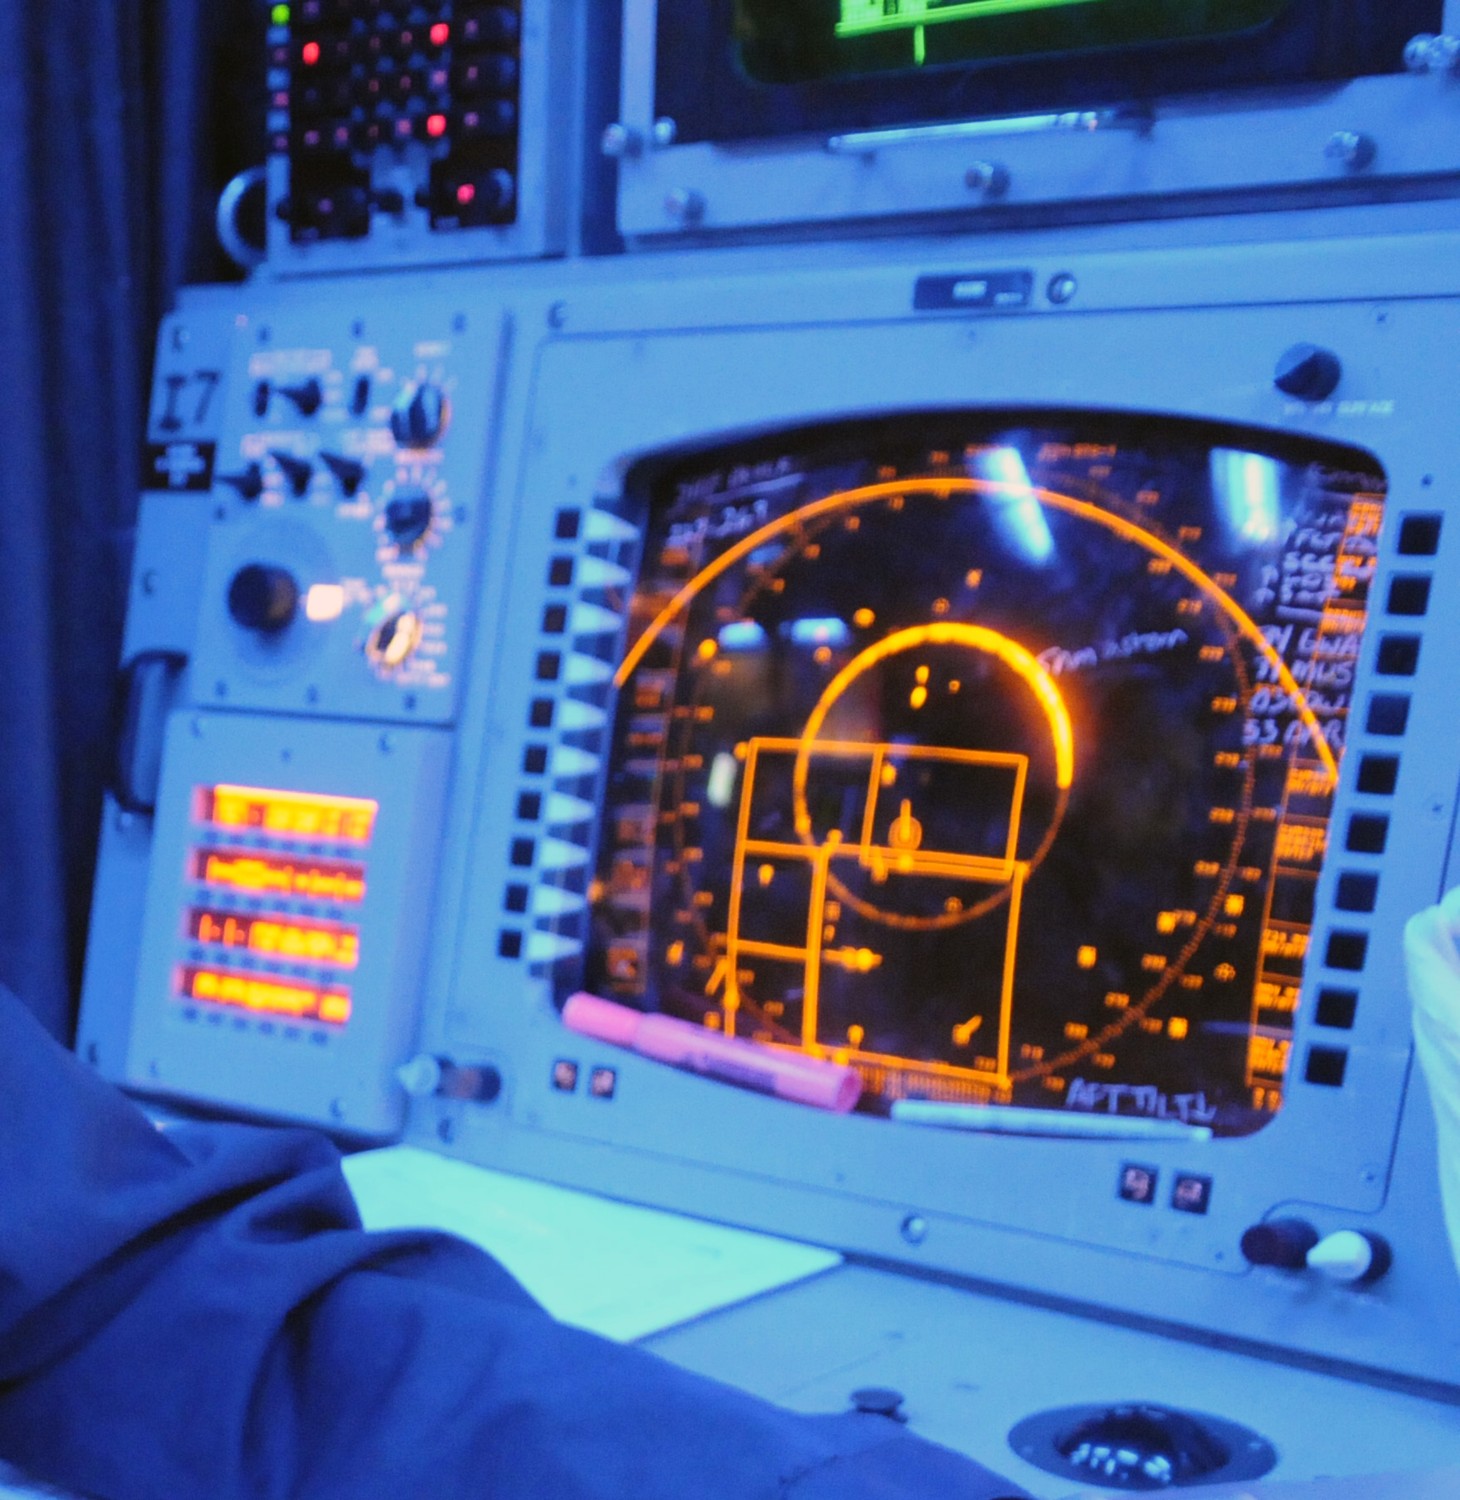 sonar console - June 2011 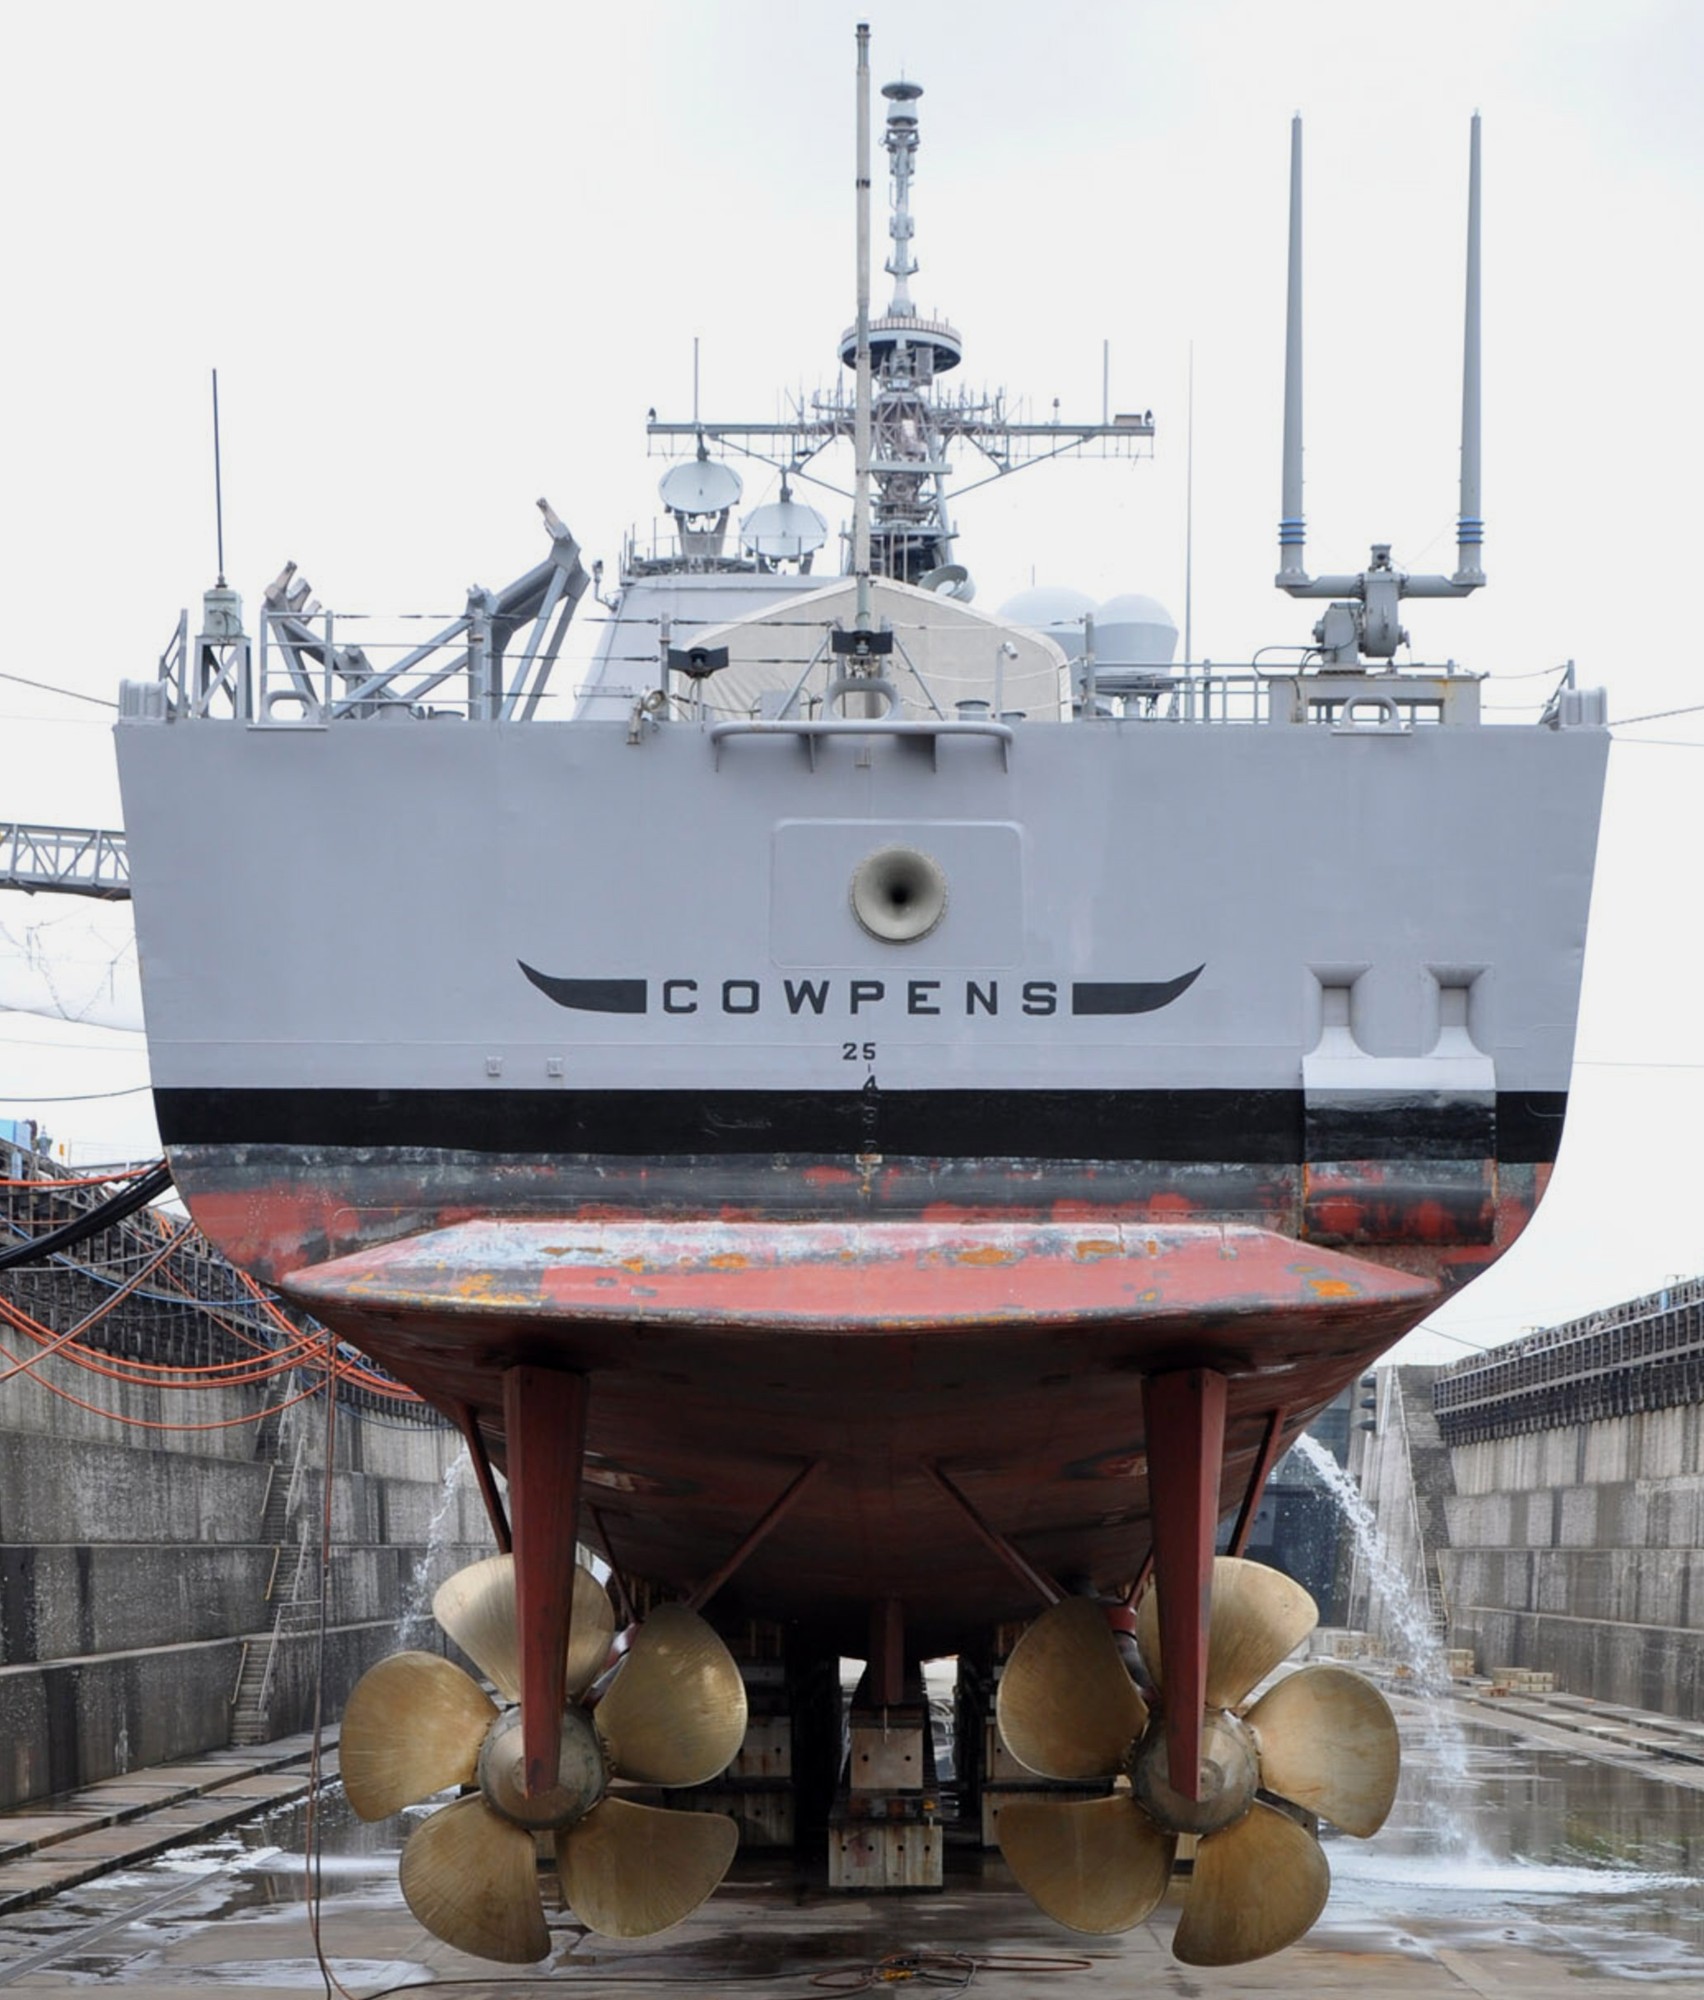 in dry-dock at Fleet Activities Yokosuka, Japan - July 2010 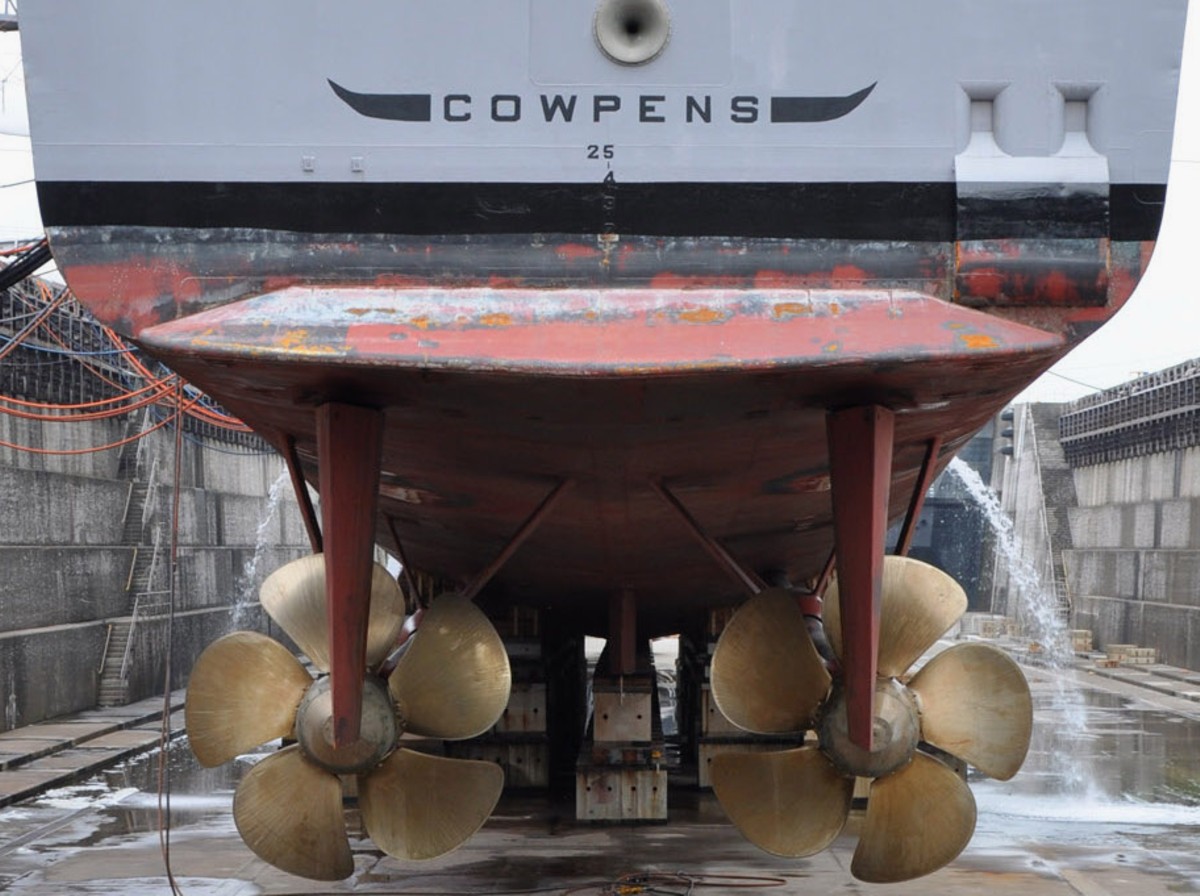 in dry-dock at Fleet Activities Yokosuka, Japan - July 2010 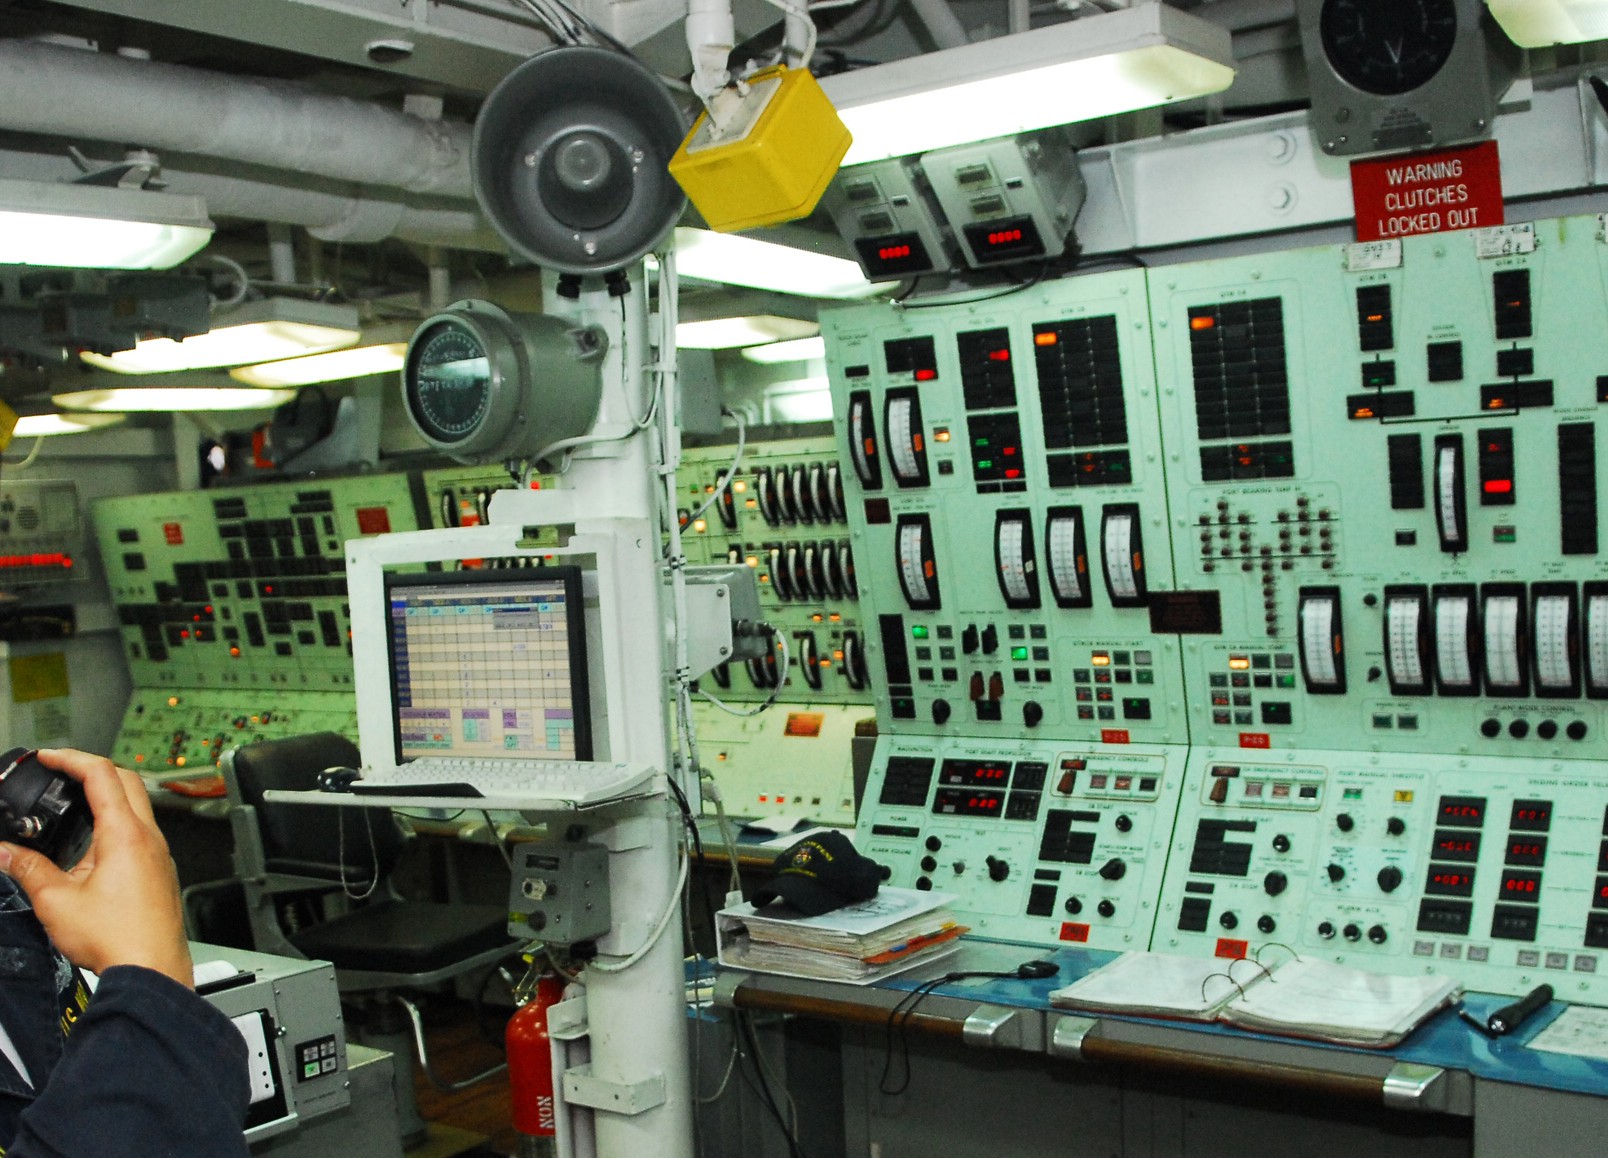 propulsion control - May 2010 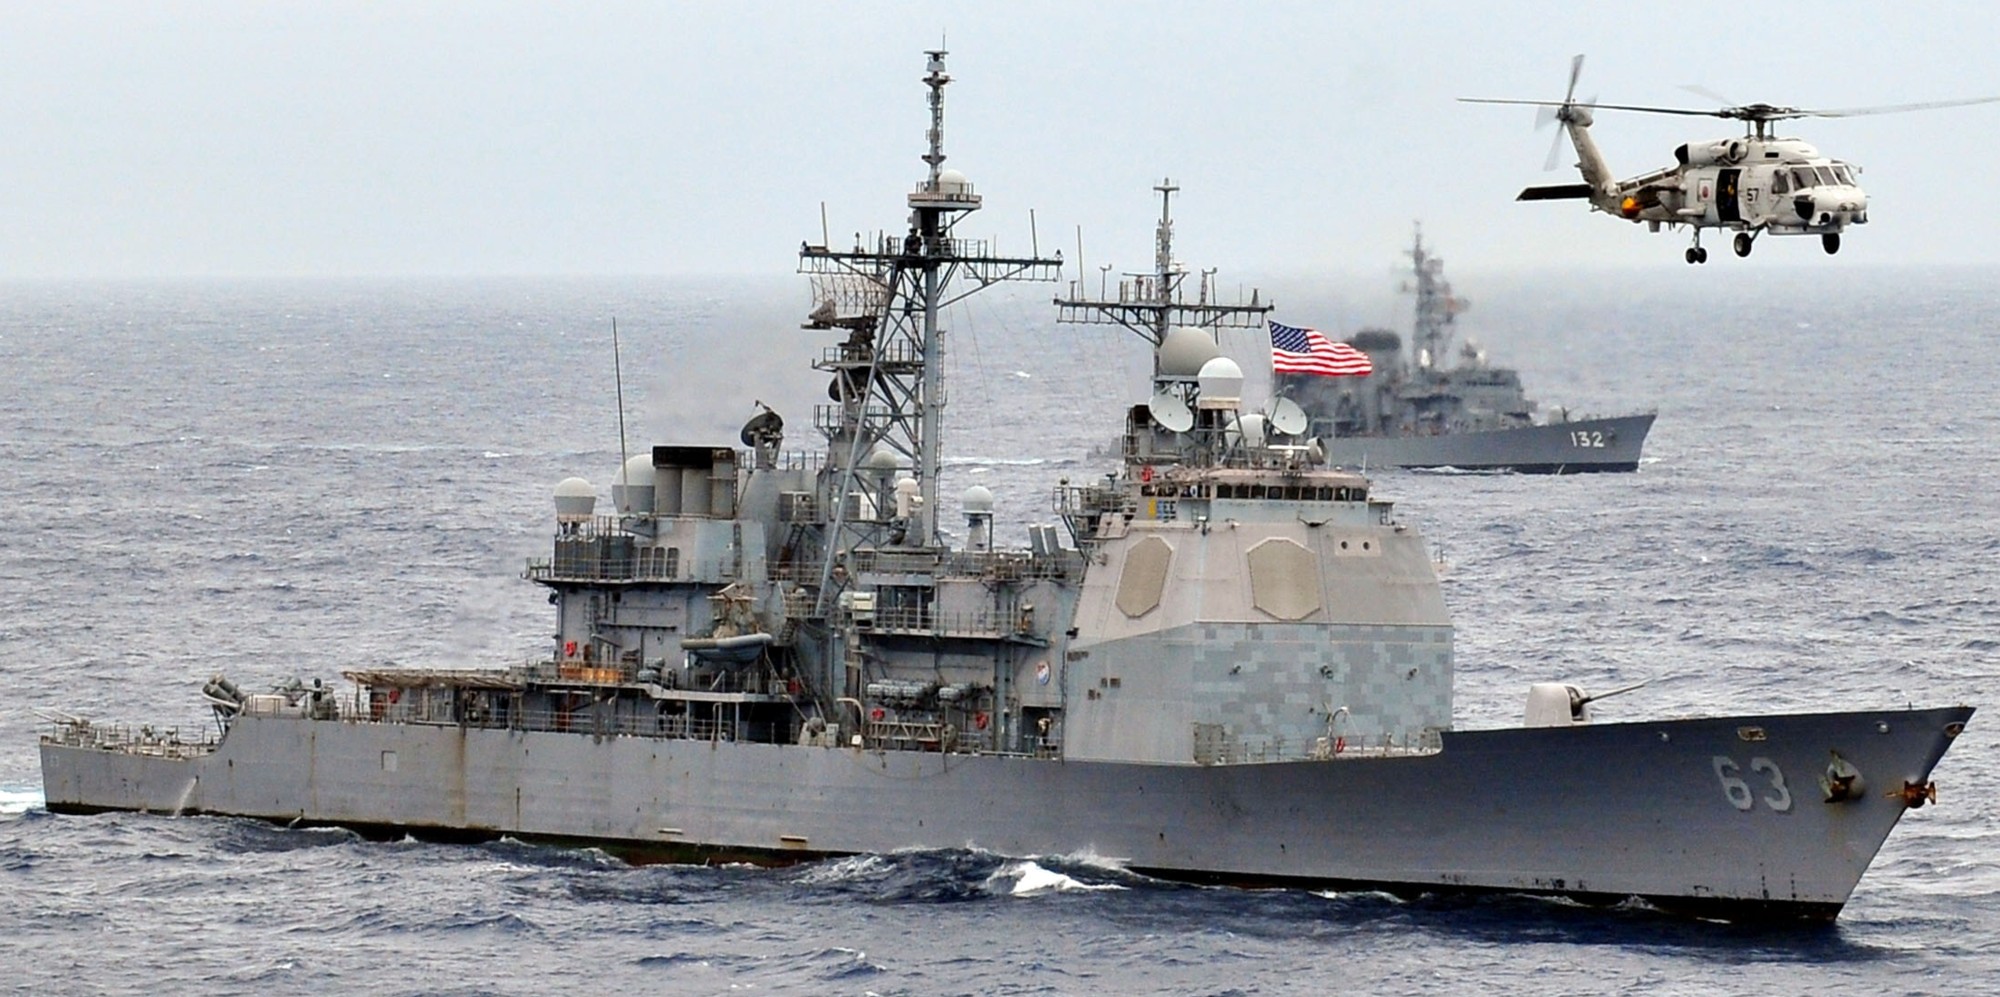 Pacific Ocean - November 2009 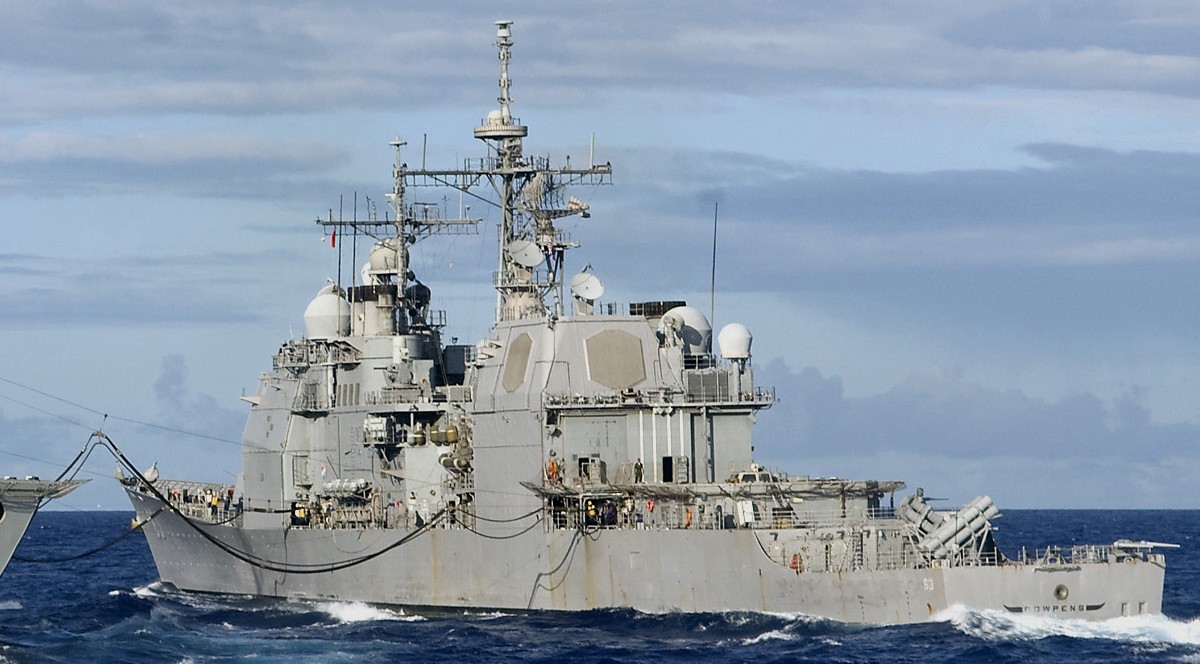 Pacific Ocean - August 2009 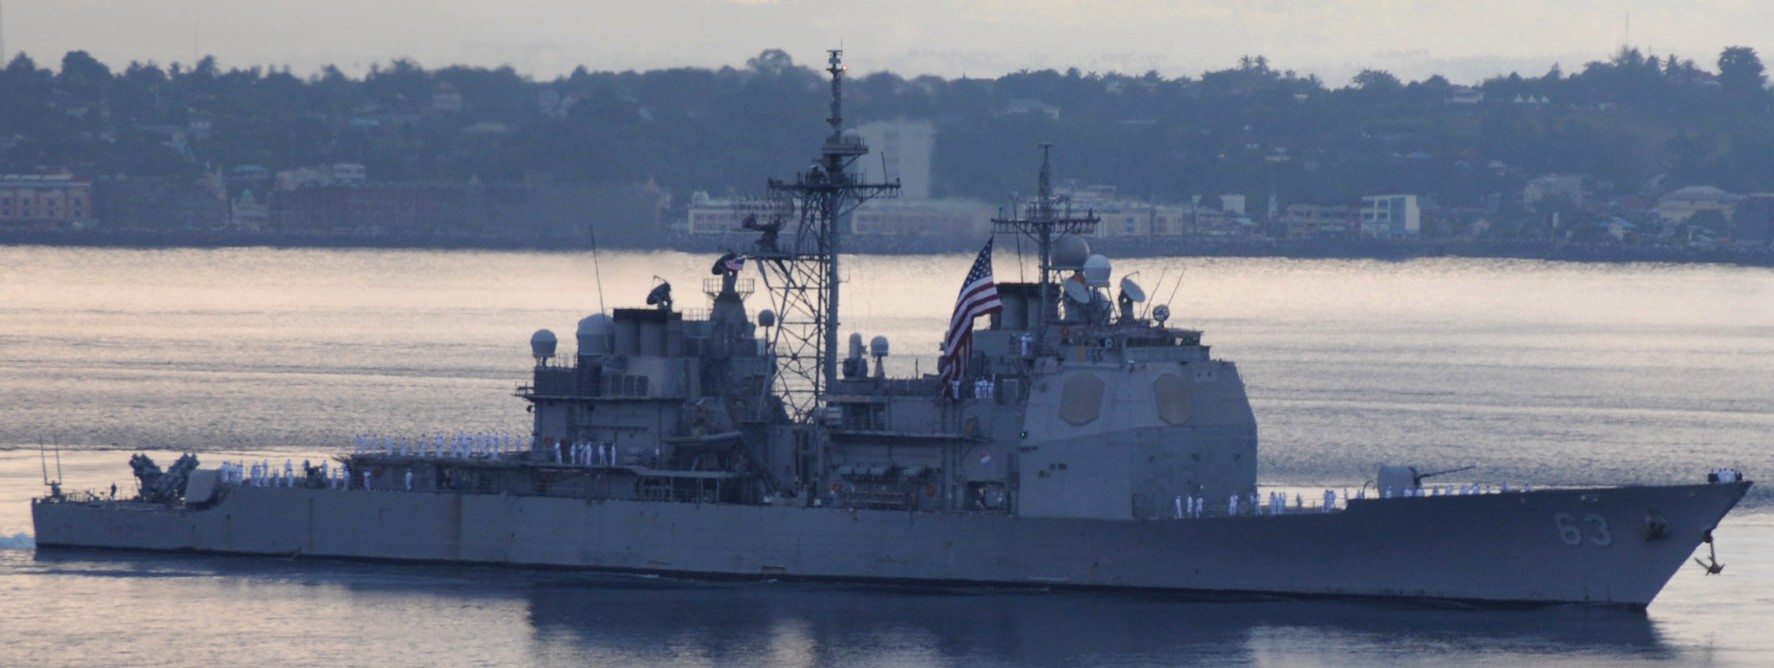 Manado Bay during the Indonesian International Fleet Review - August 2009 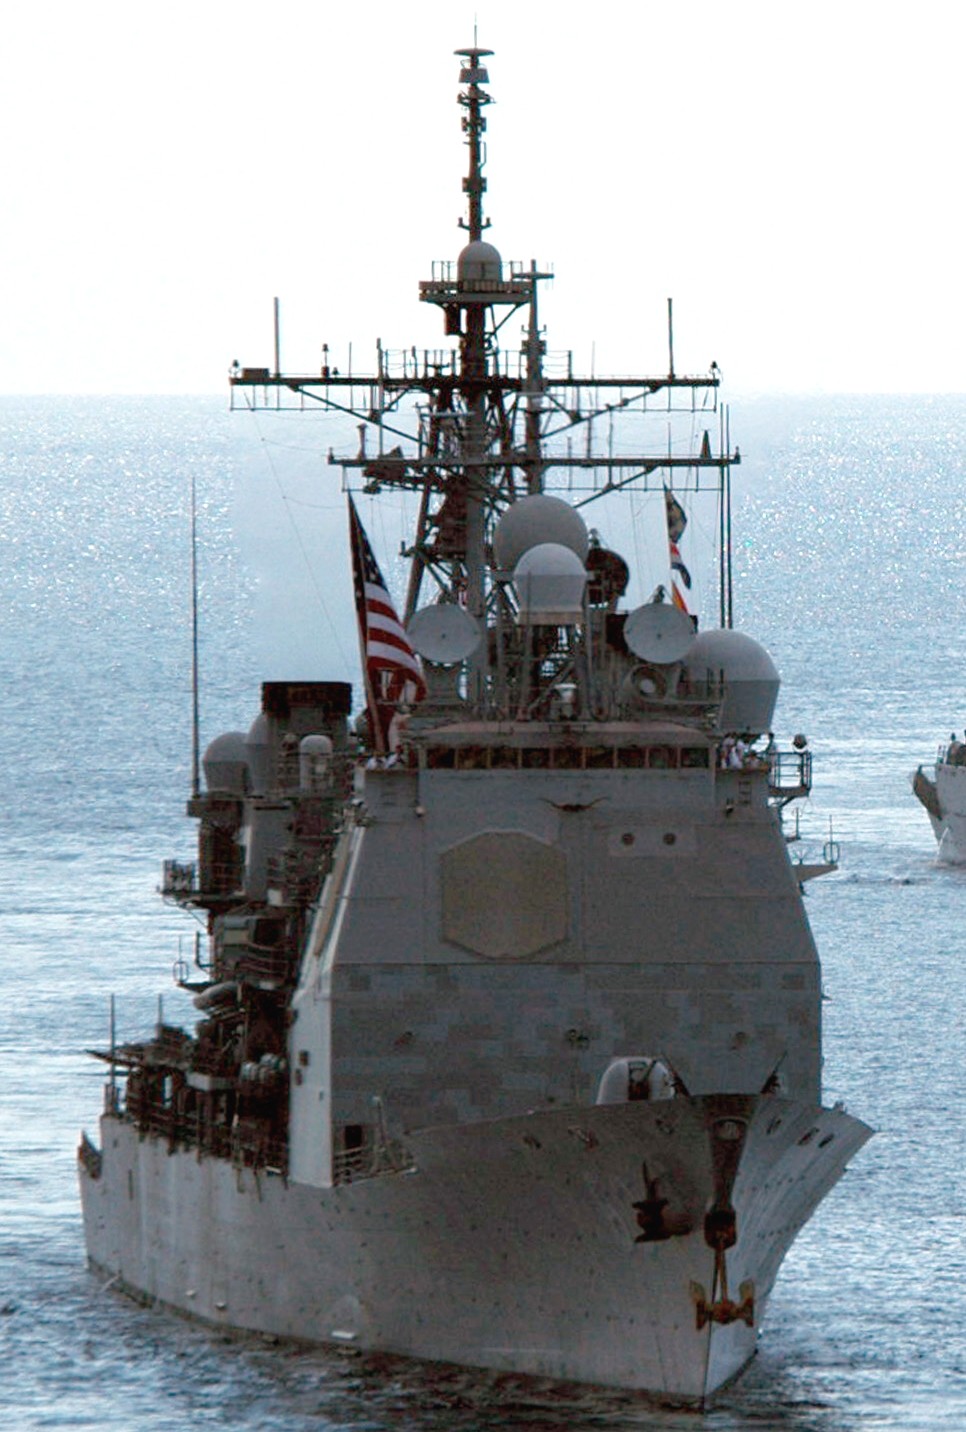 Manado Bay during the Indonesian International Fleet Review - August 2009 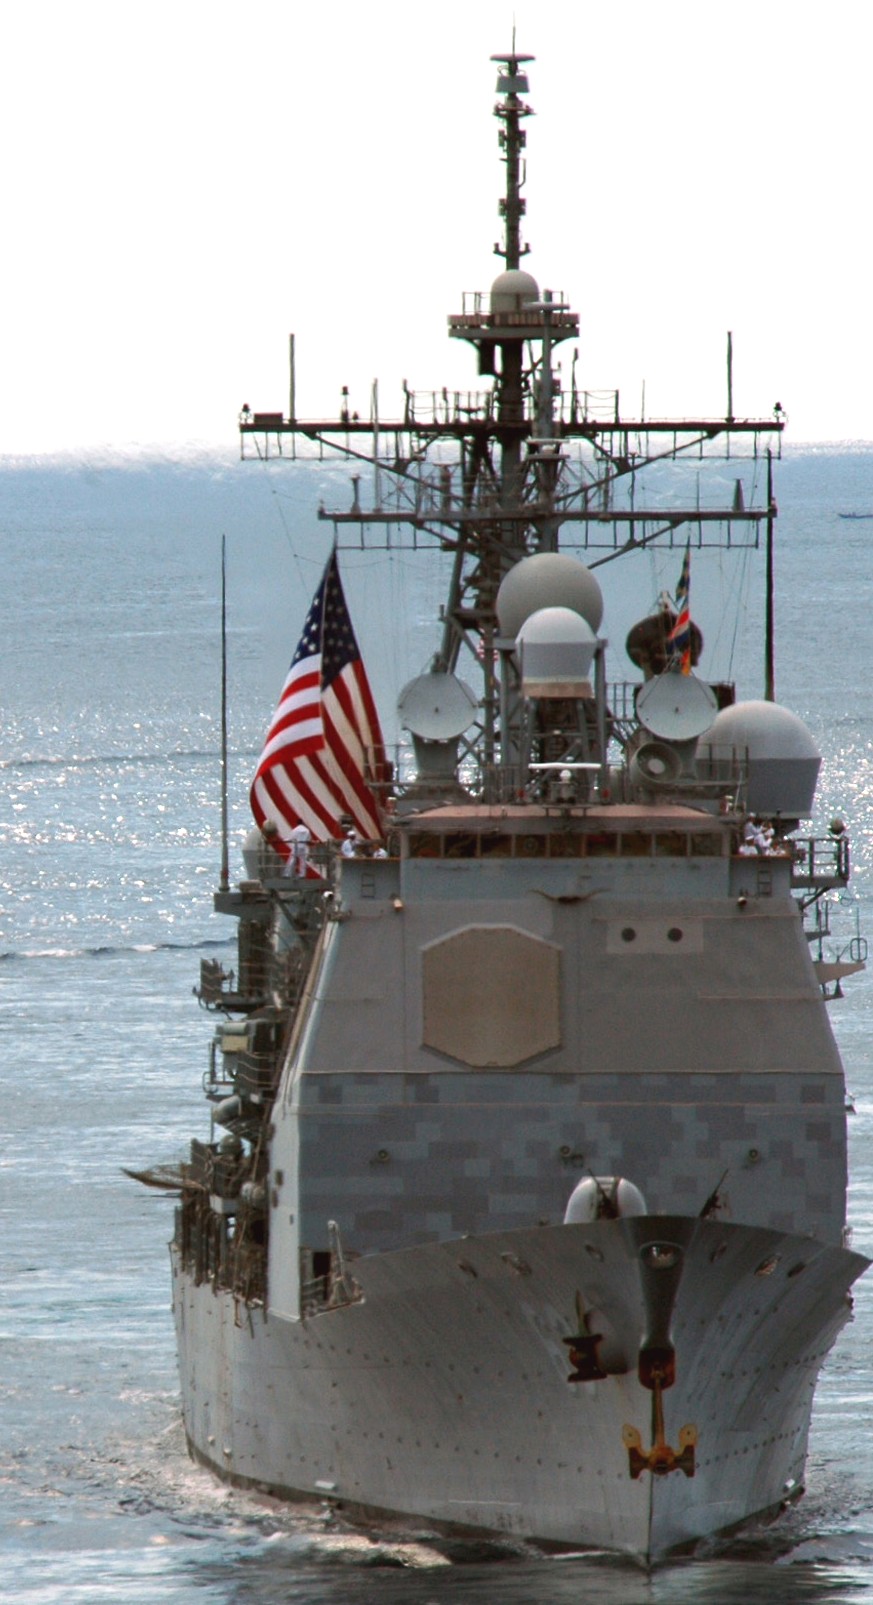 Manado Bay during the Indonesian International Fleet Review - August 2009 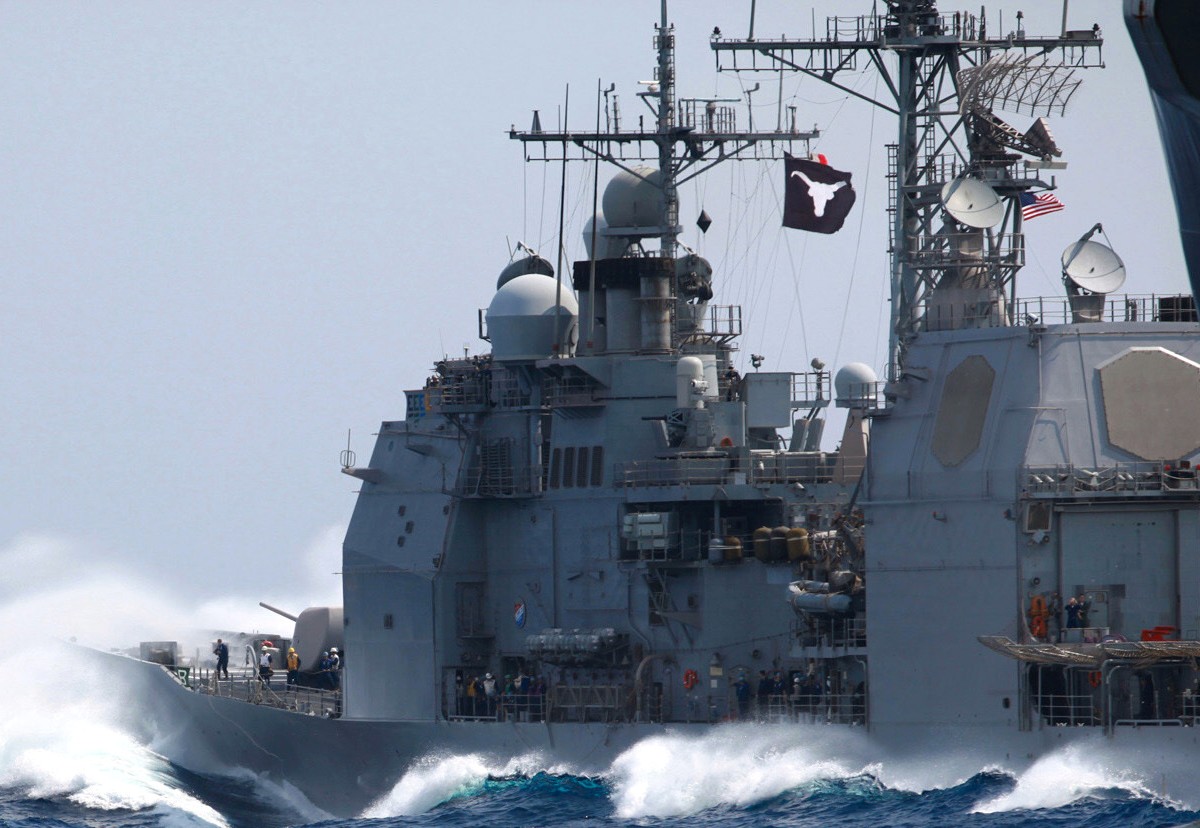 Pacific Ocean - May 2009 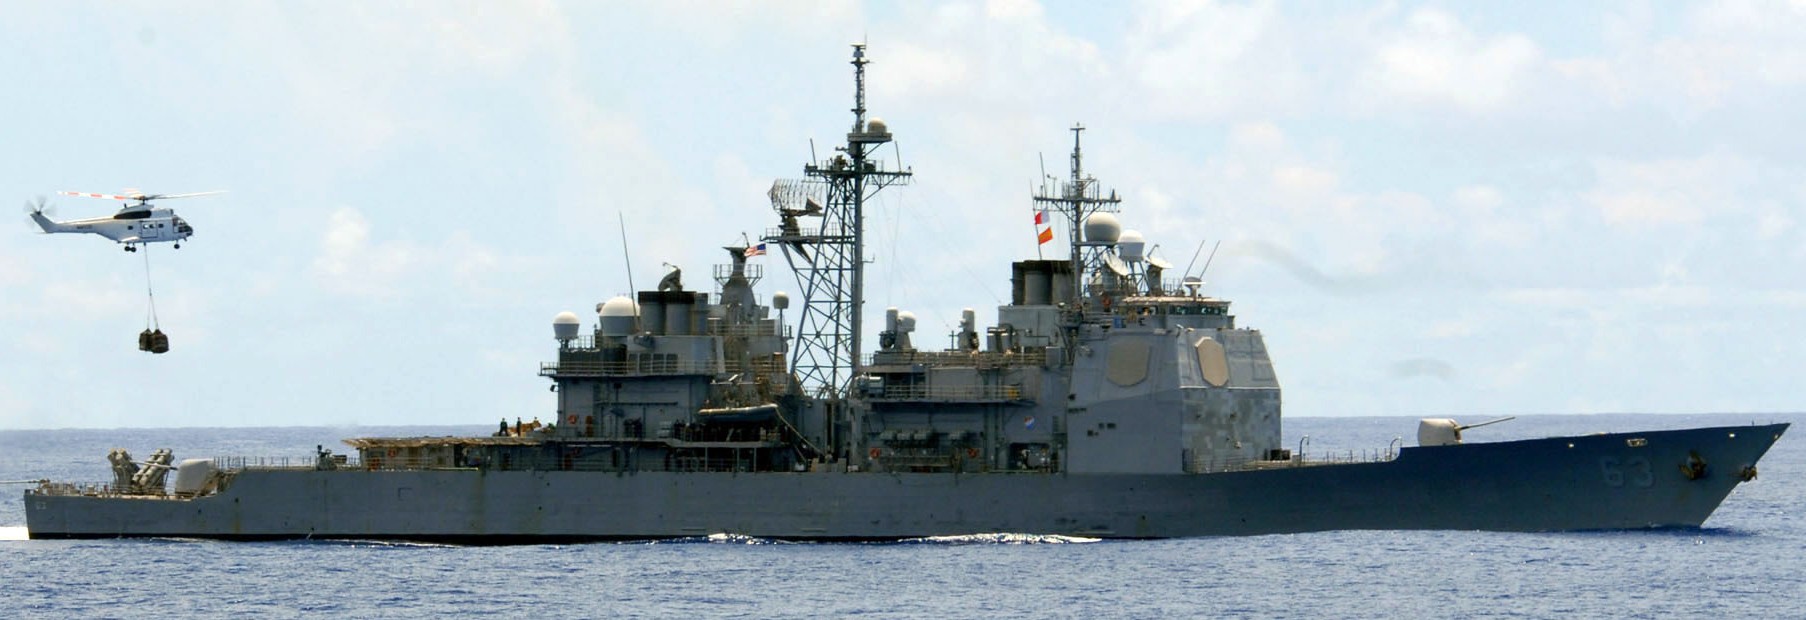 Pacific Ocean - September 2008  Philippine Sea - November 2007 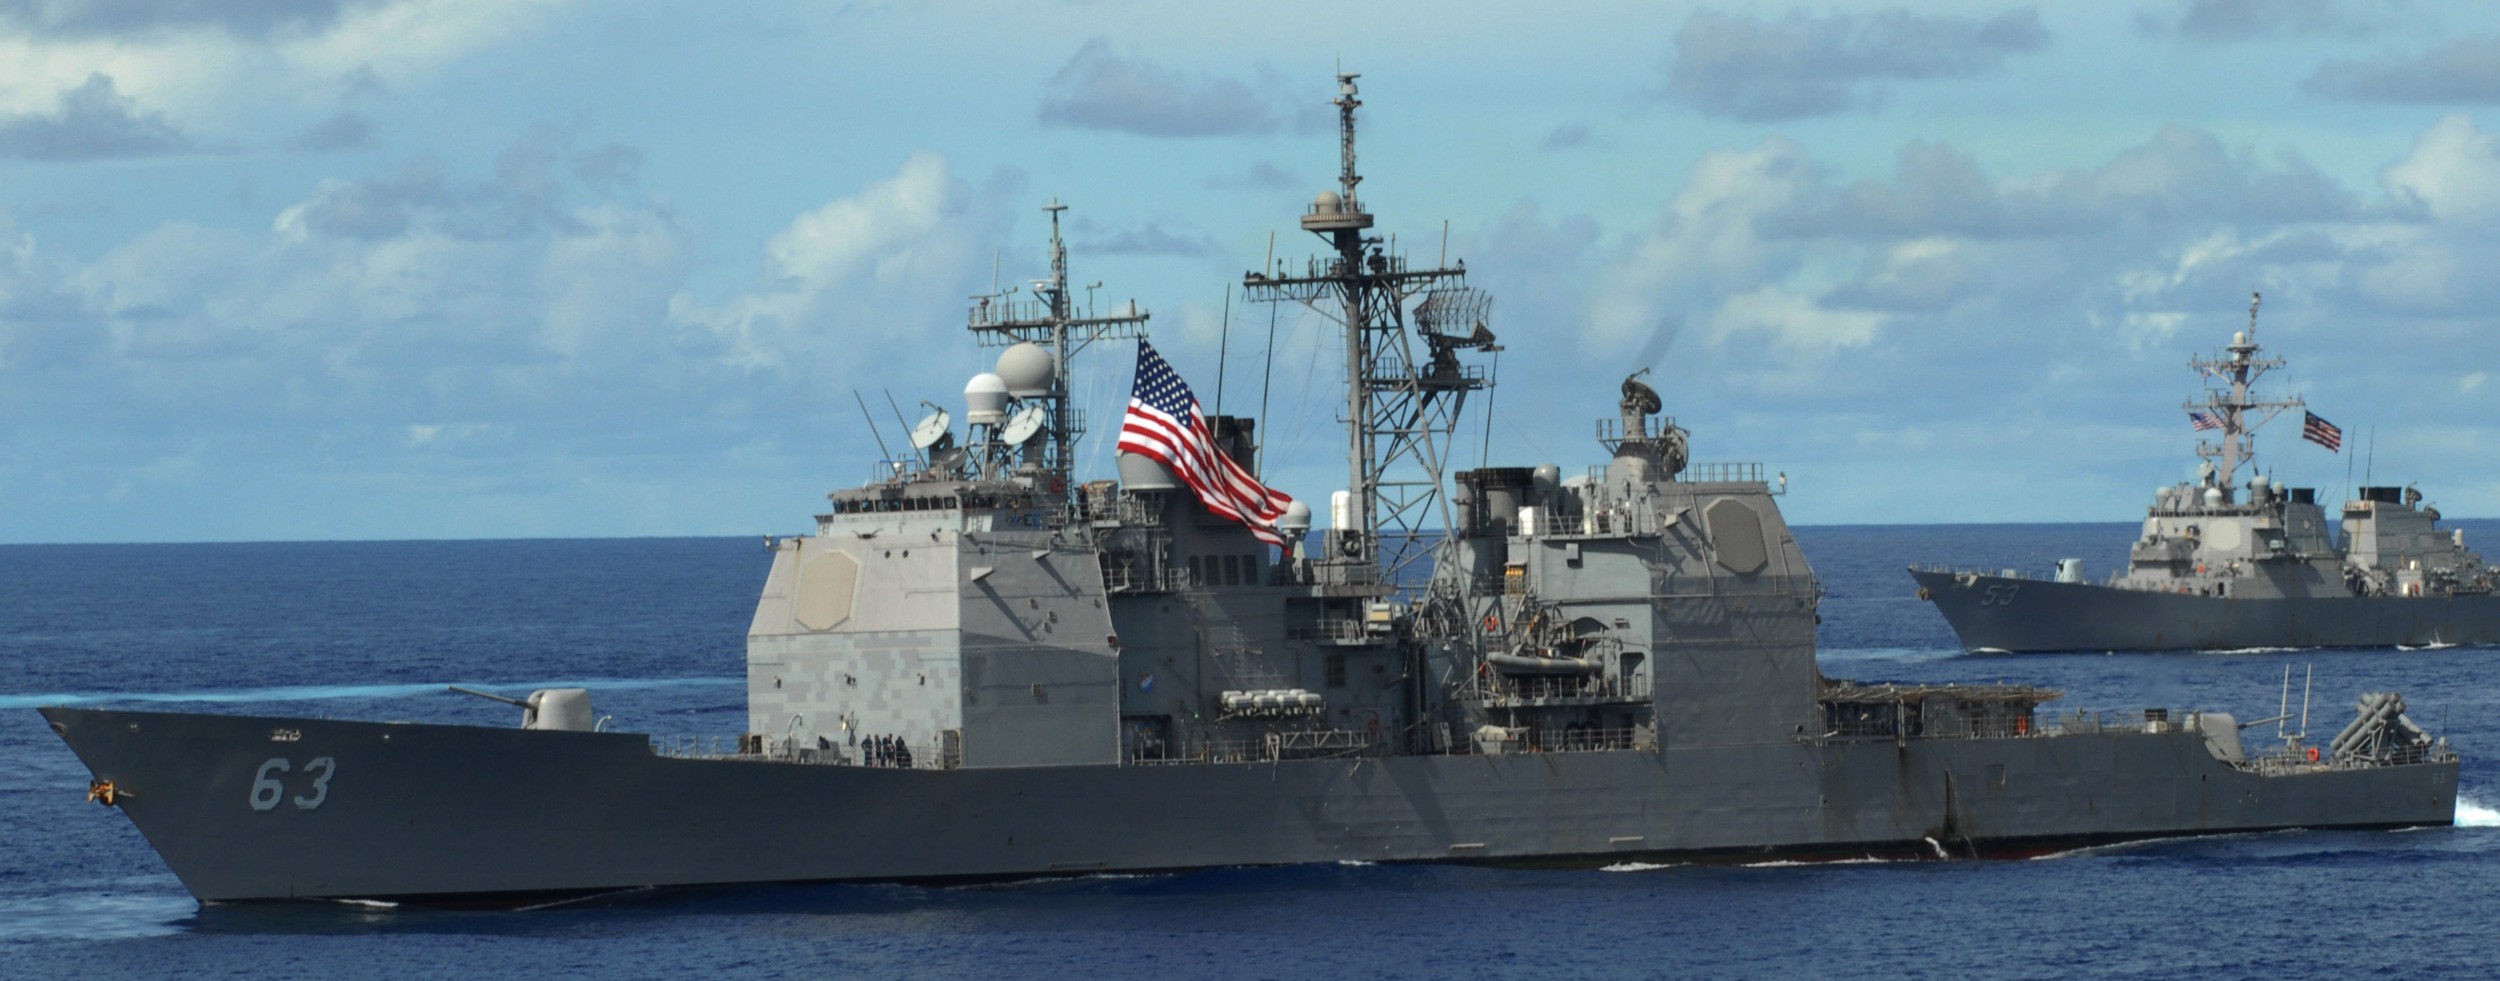 during Exercise Valiant Shield - Pacific Ocean - August 2007 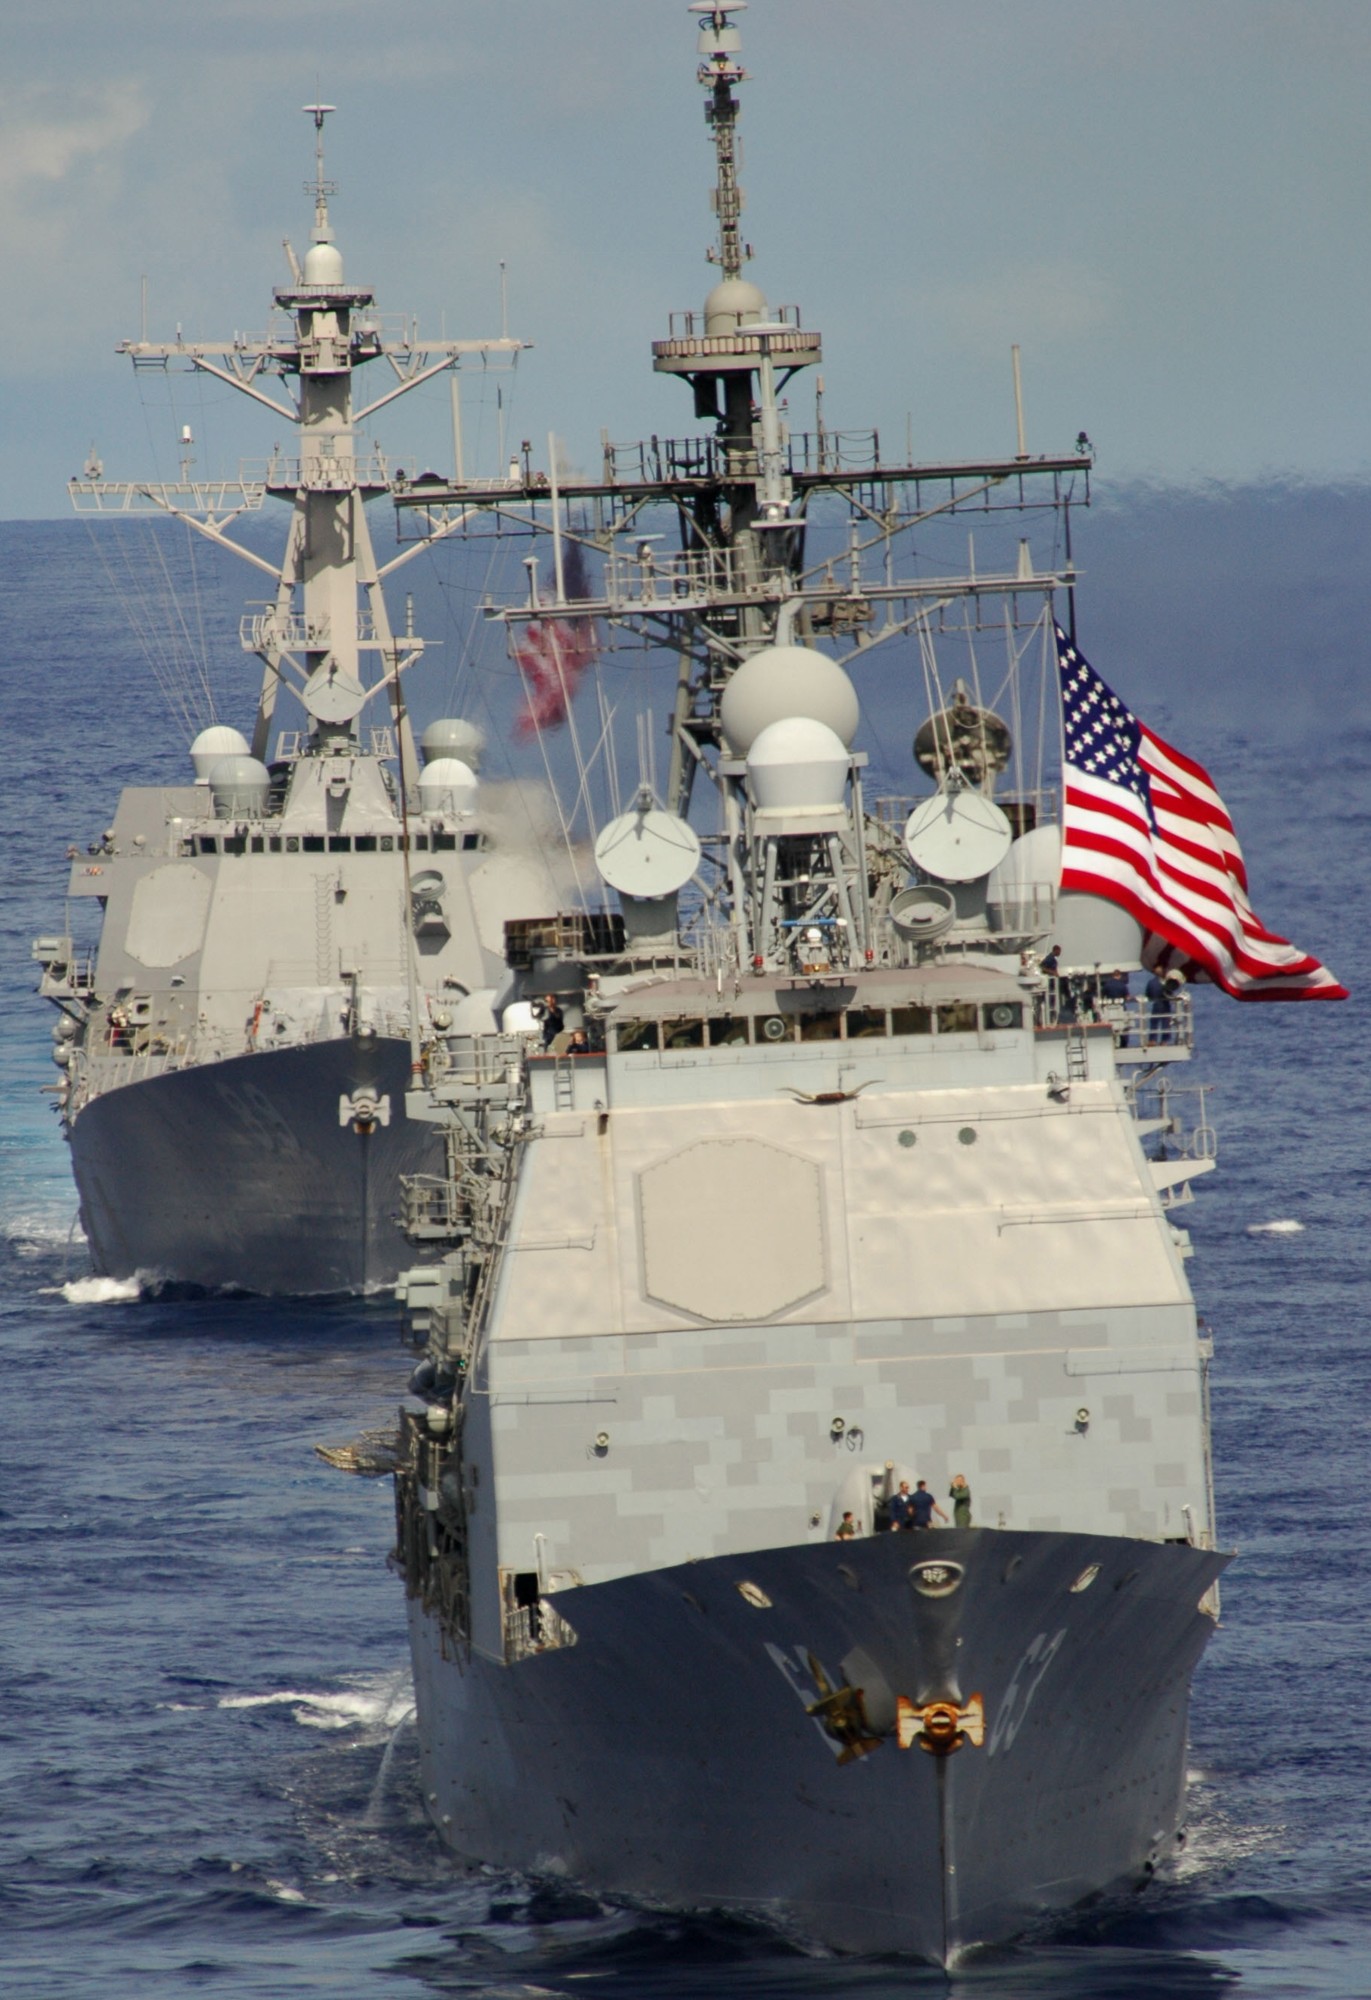 during Exercise Valiant Shield - Pacific Ocean - August 2007 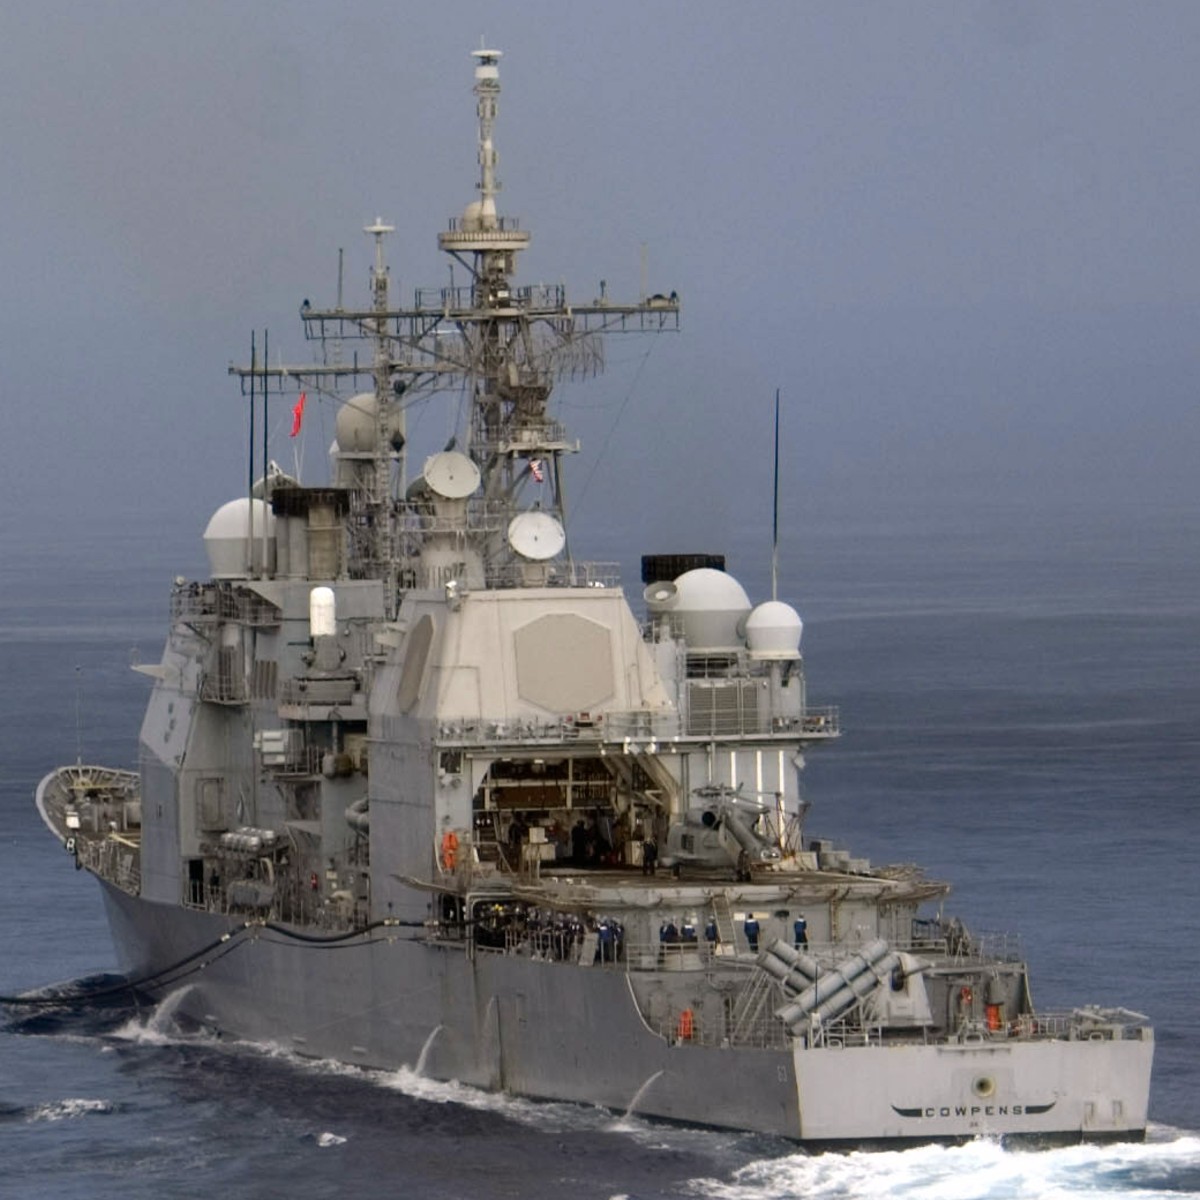 Pacific Ocean - August 2007 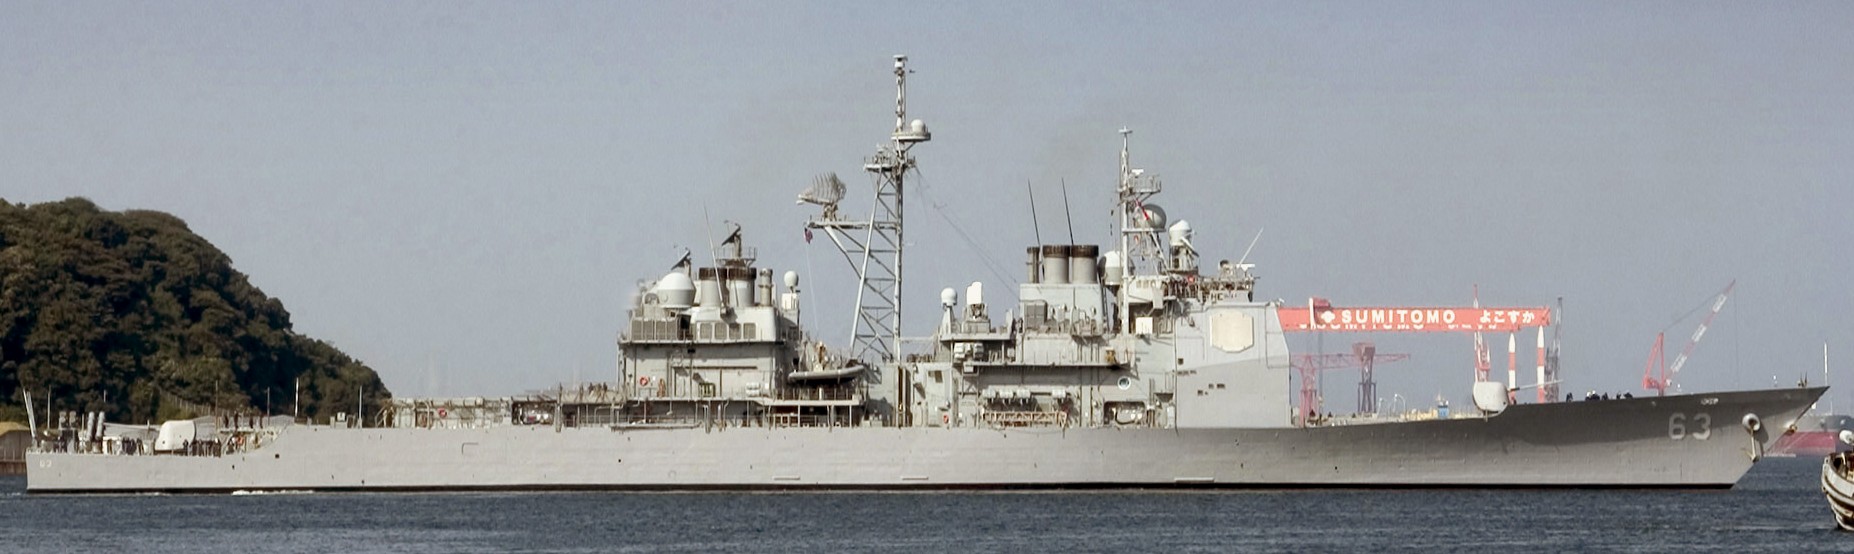 Fleet Activities Yokosuka, Japan - October 2006 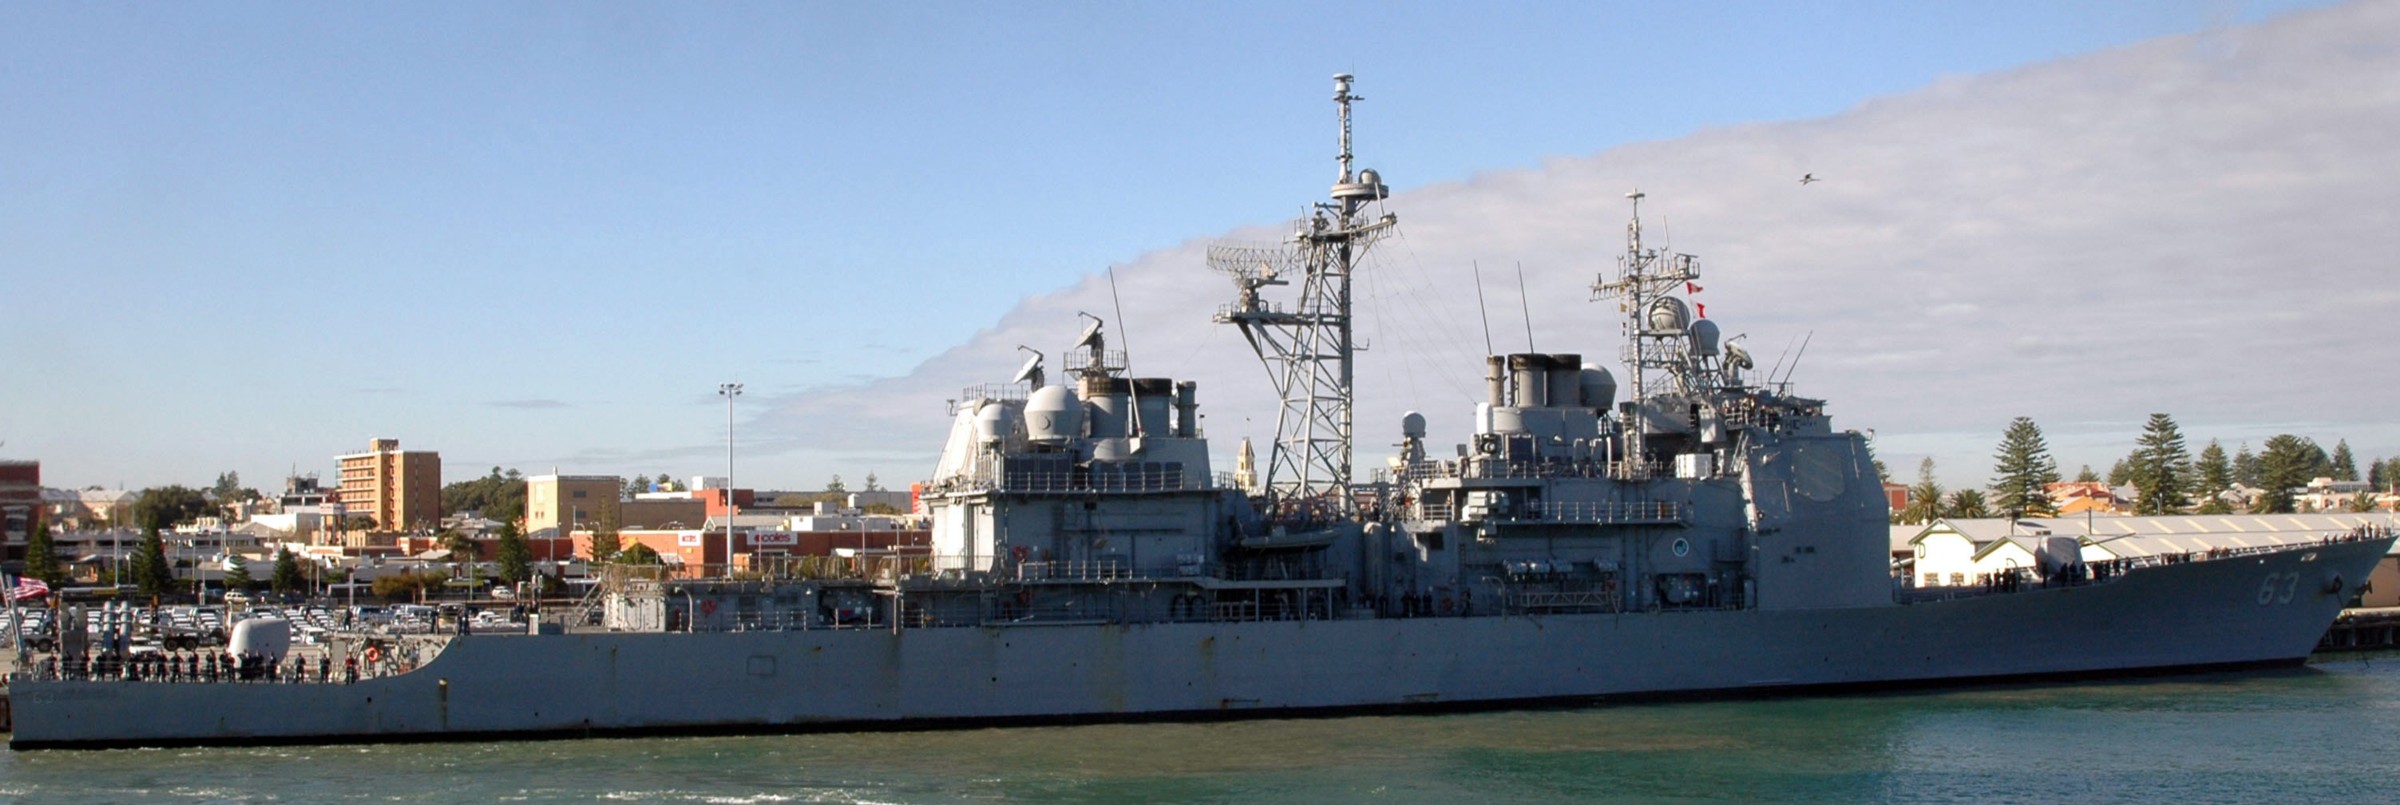 Fremantle, Australia - August 2006  Pacific Ocean - June 2006 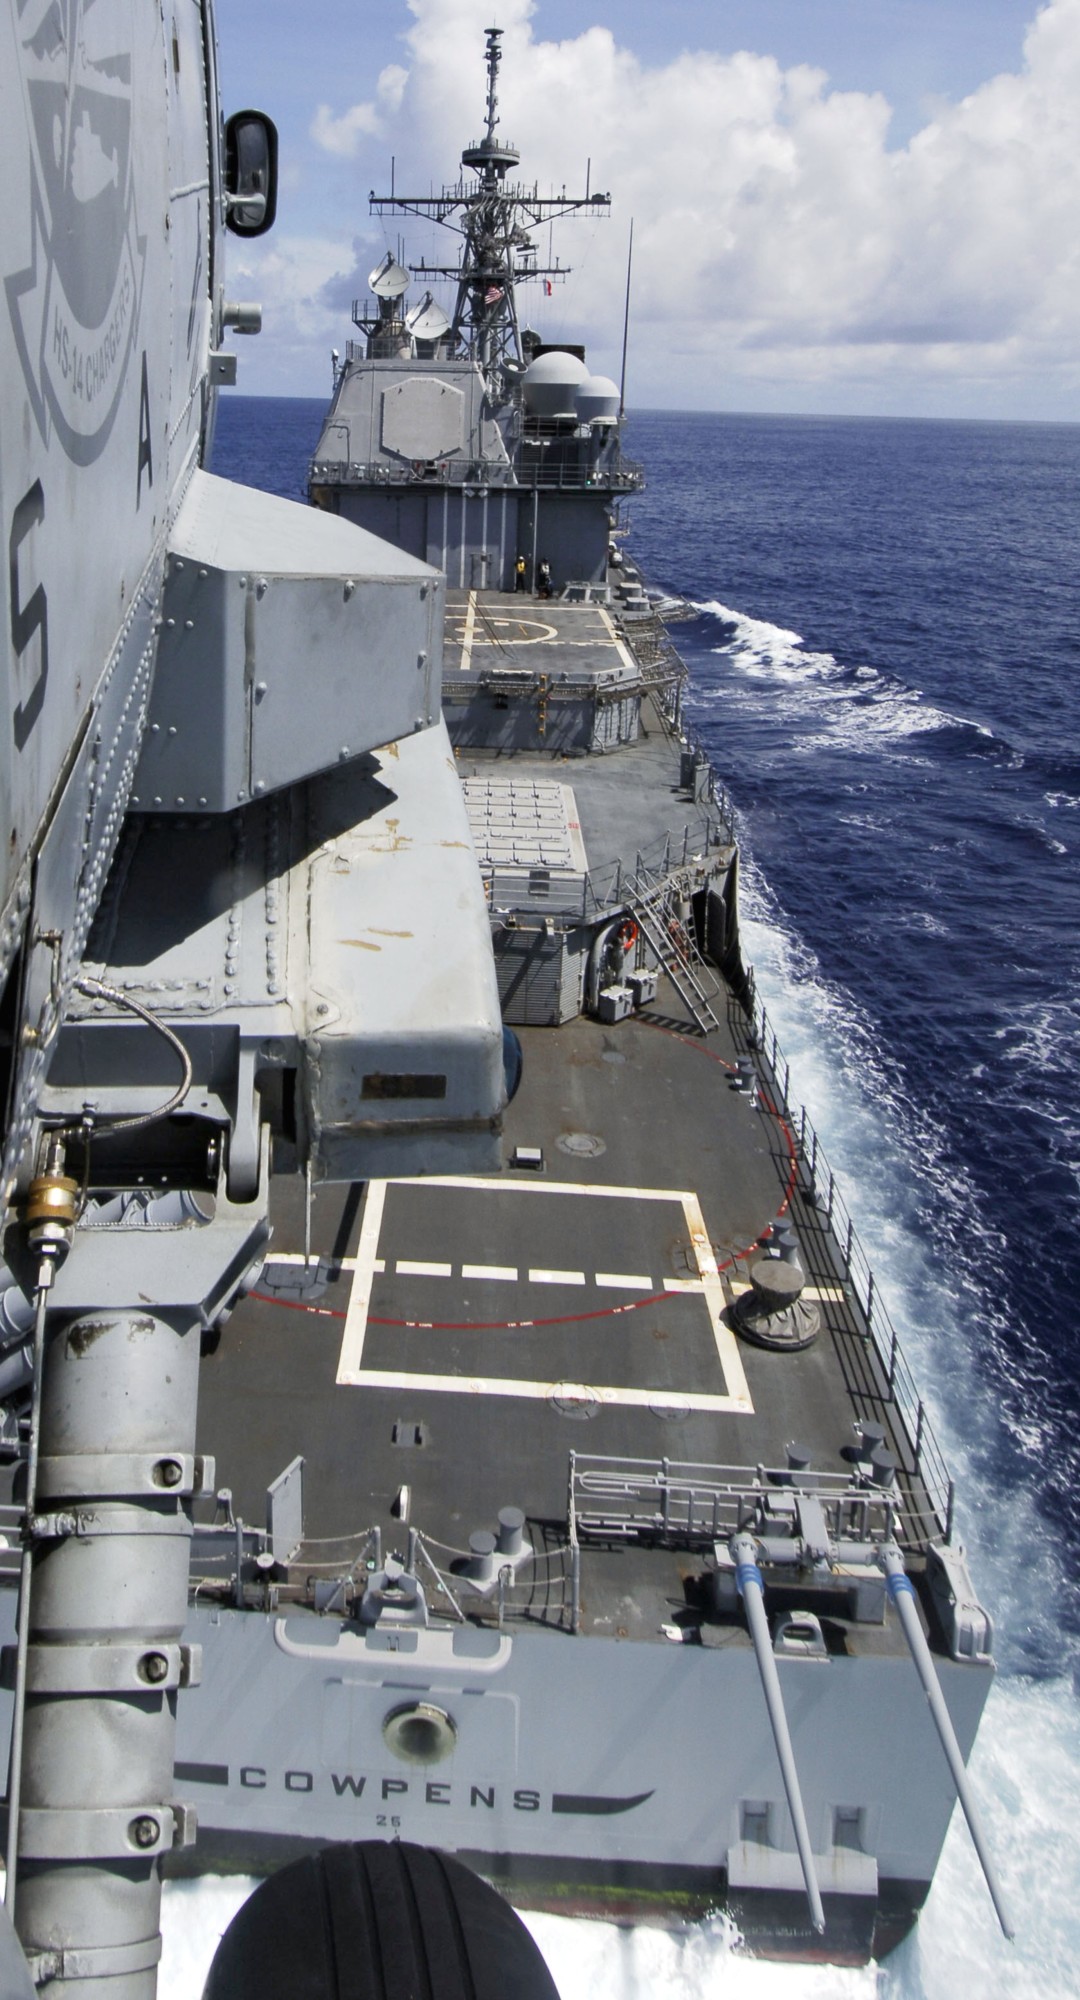 Pacific Ocean - June 2006  Pacific Ocean - March 2006 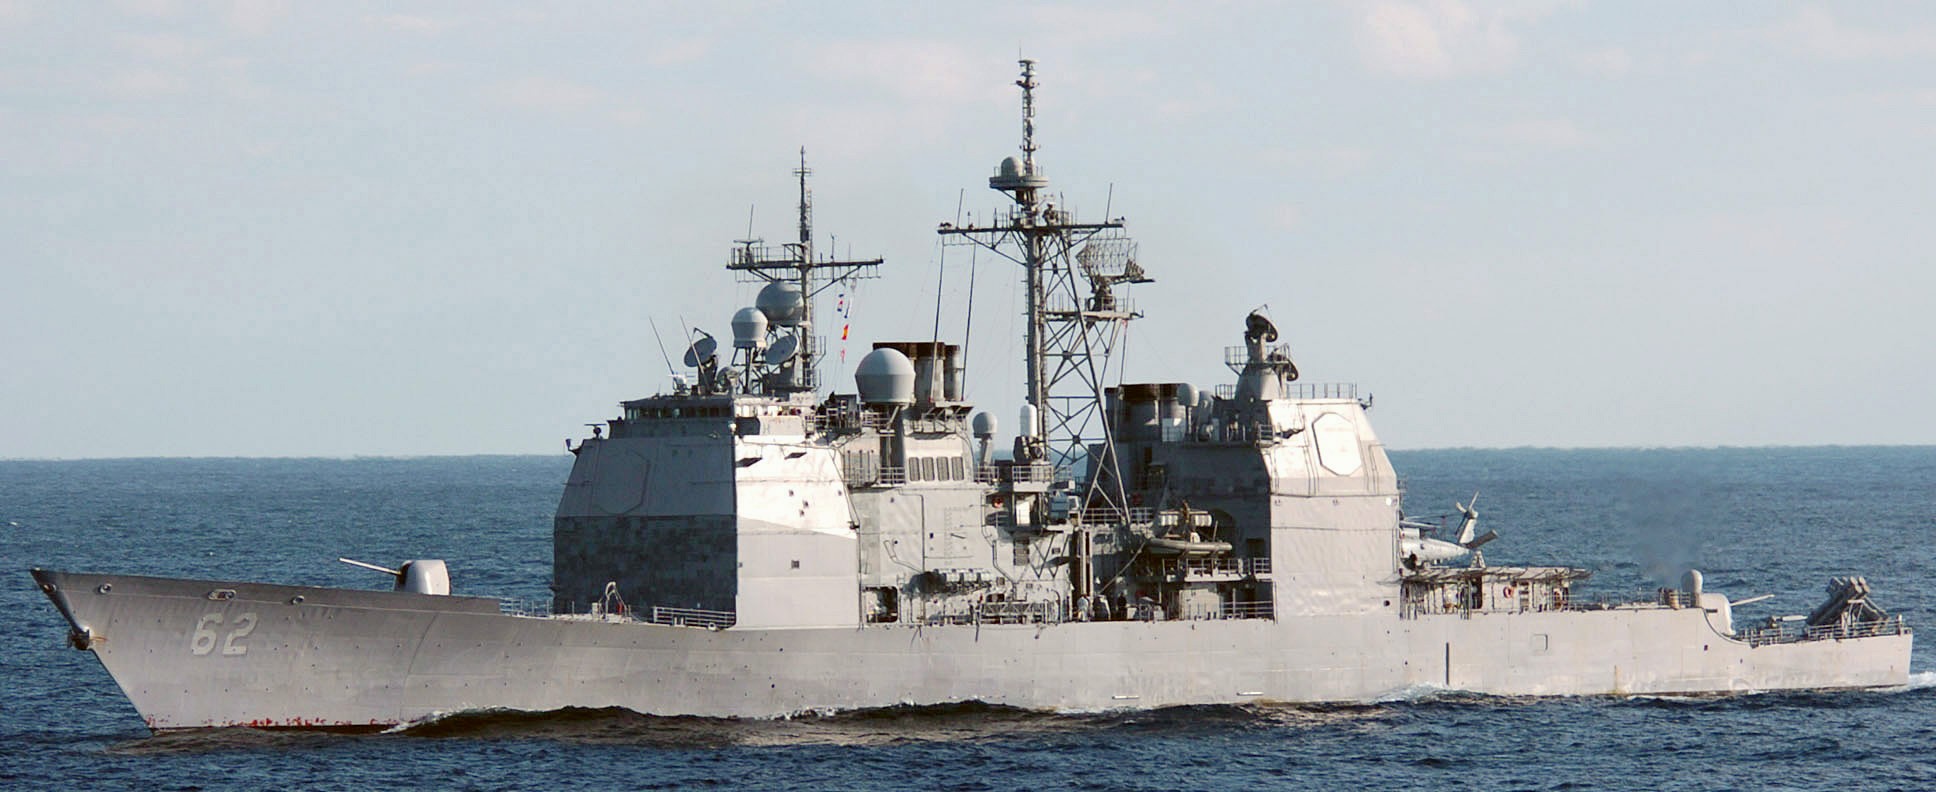 Pacific Ocean - December 2005 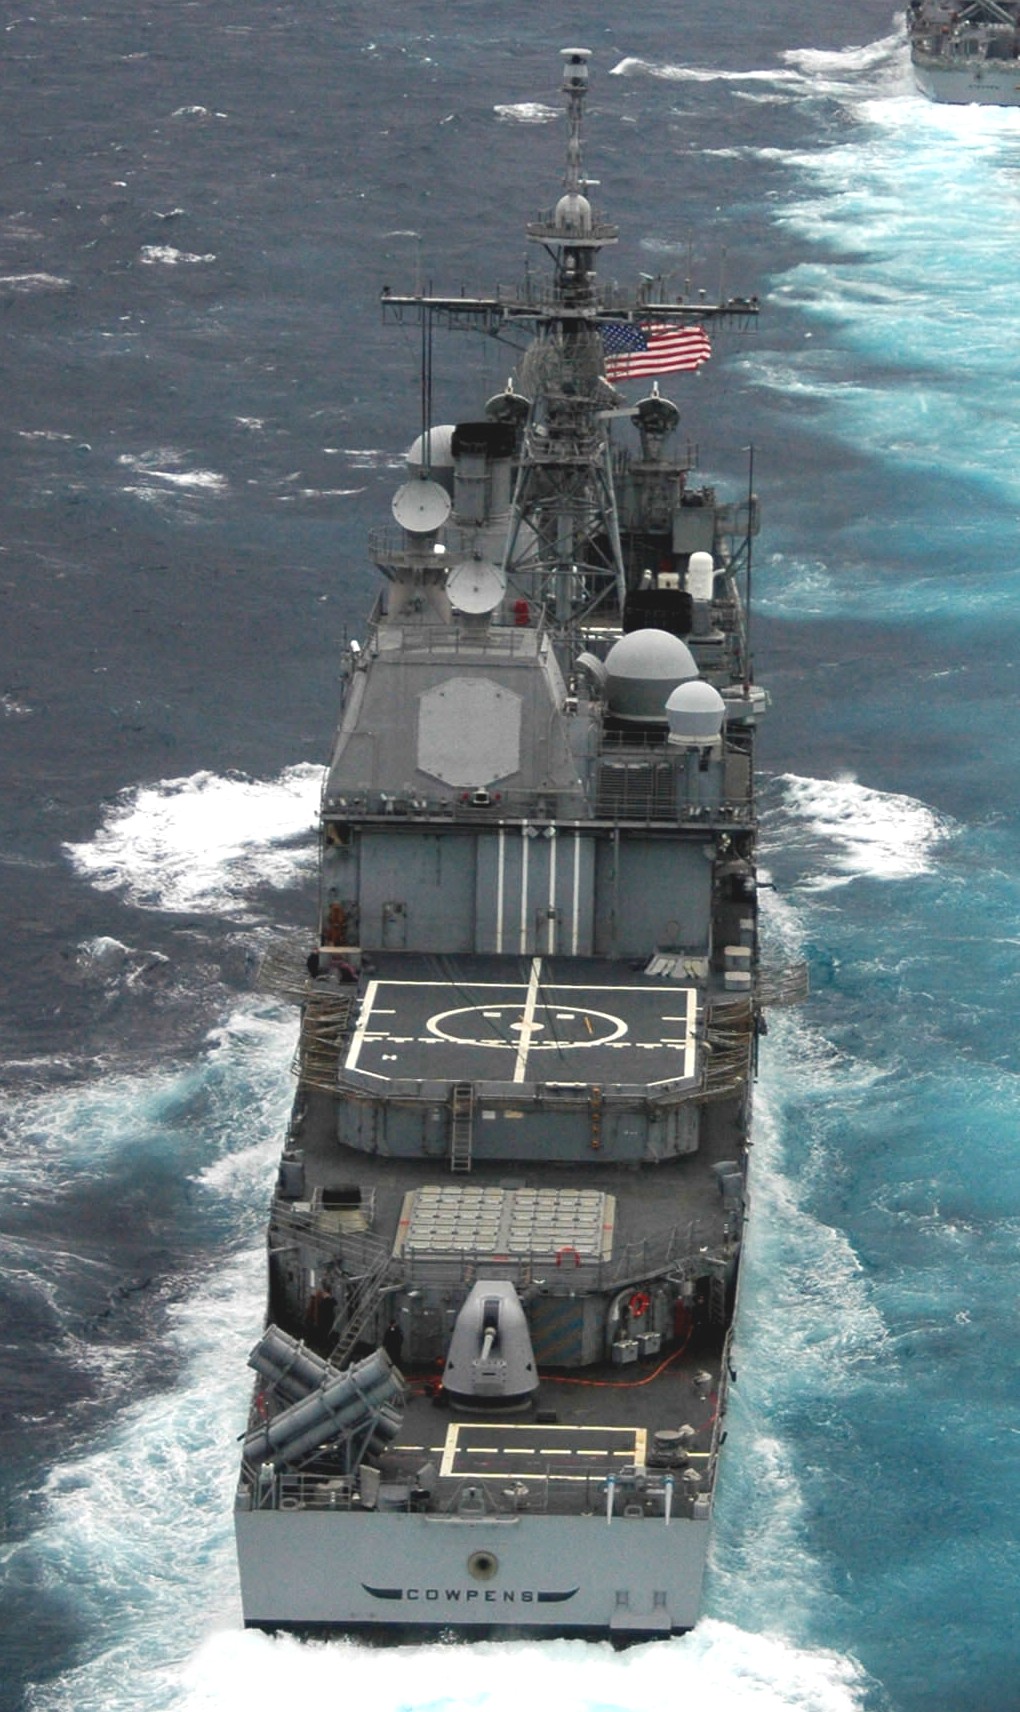 Pacific Ocean - November 2005 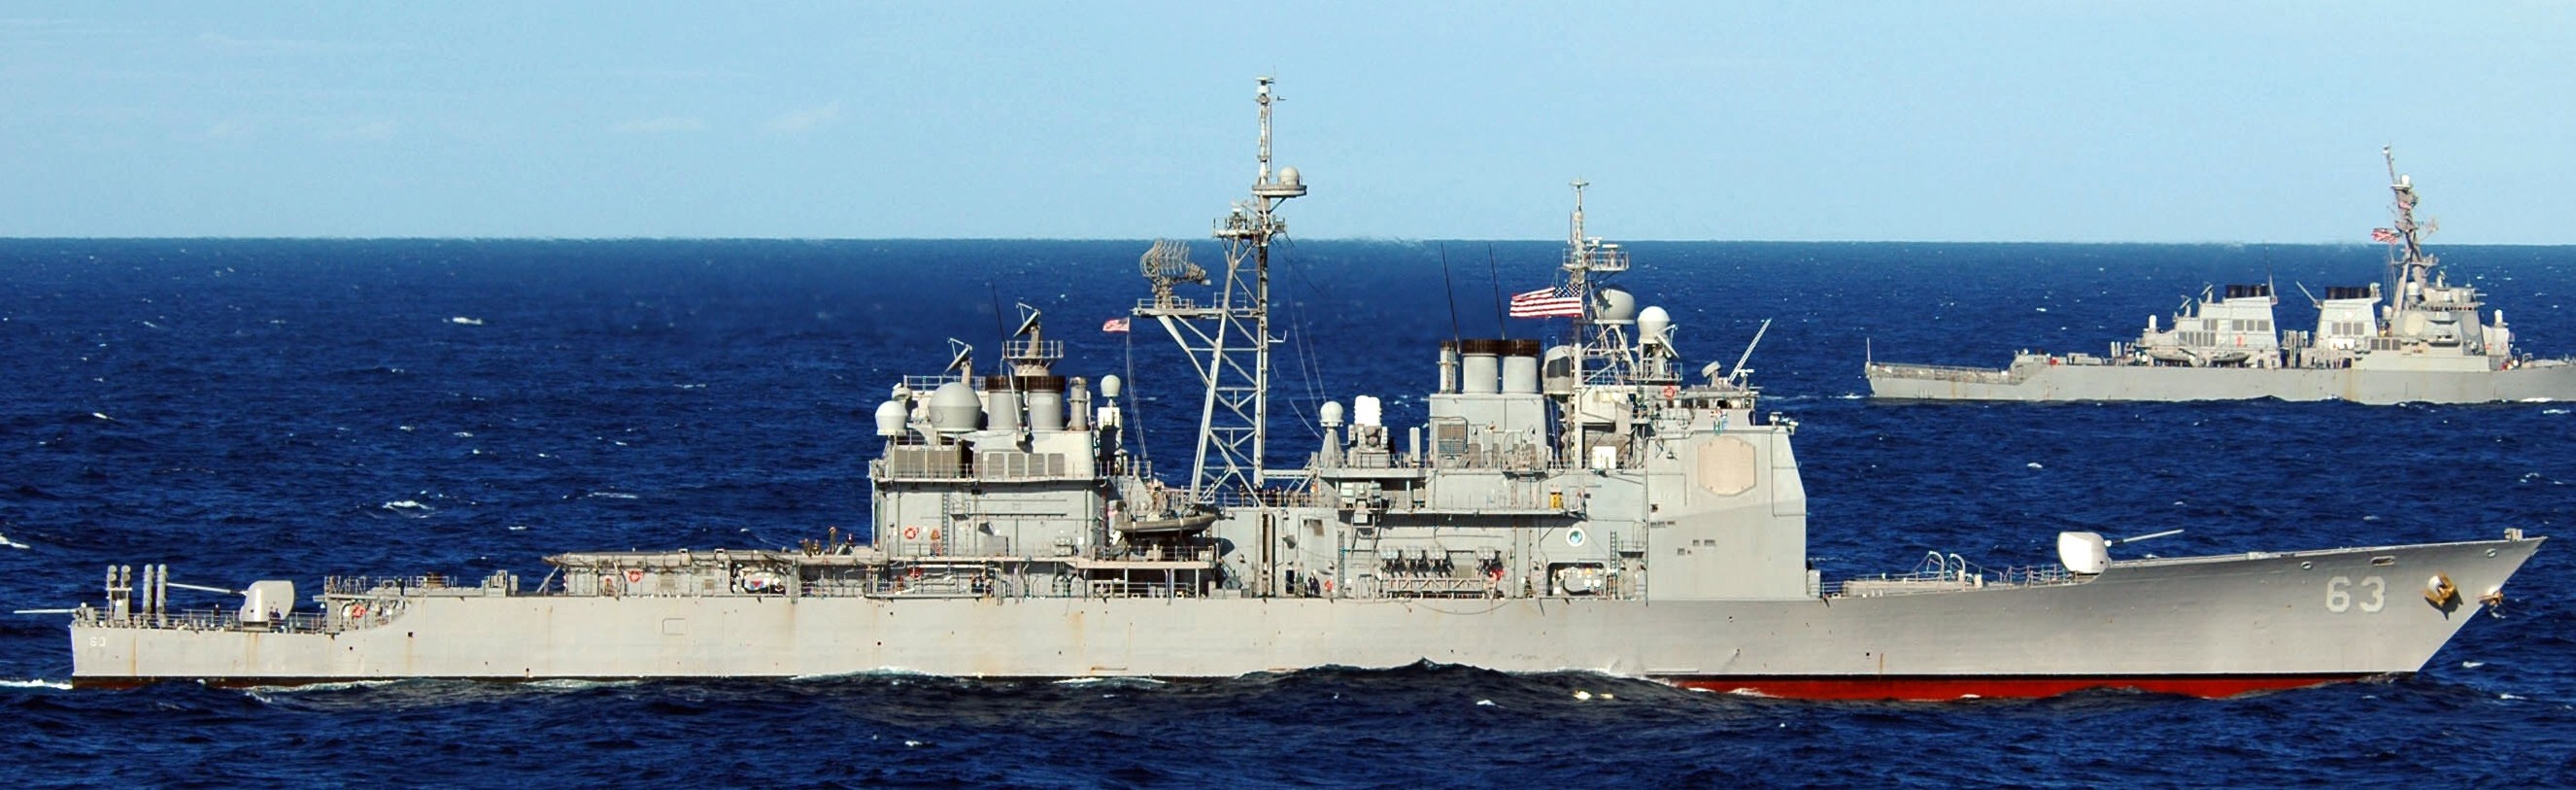 Coral Sea - July 2005 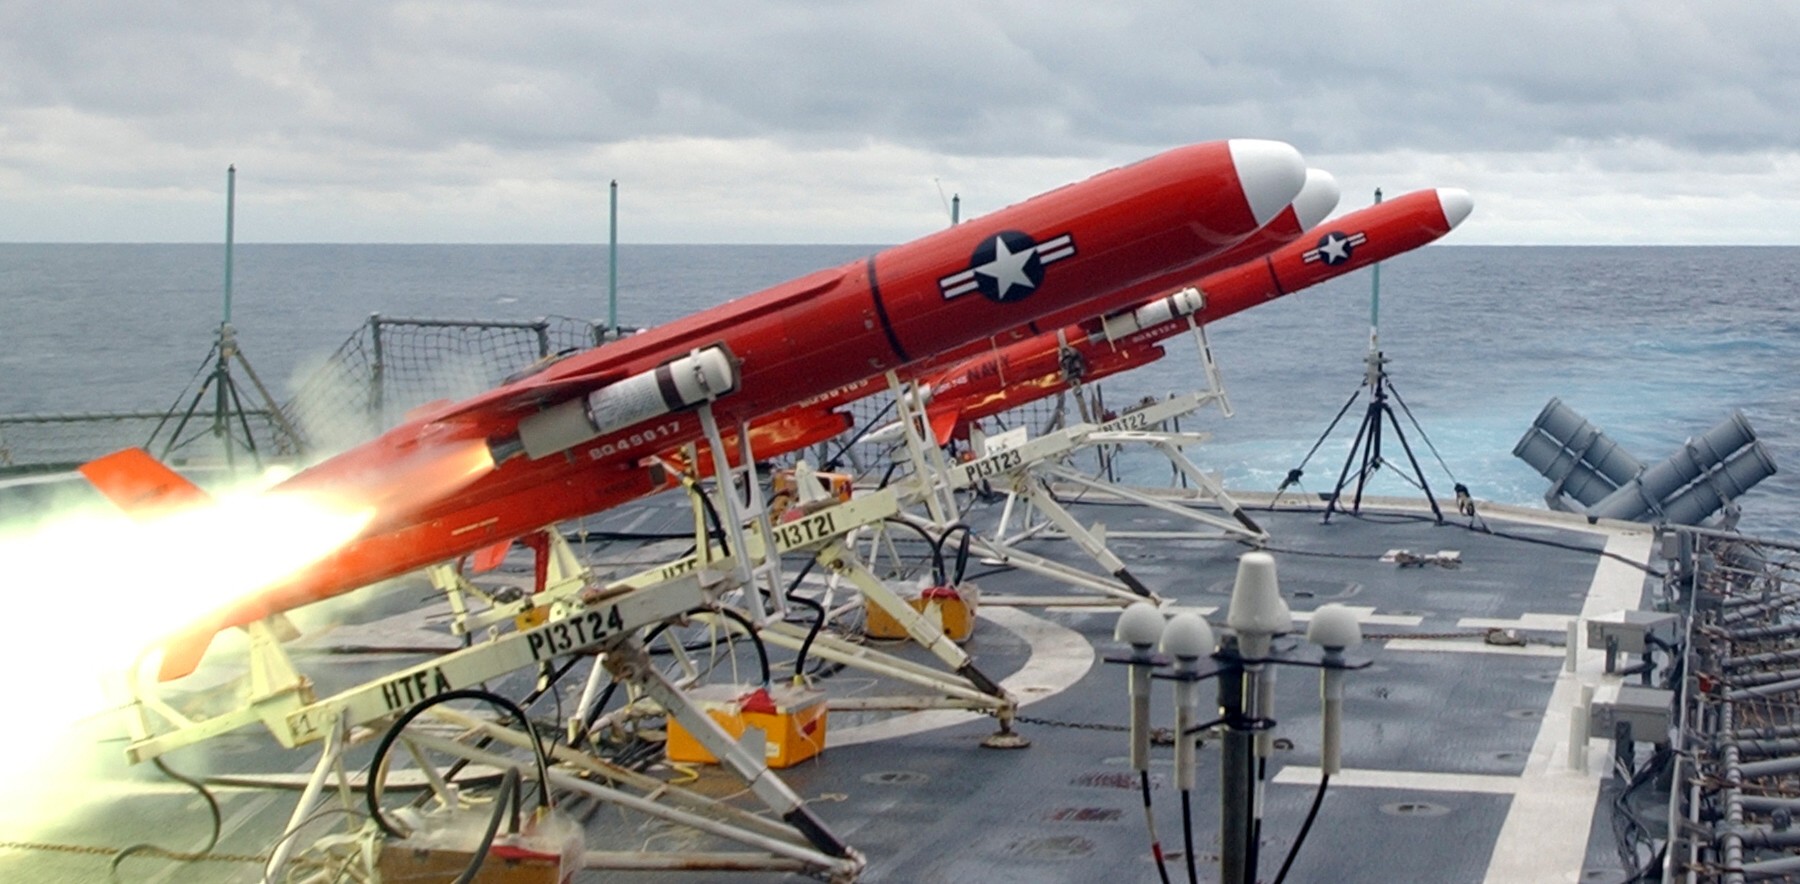 a BQM-74E aerial target drone was launched - off Okinawa, Japan - February 2005 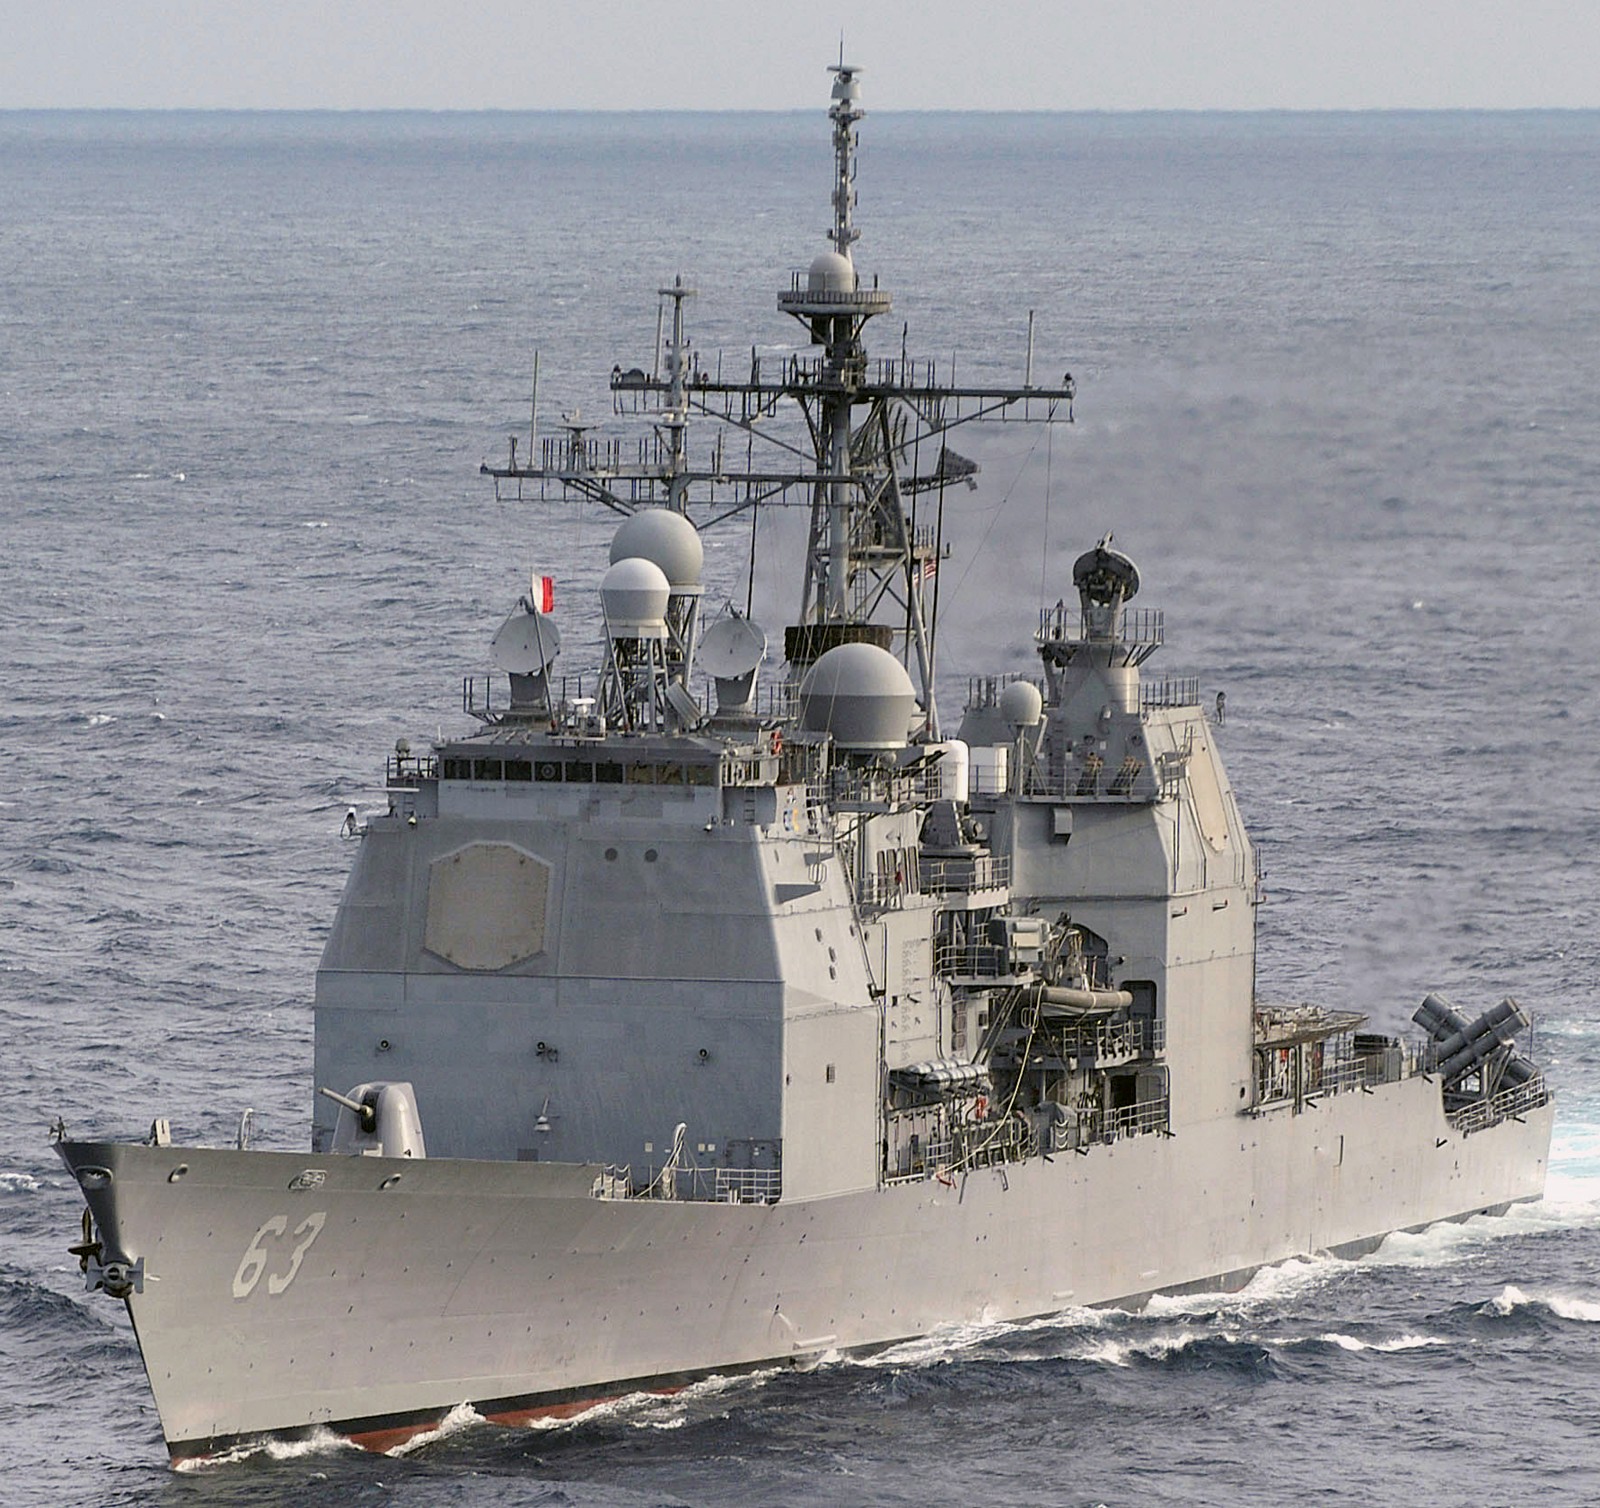 Pacific Ocean - February 2005  Goa, India - October 2004 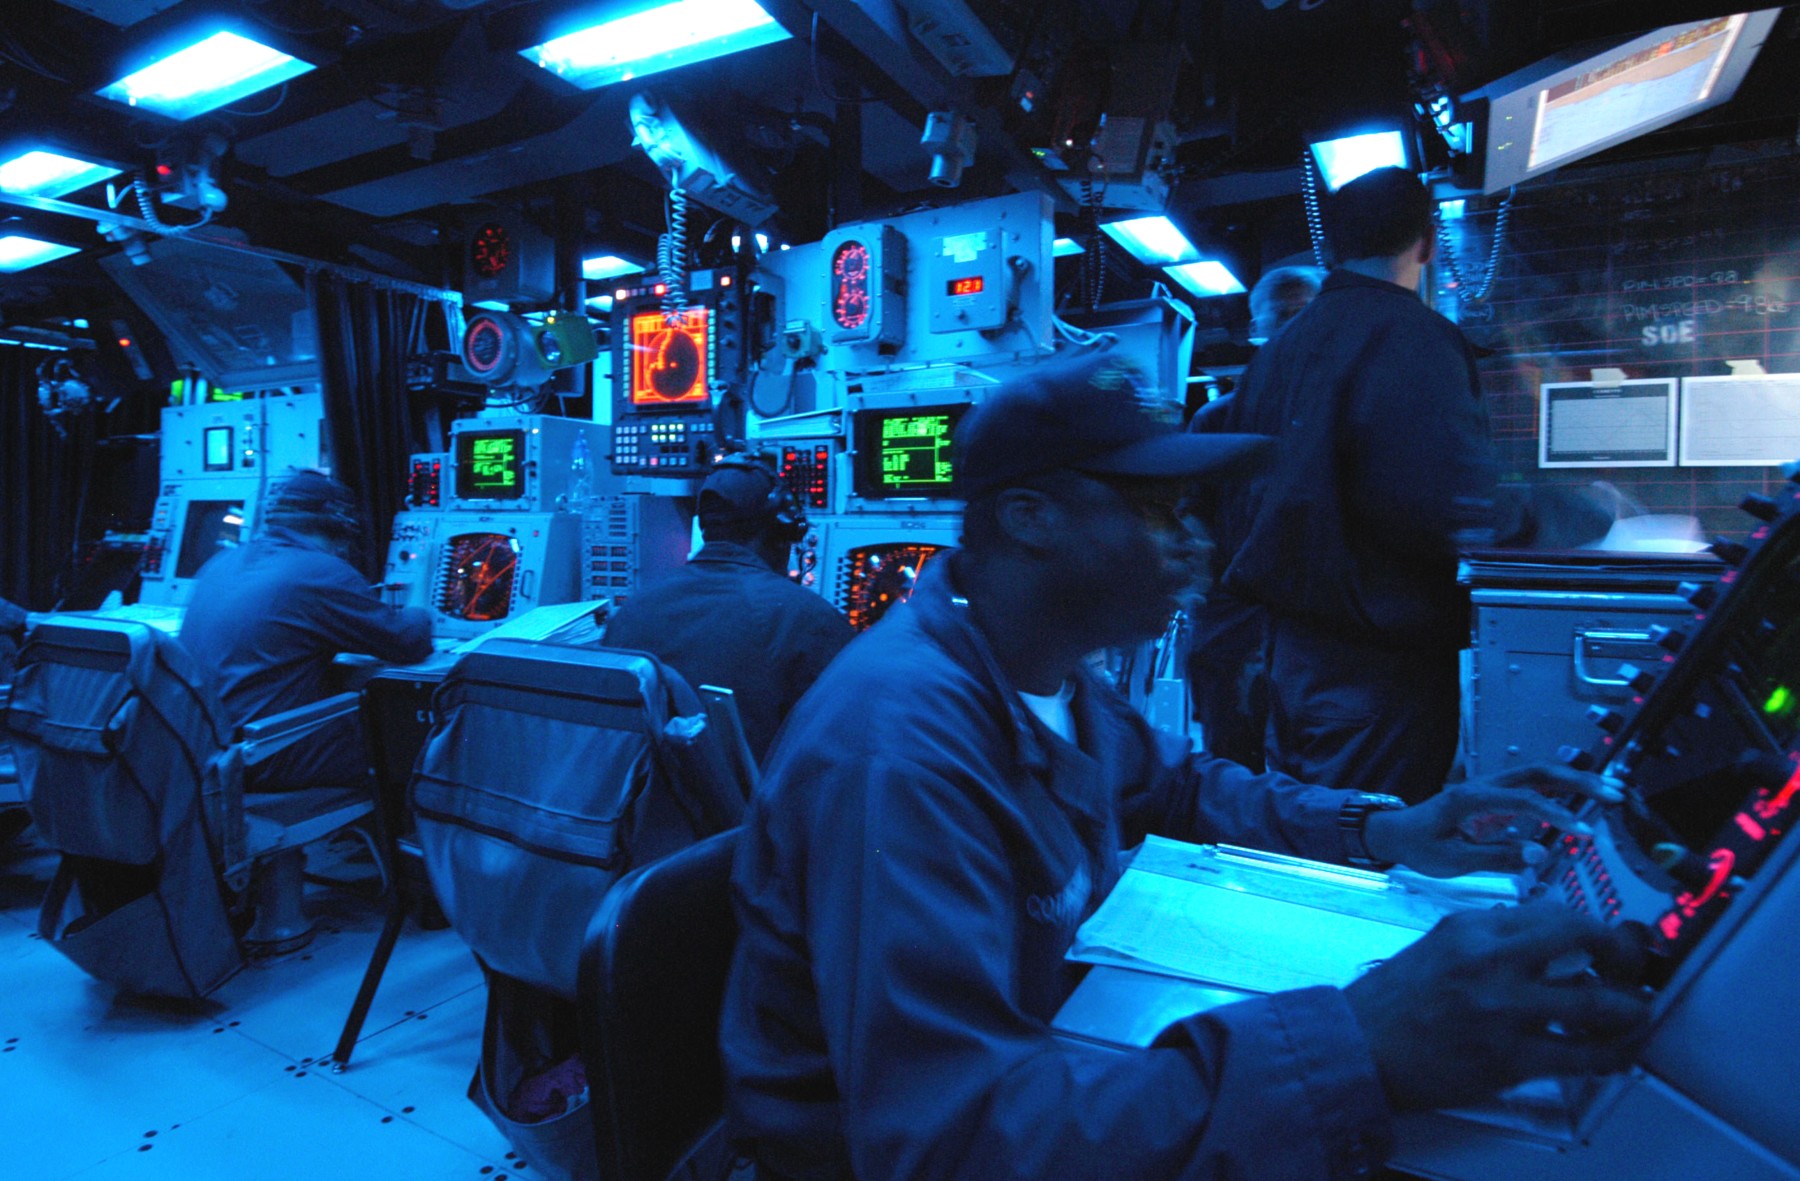 Combat Information Center (CIC) - Pacific Ocean - June 2004 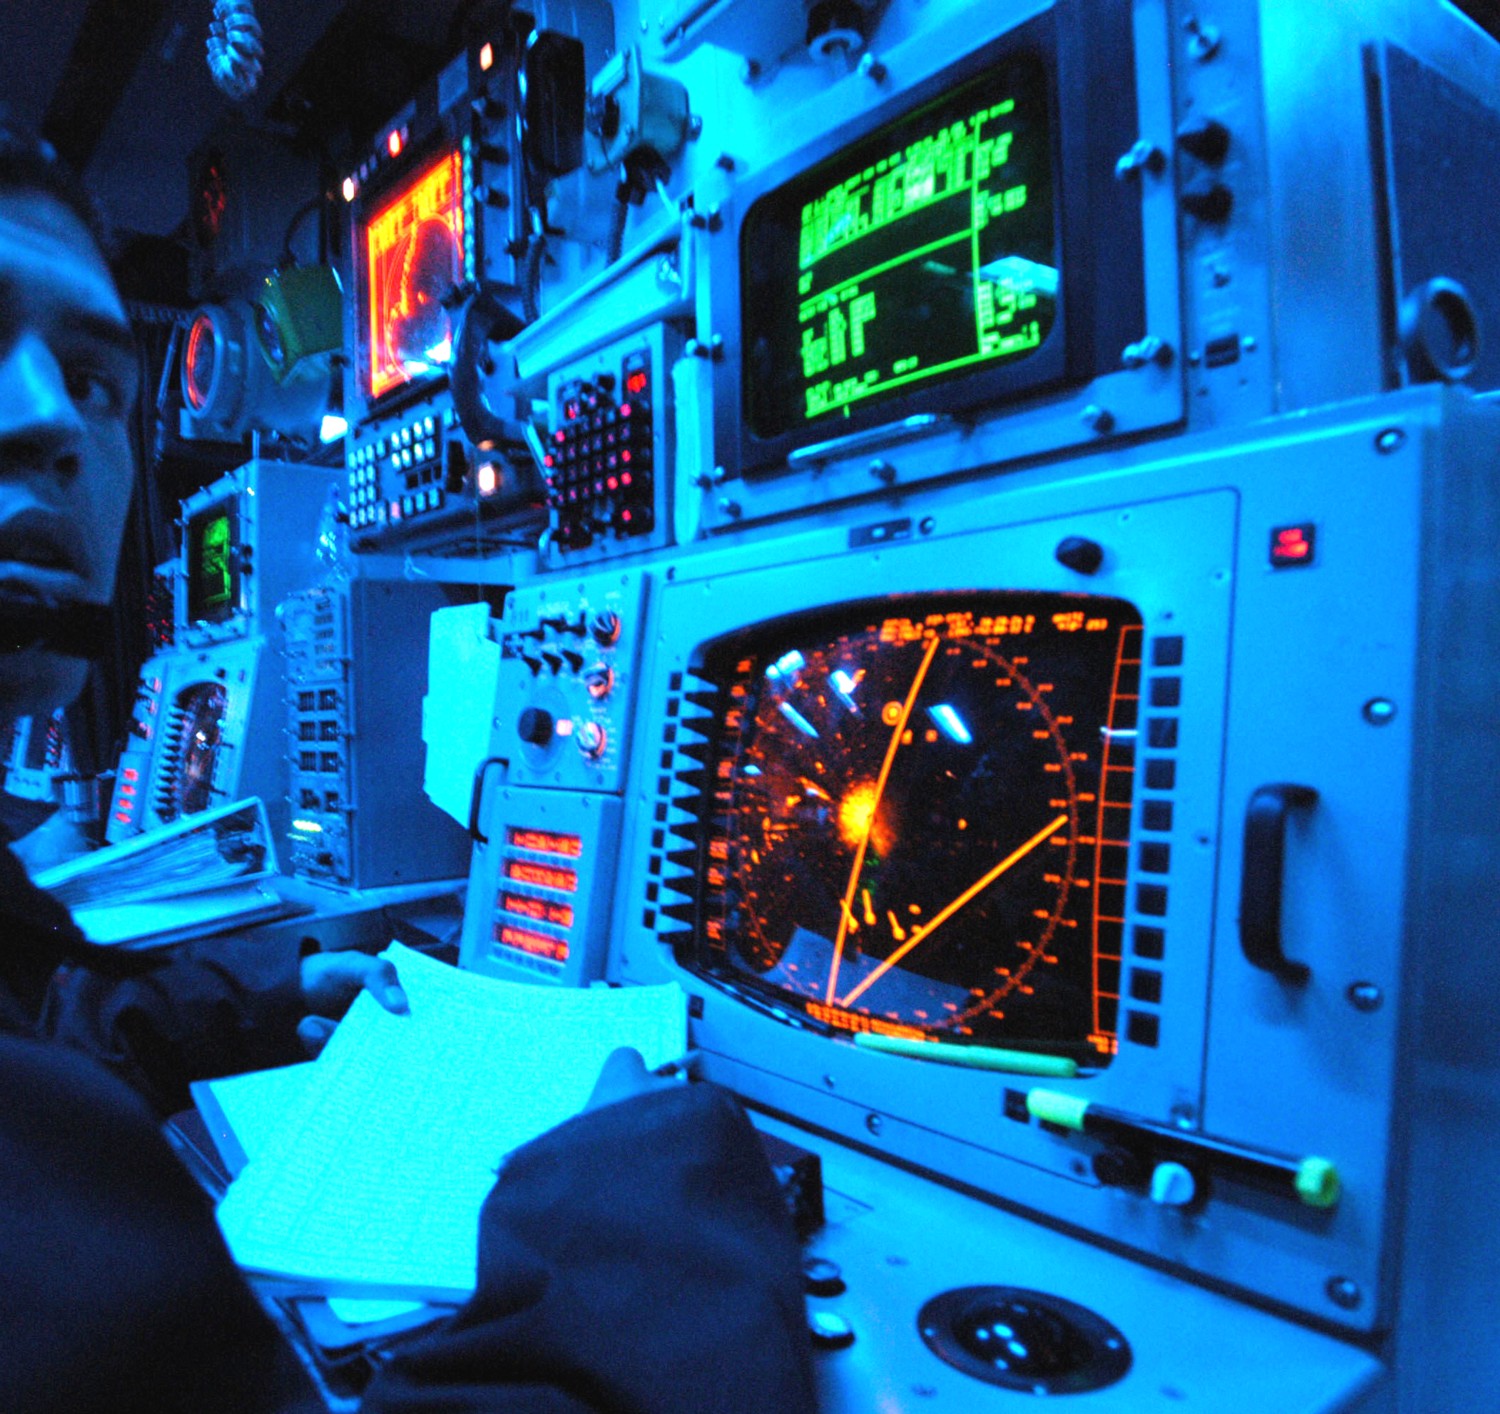 Combat Information Center (CIC) - Pacific Ocean - June 2004 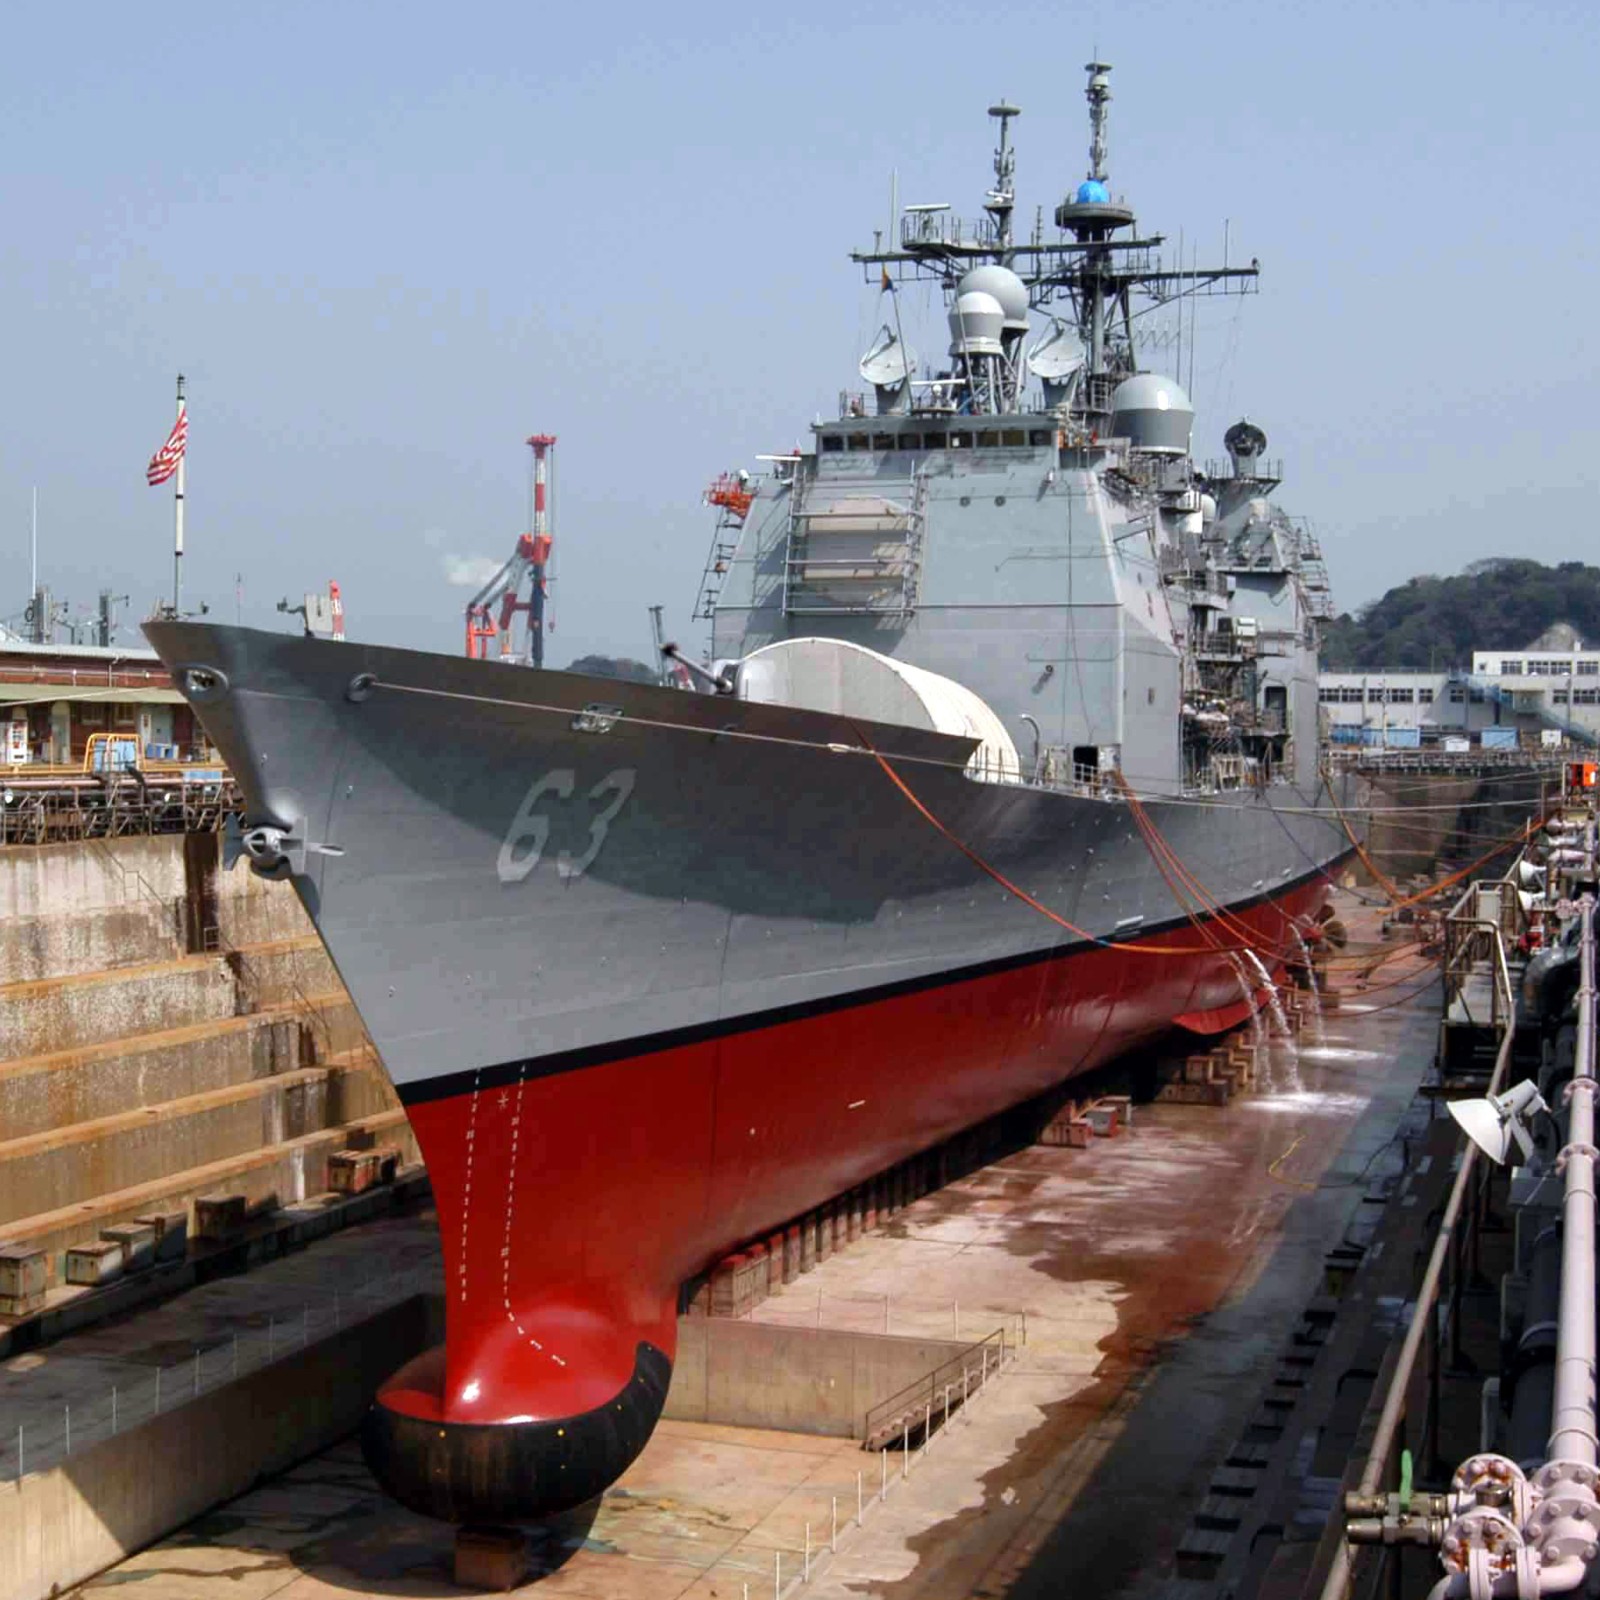 in dry-dock at Fleet Activities Yokosuka, Japan - March 2004 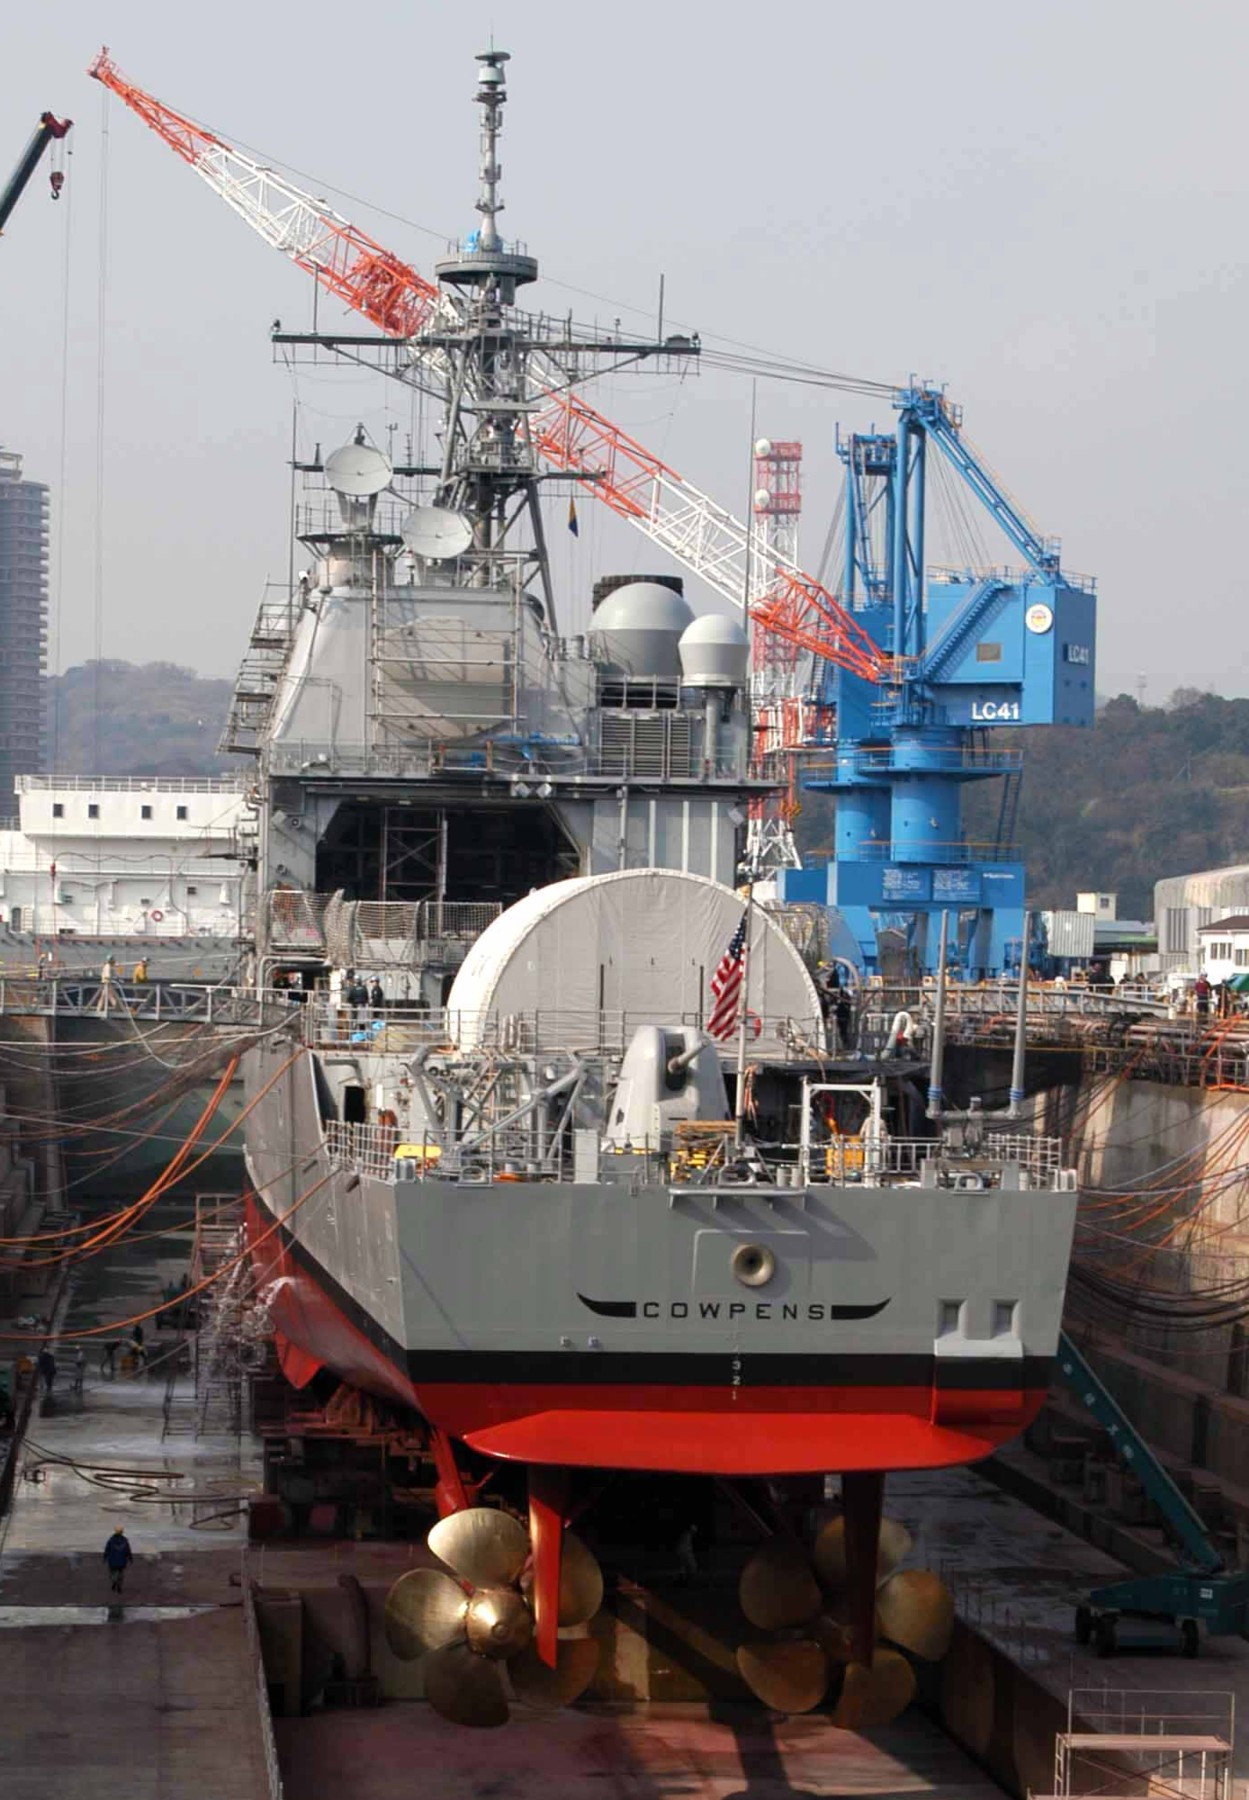 in dry-dock at Fleet Activities Yokosuka, Japan - March 2004 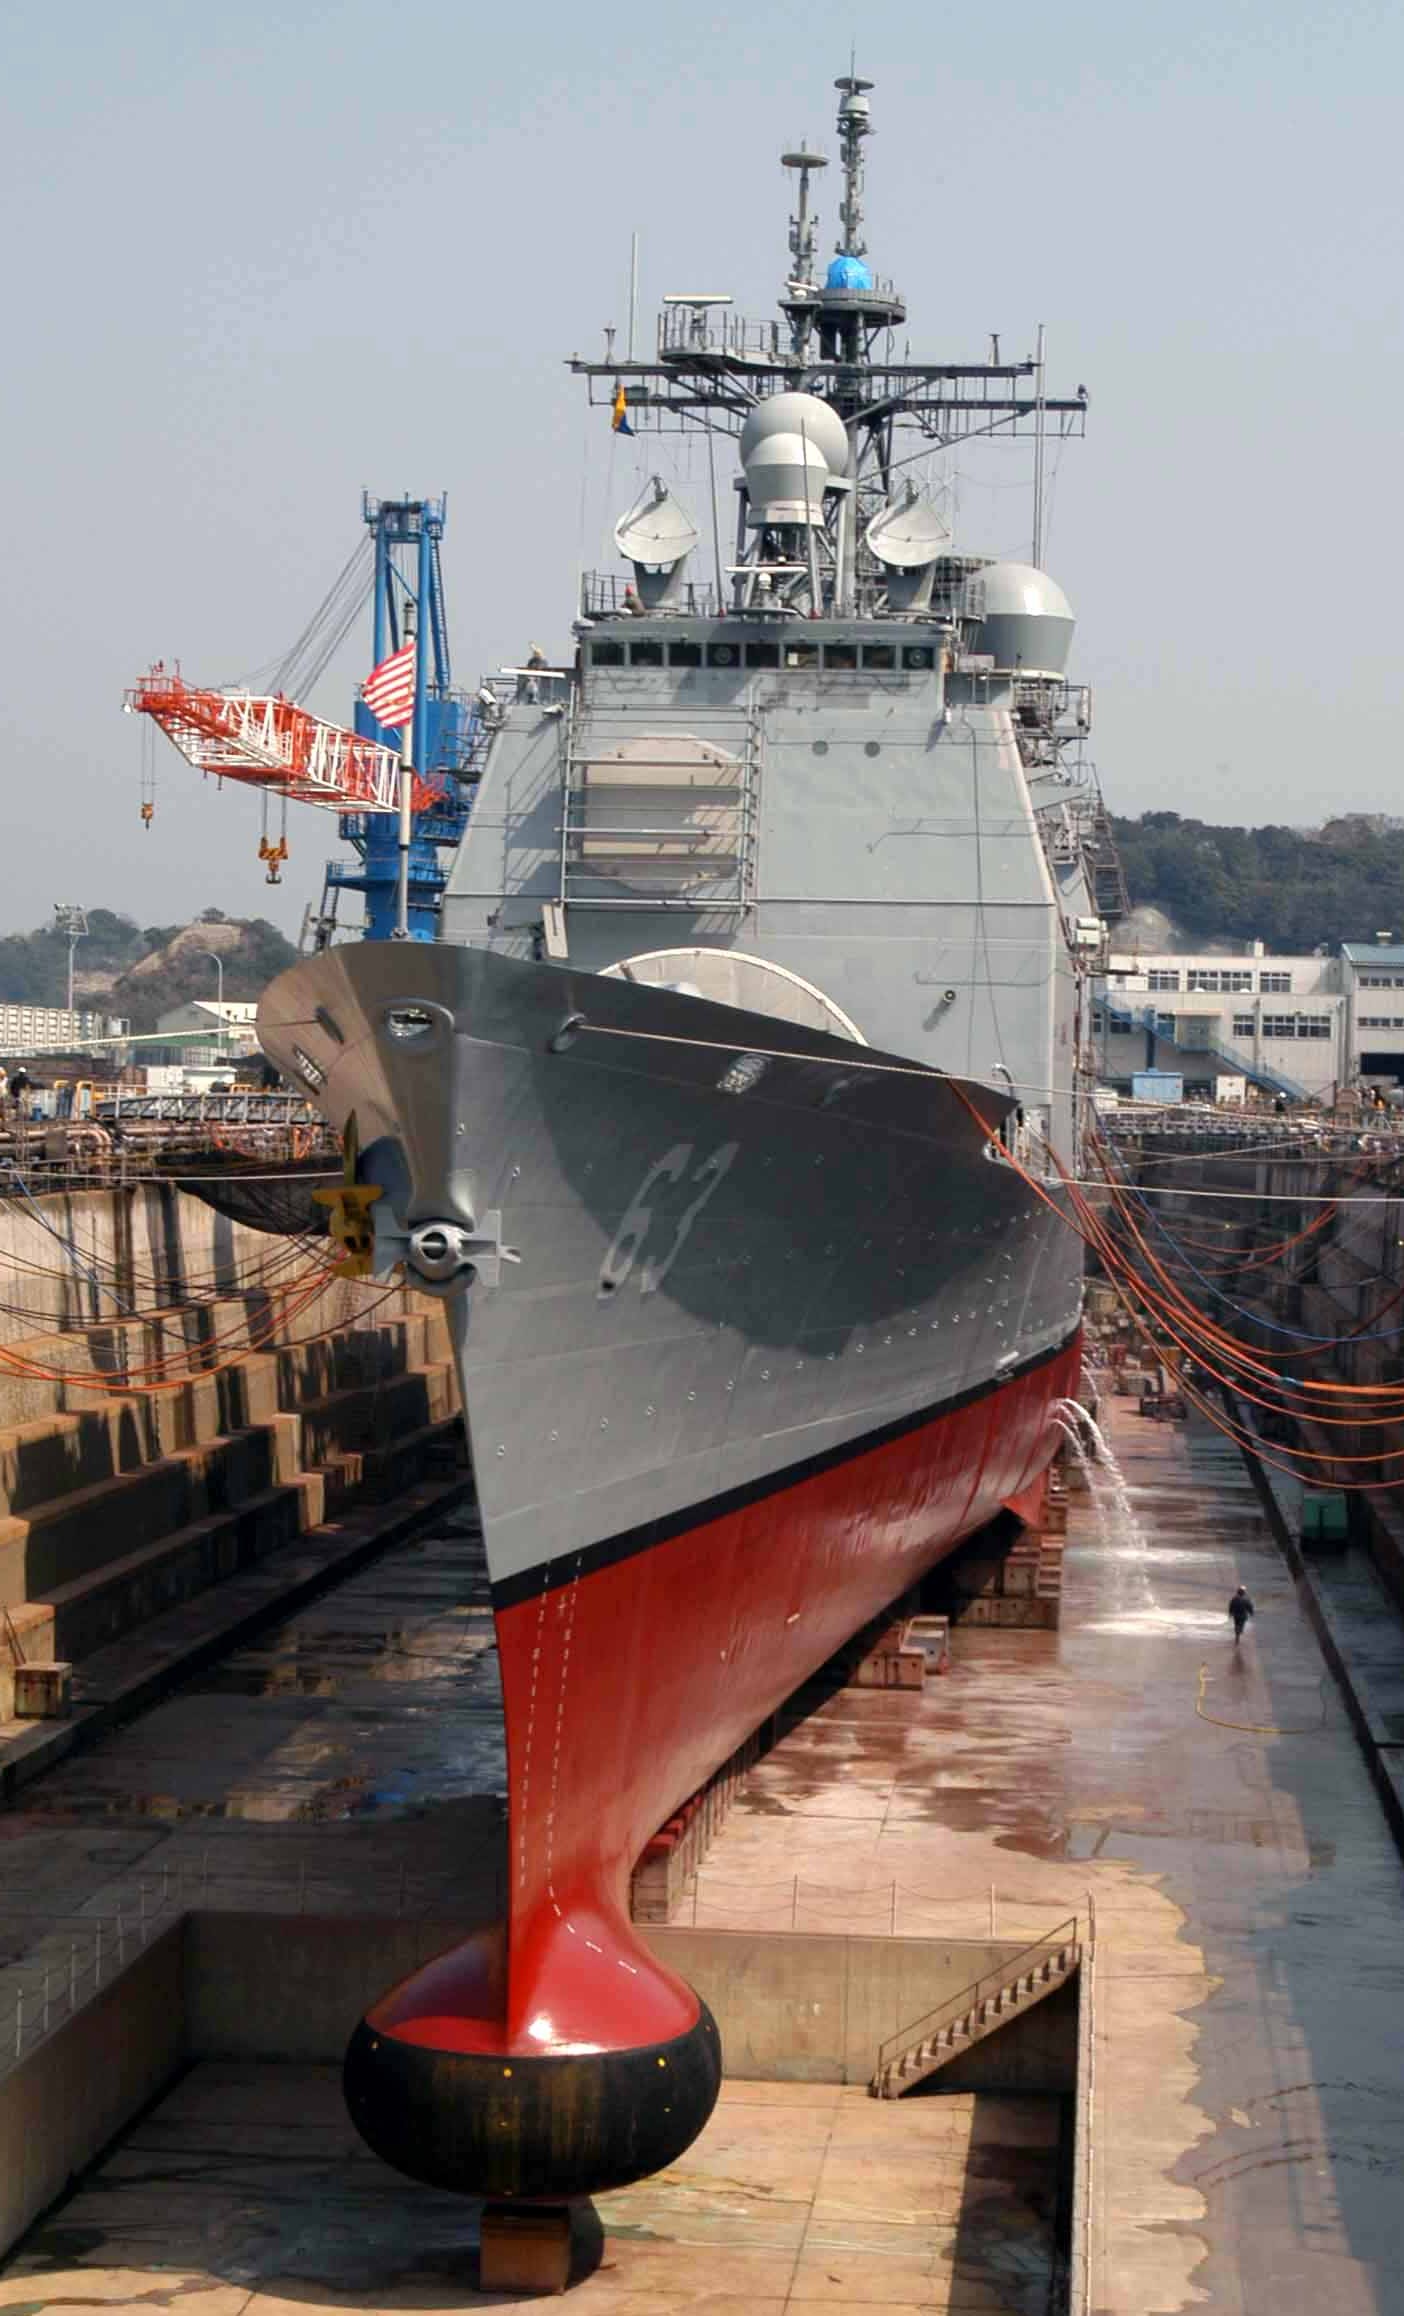 in dry-dock at Fleet Activities Yokosuka, Japan - March 2004 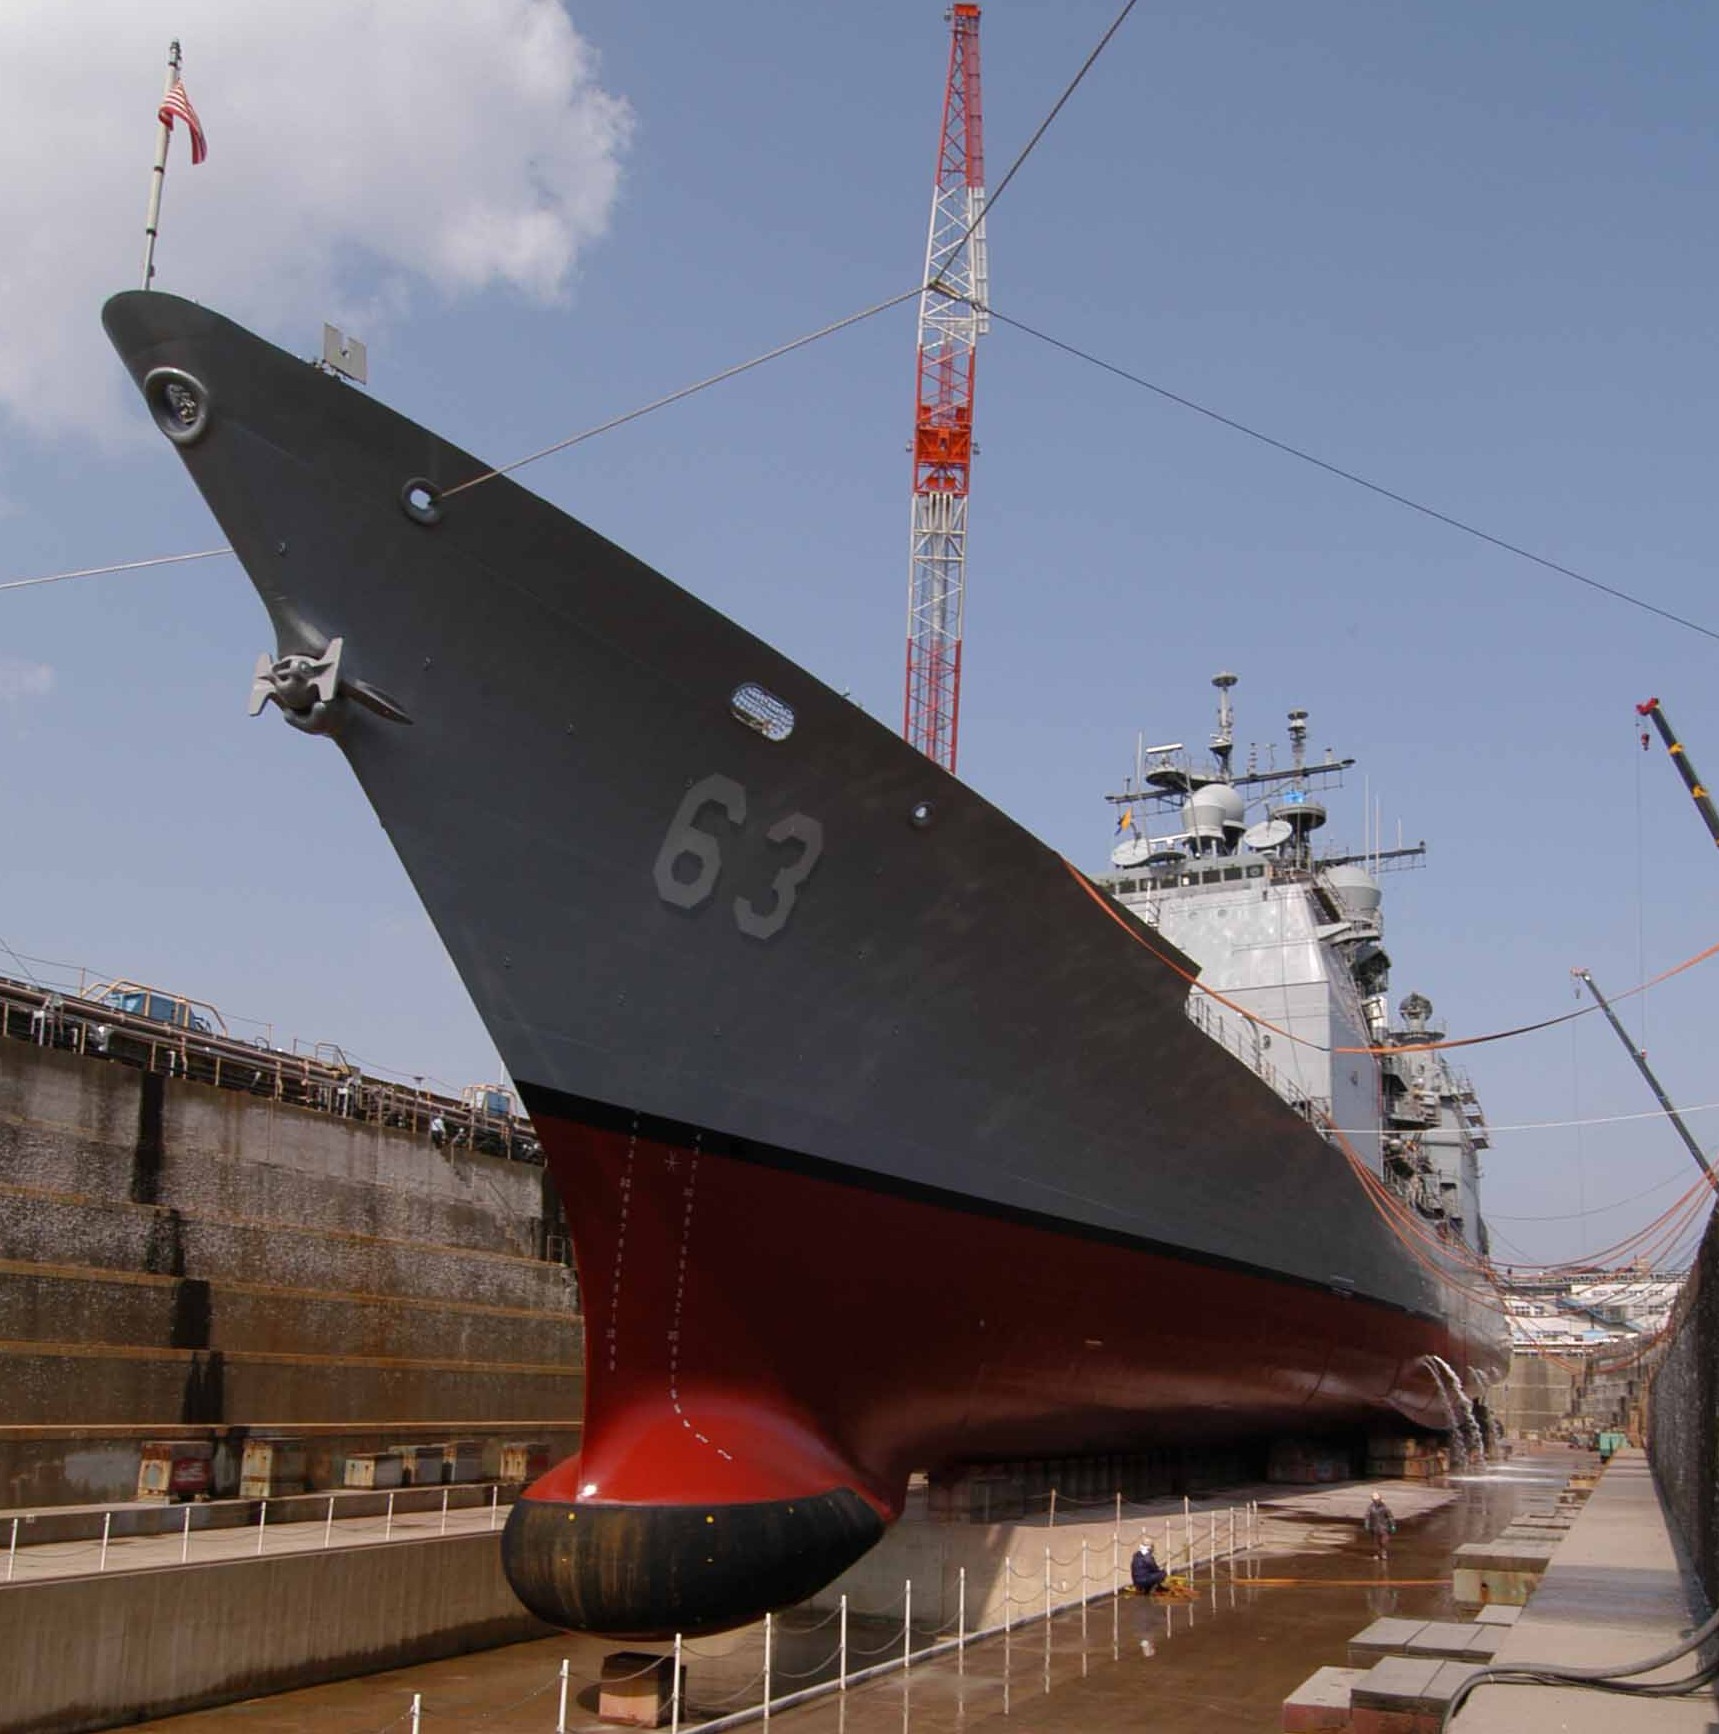 in dry-dock at Fleet Activities Yokosuka, Japan - March 2004 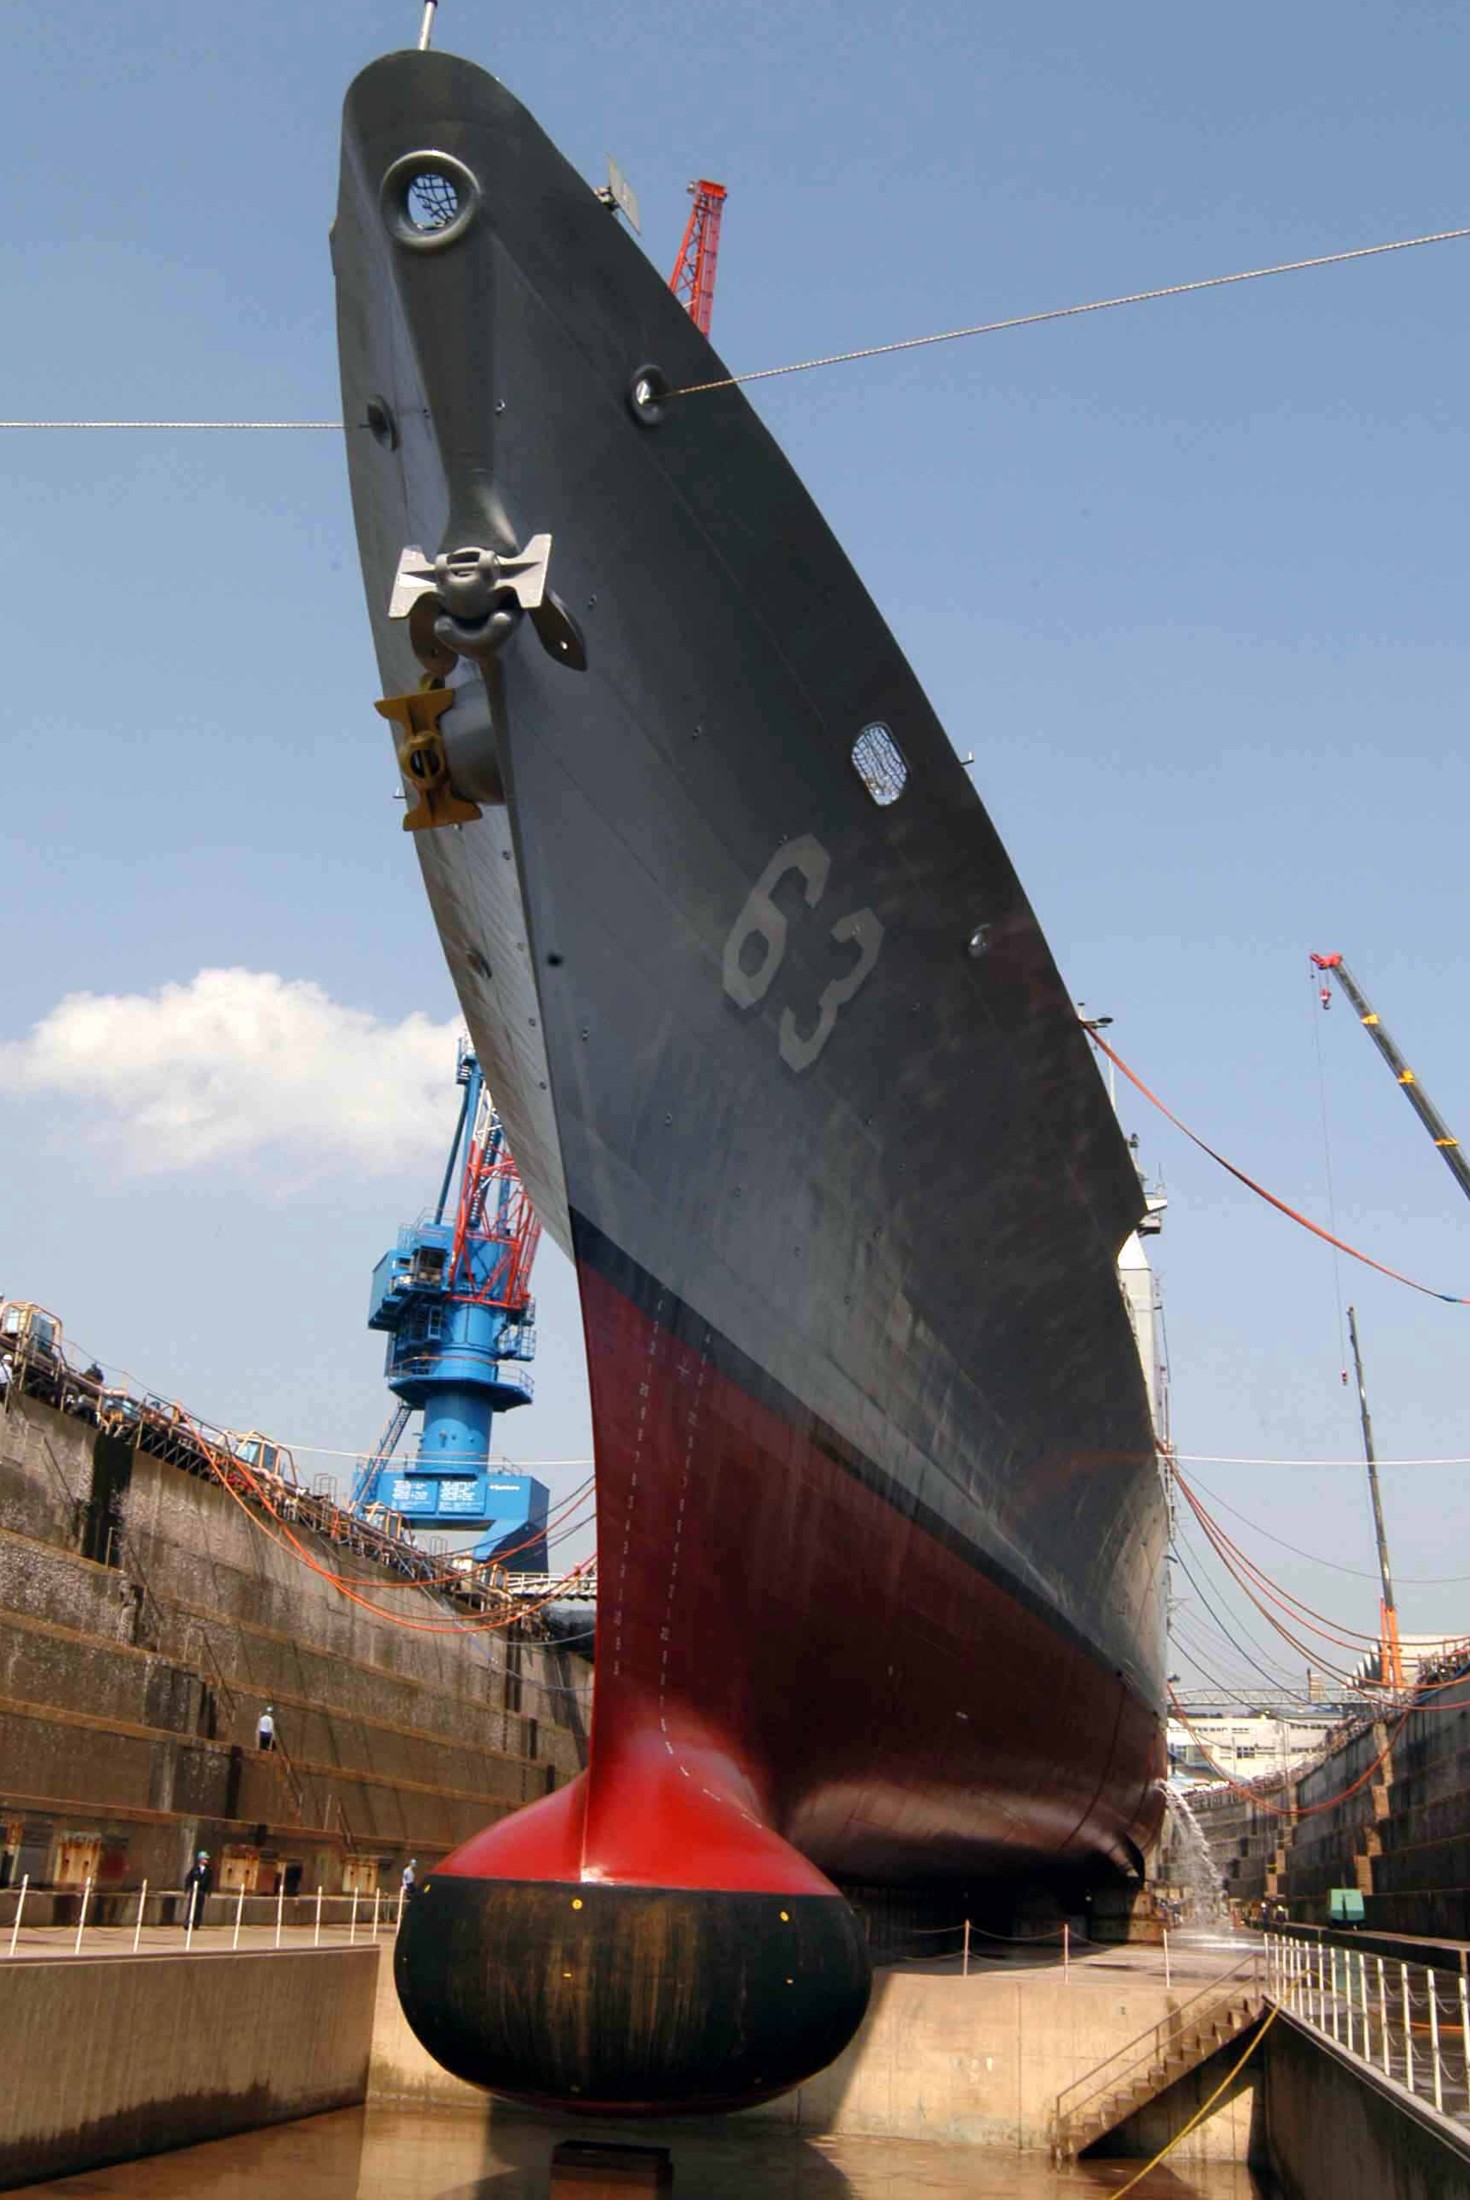 in dry-dock at Fleet Activities Yokosuka, Japan - March 2004 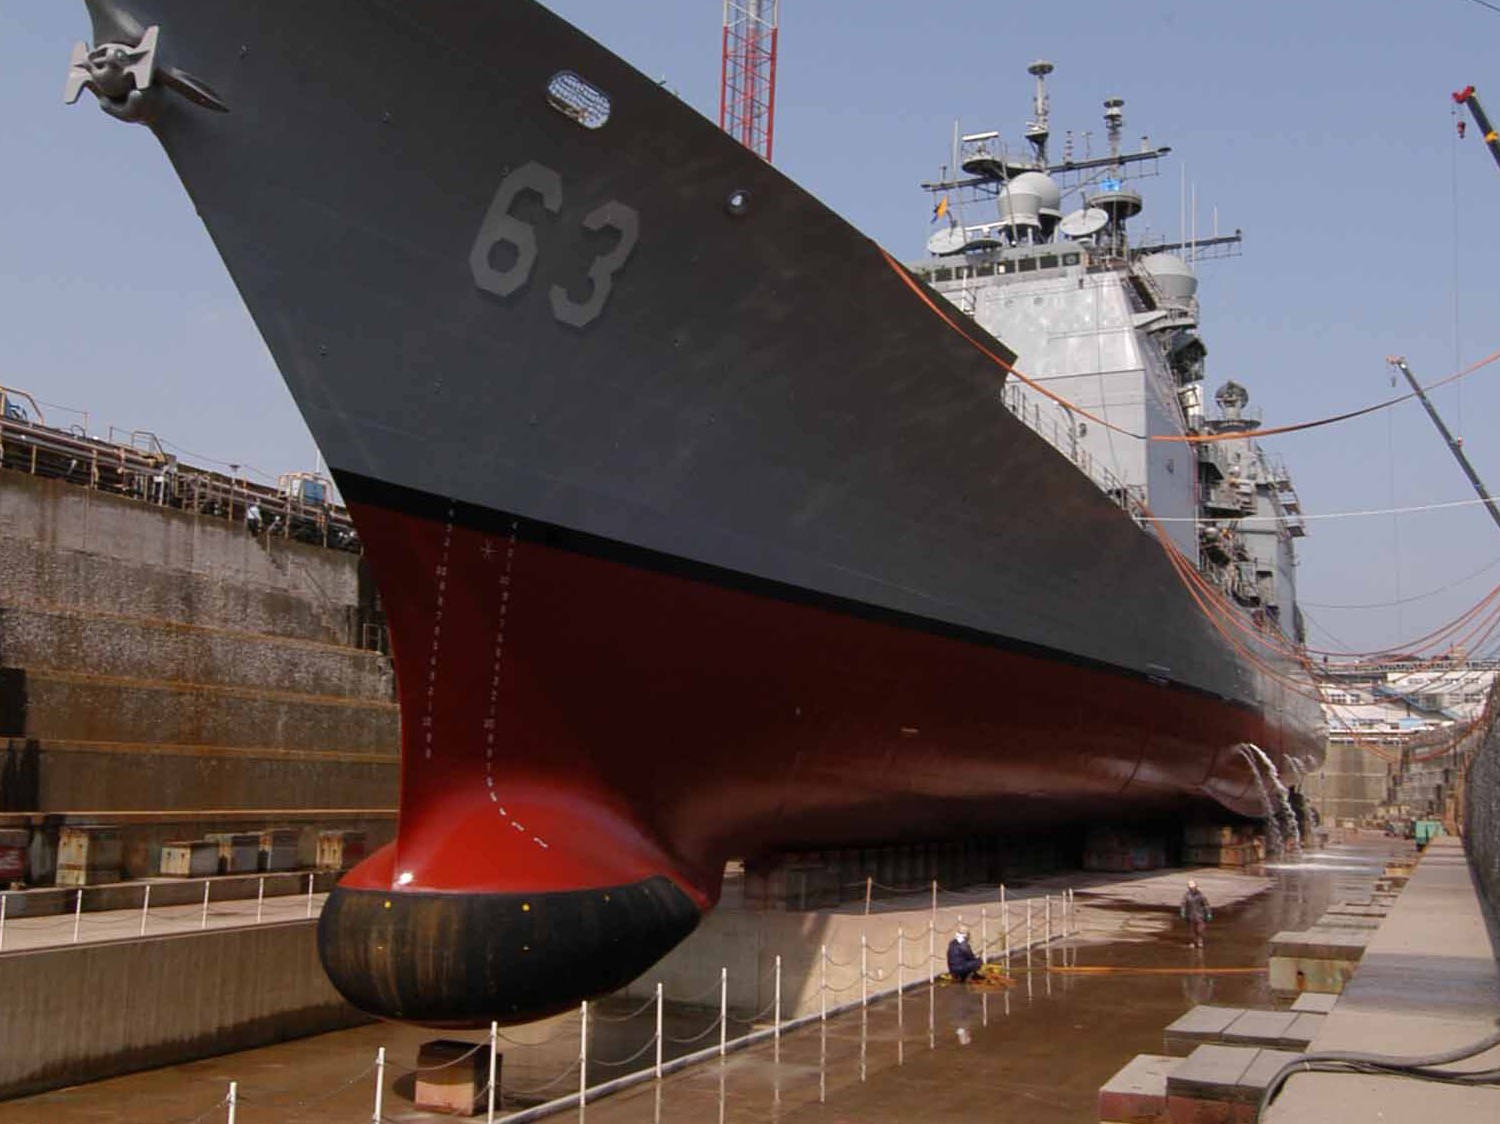 in dry-dock at Fleet Activities Yokosuka, Japan - March 2004 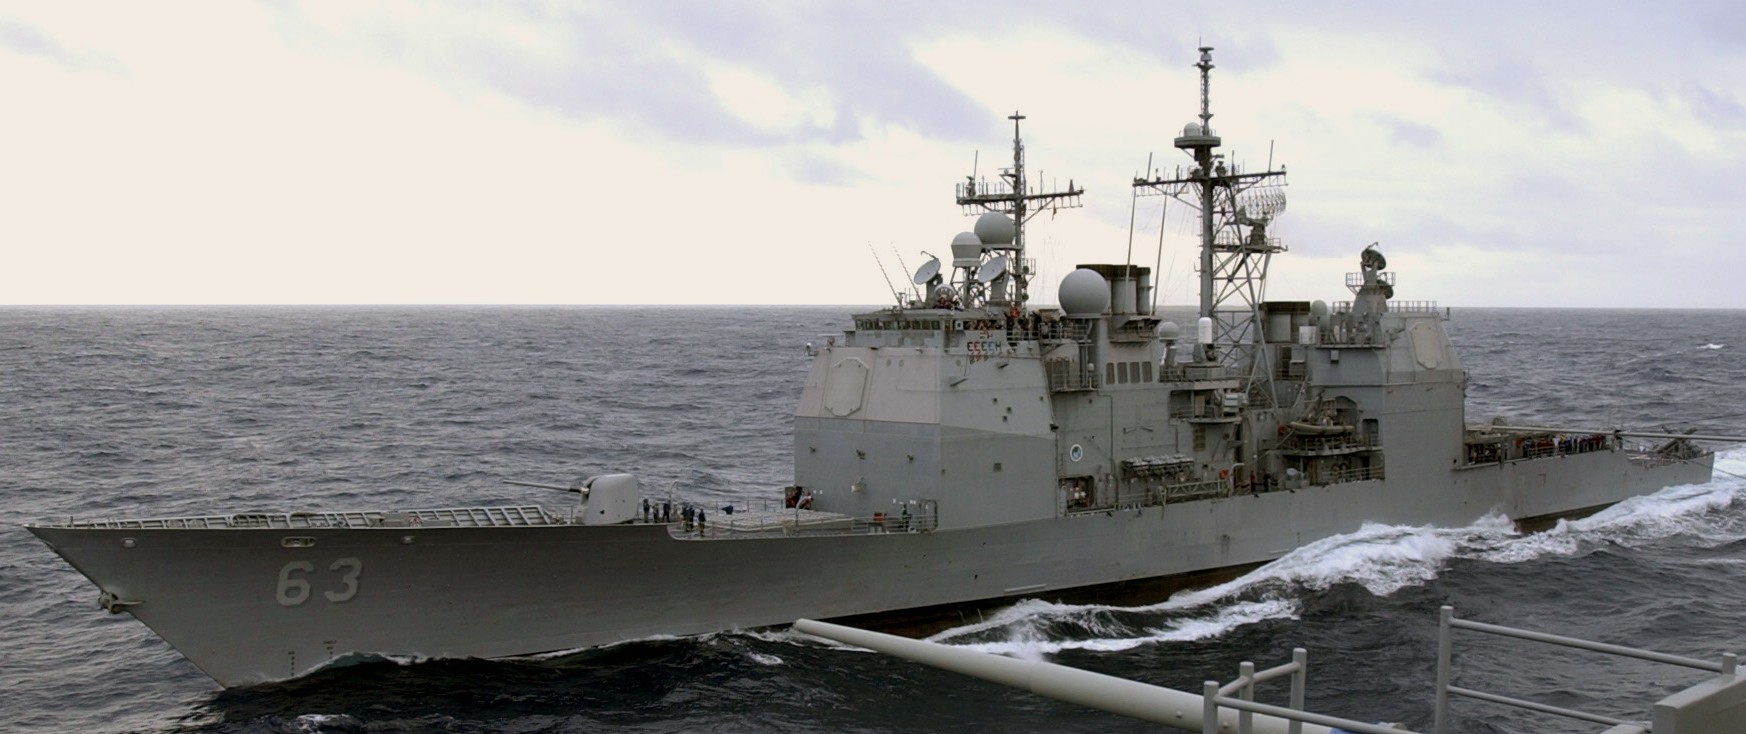 Pacific Ocean - October 2003 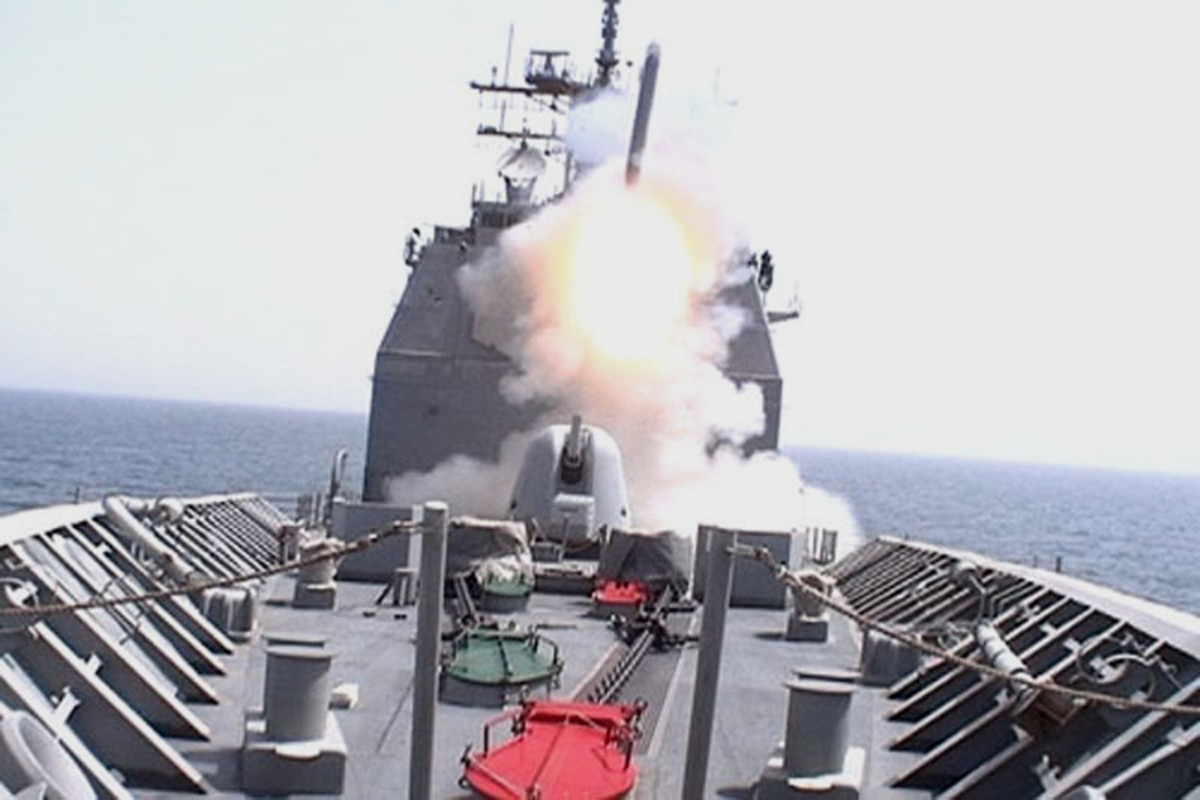 launching a BGM-109 Tomahawk TLAM in support of Operation Iraqi Freedom - March 2003 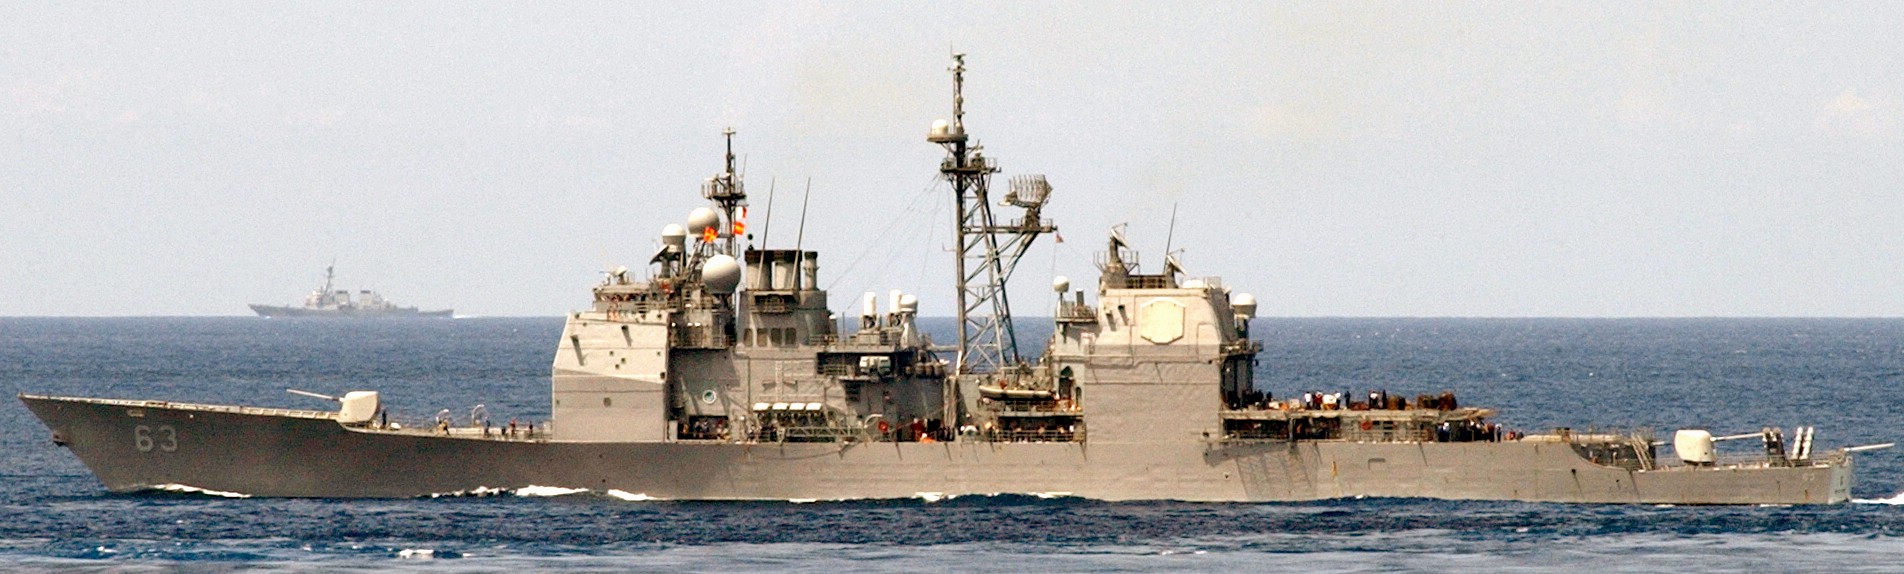 Arabian Gulf - February 2003 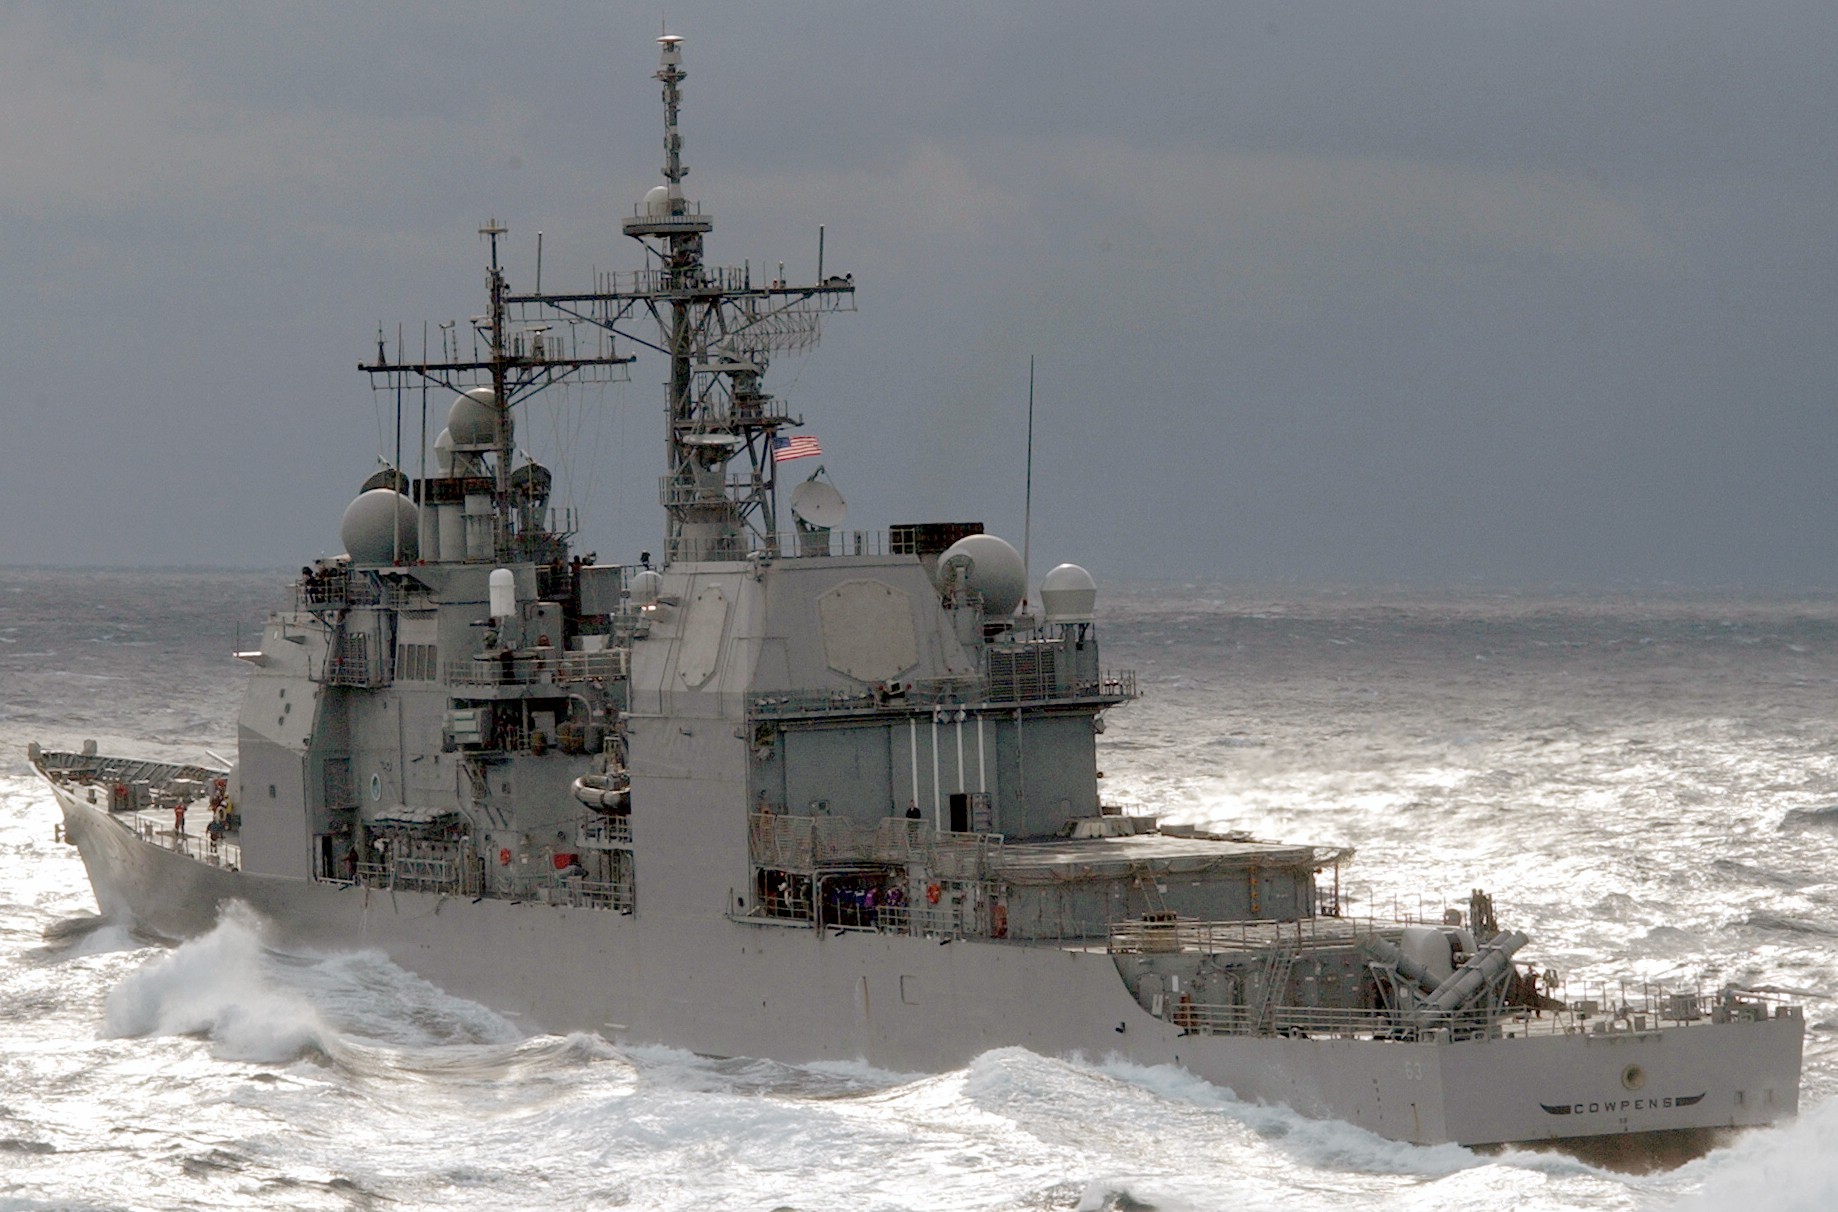 January 2003 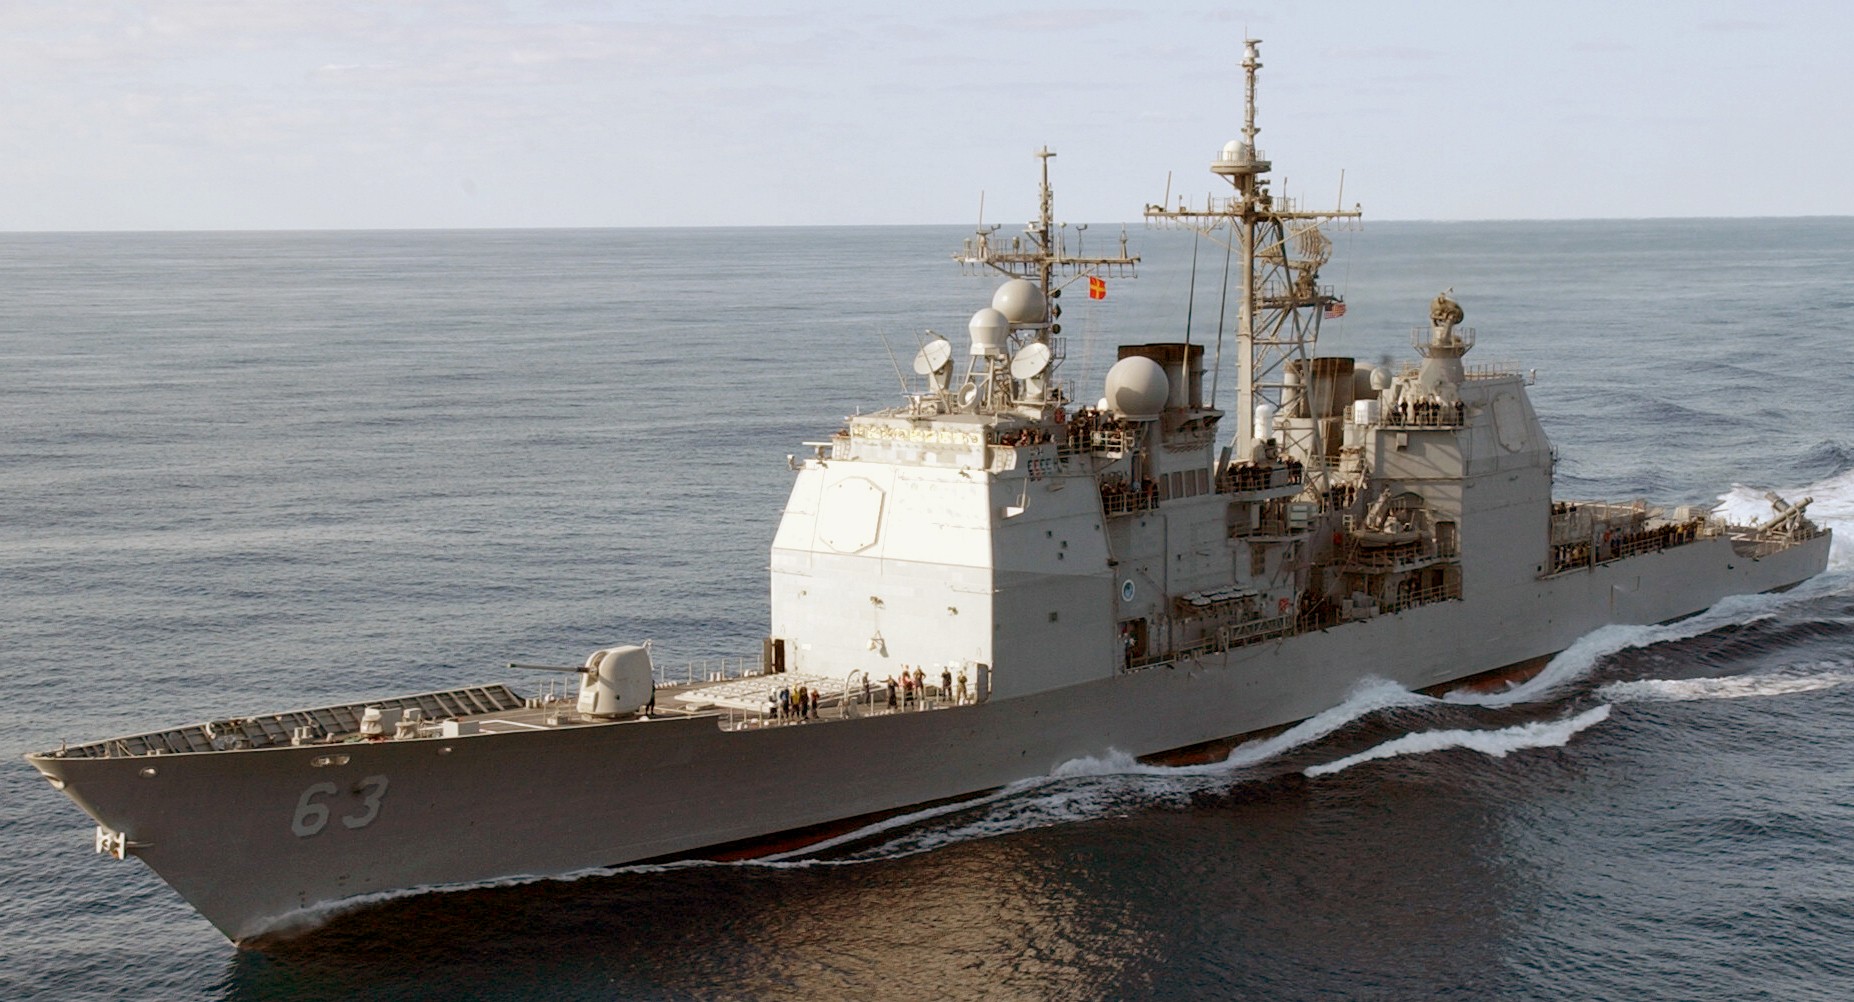 January 2003 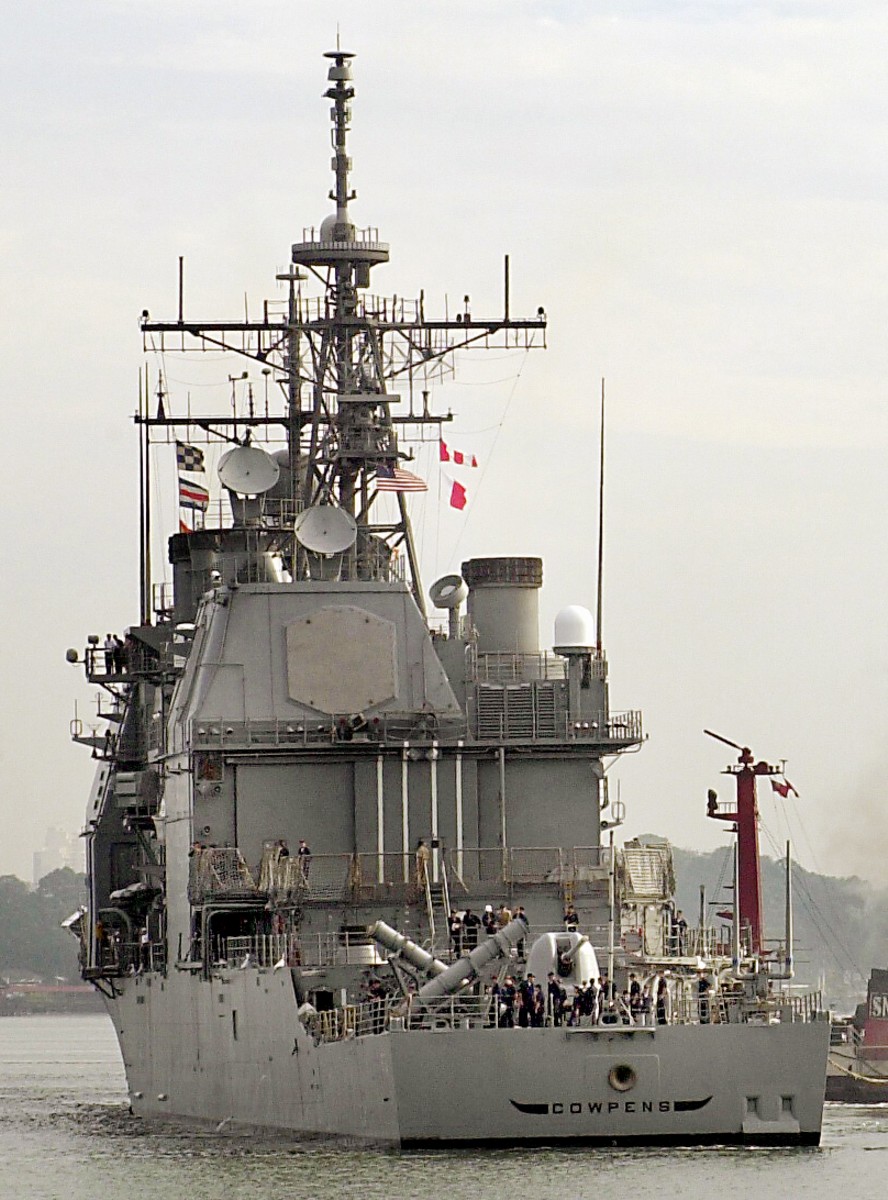 Singapore - February 2001 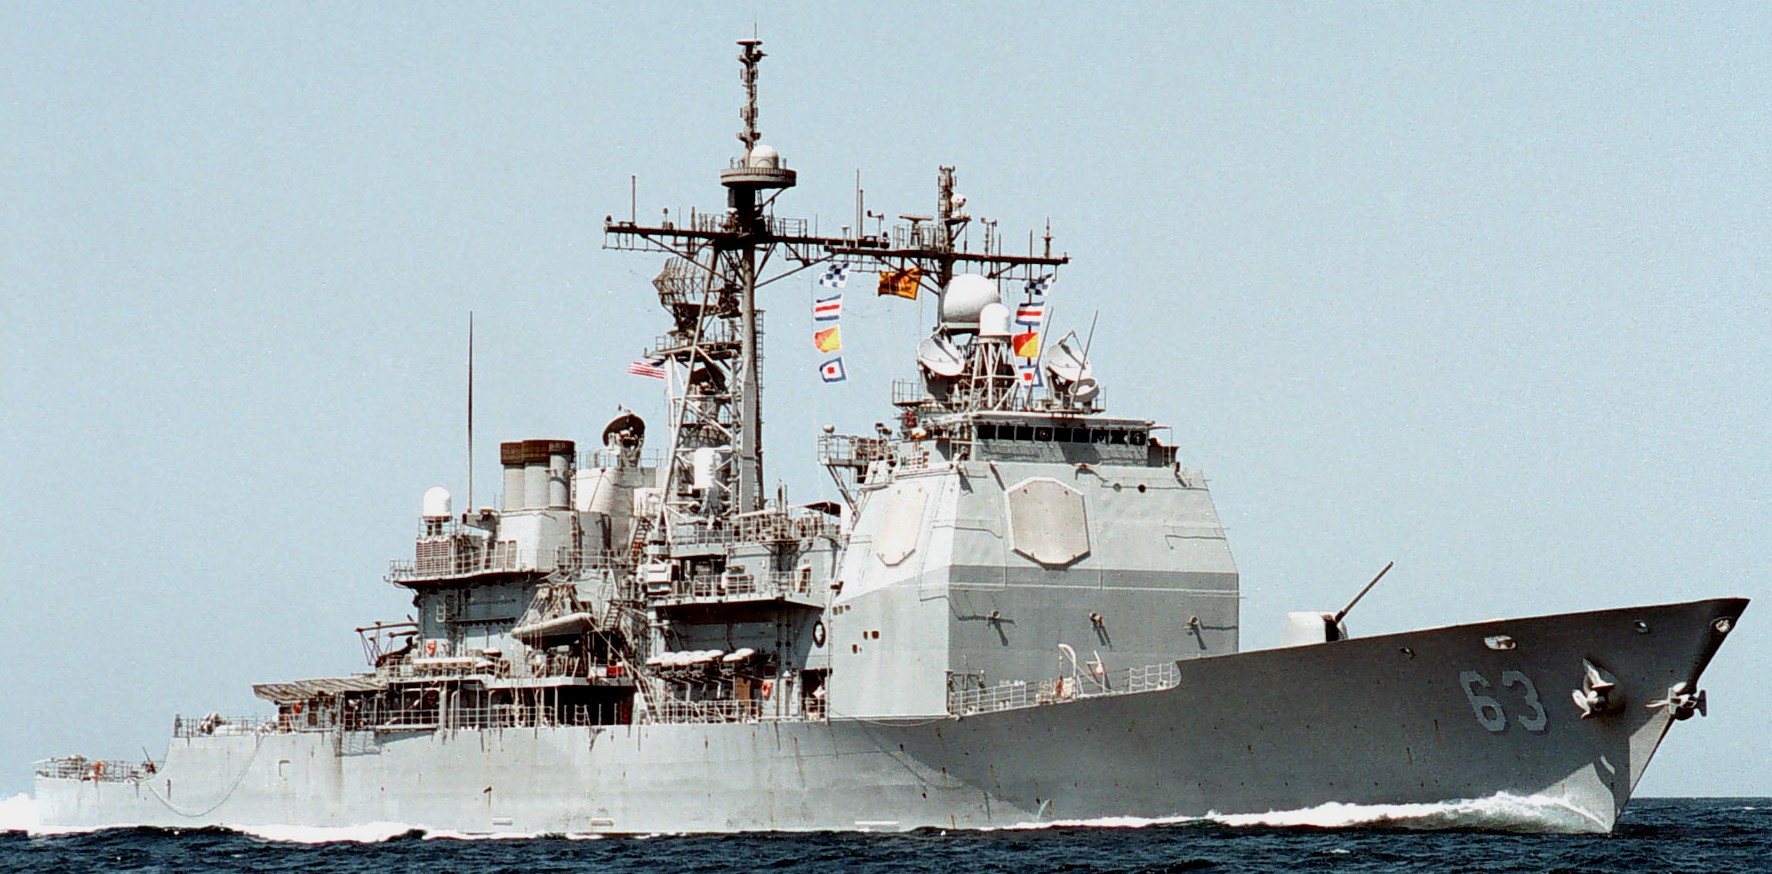 Persian Gulf - September 1998 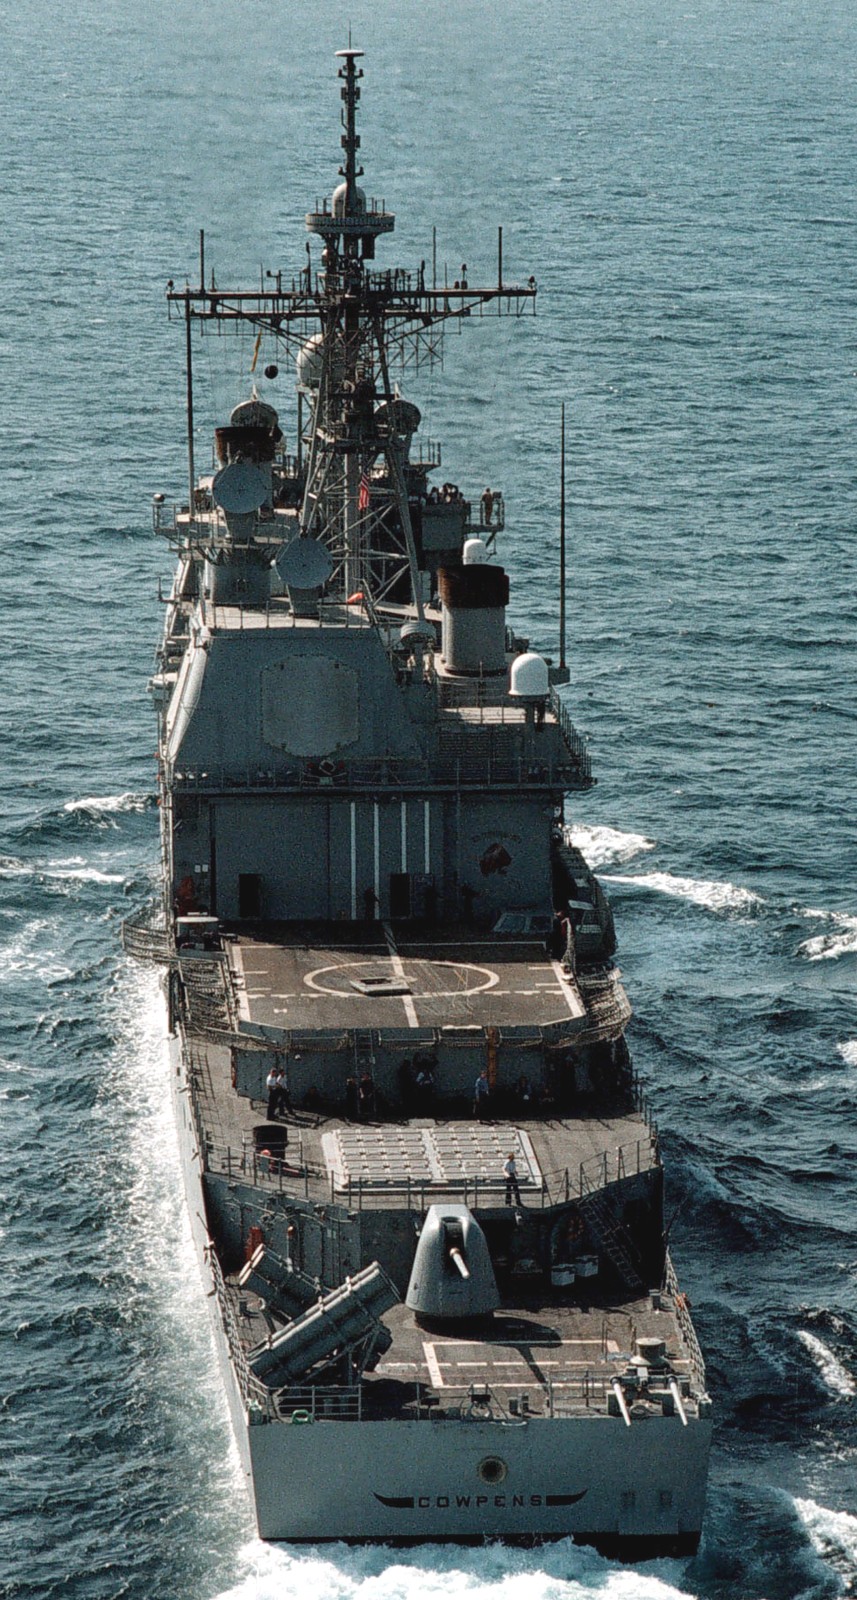 Persian Gulf - September 1998  Persian Gulf - September 1998 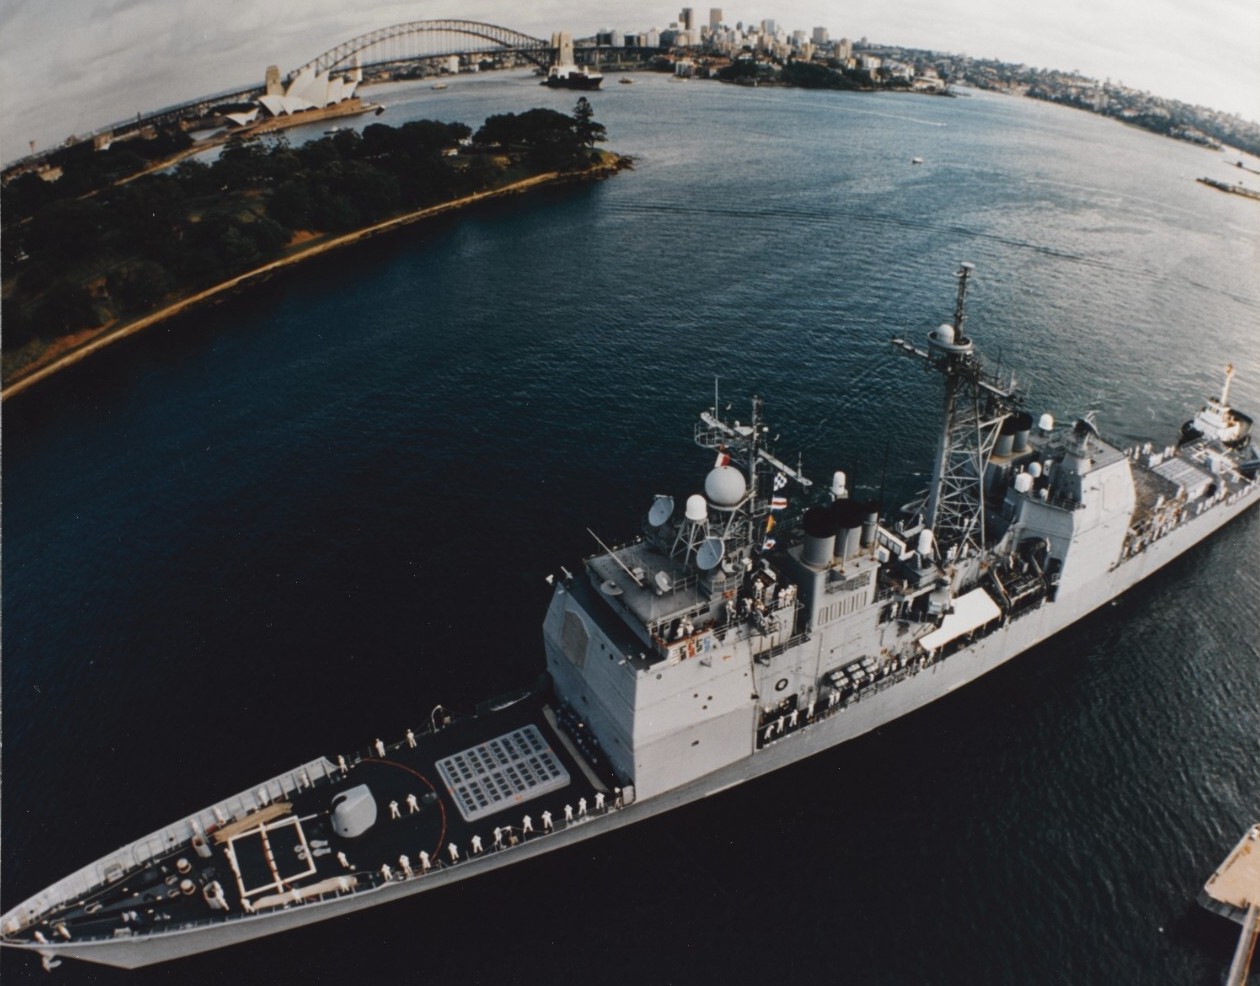 Sydney, Australia - 1997 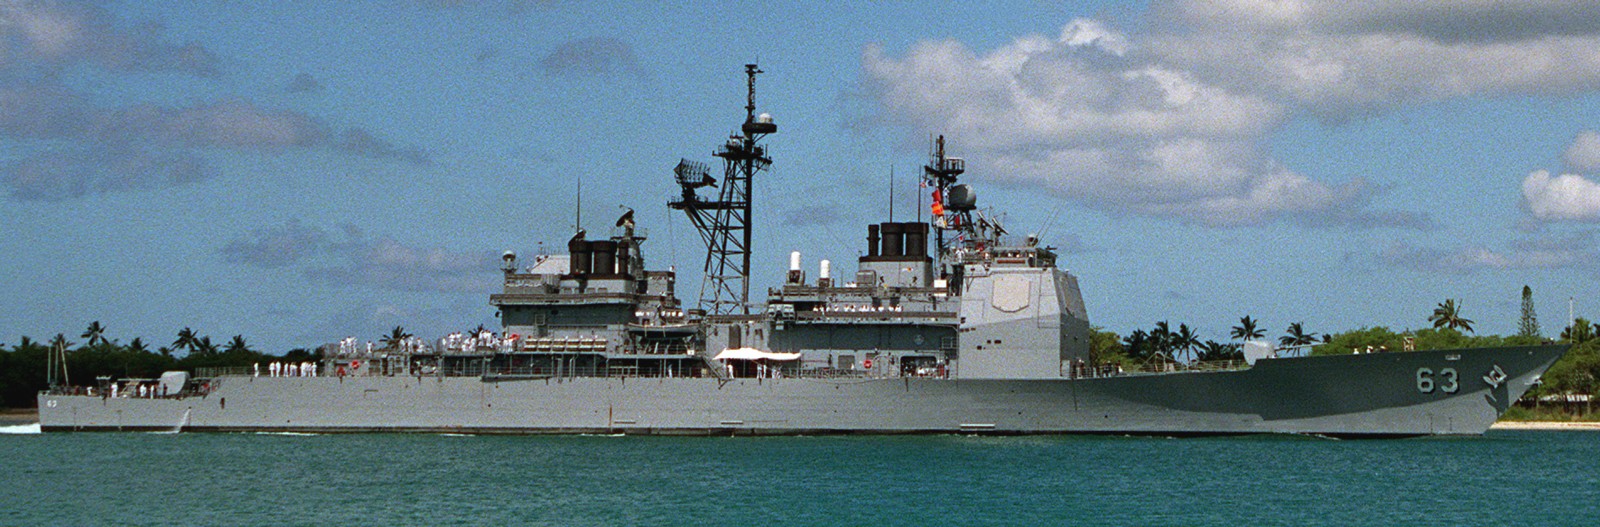 arriving at Naval Station Pearl Harbor, Hawaii - June 1991 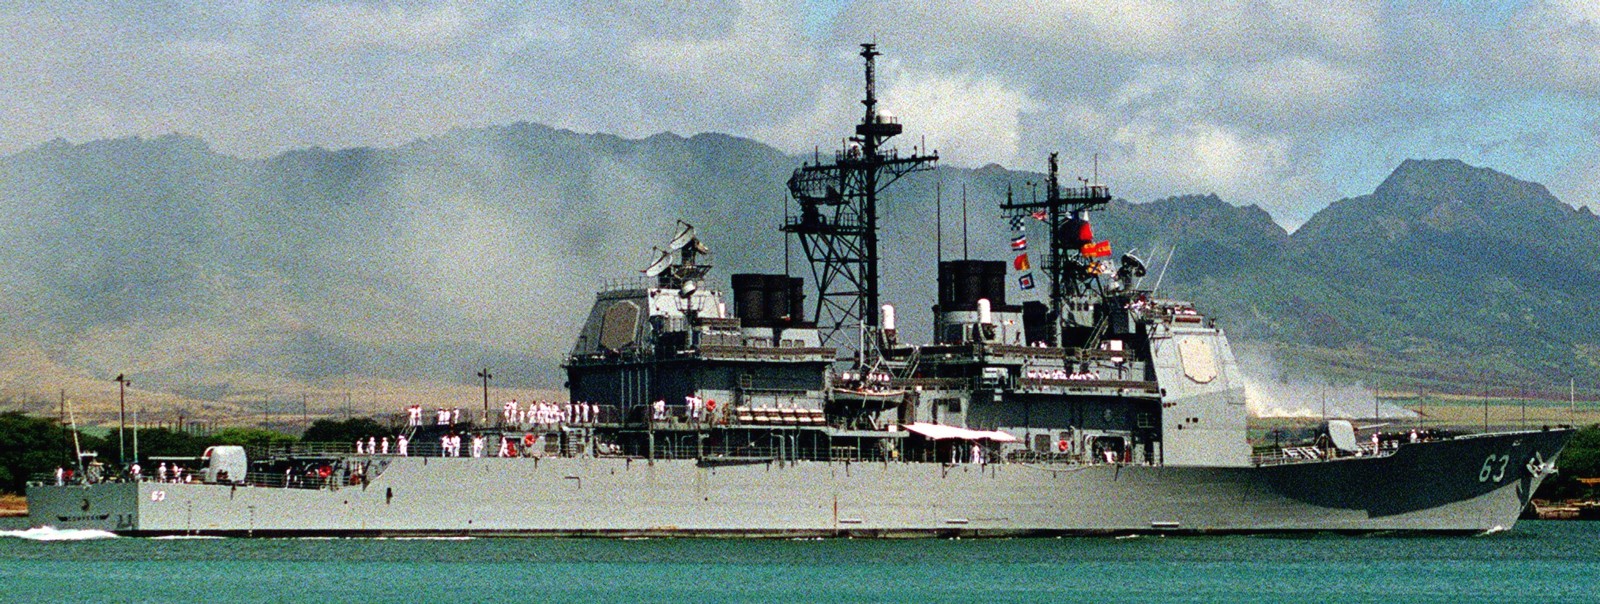 arriving at Naval Station Pearl Harbor, Hawaii - June 1991 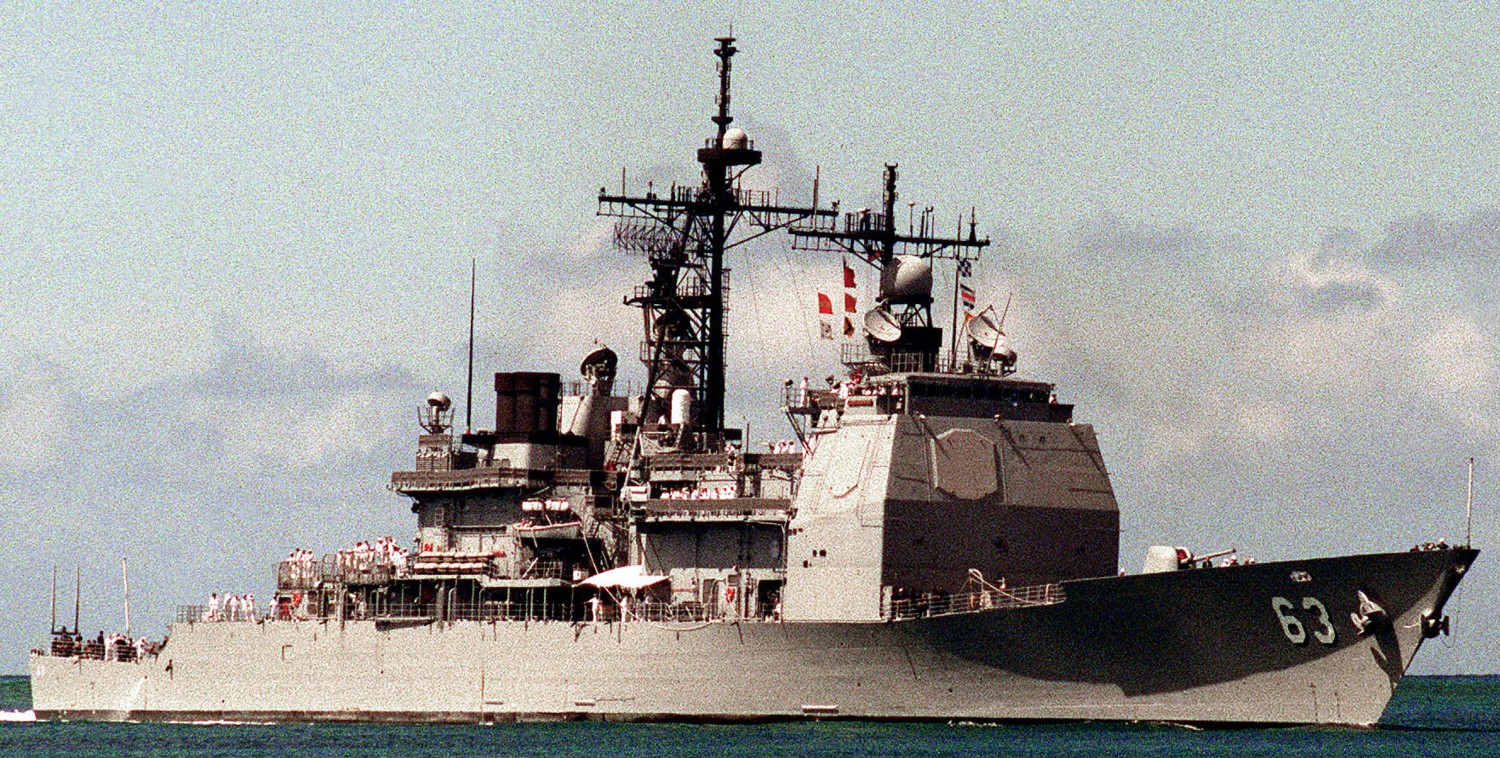 arriving at Naval Station Pearl Harbor, Hawaii - June 1991 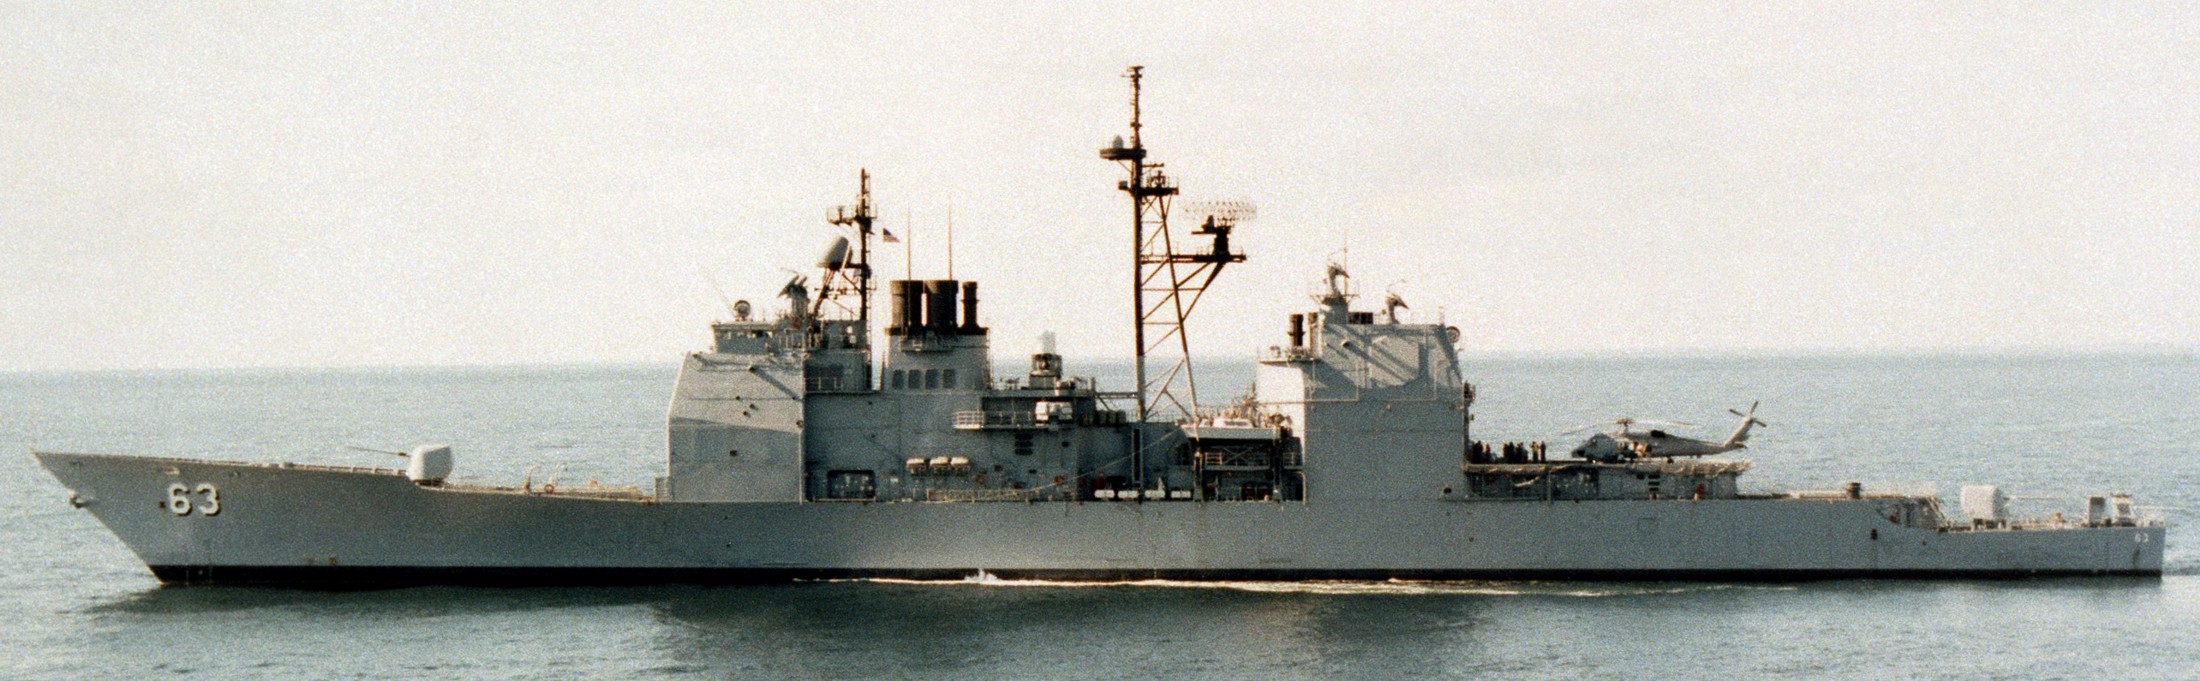 sea trials off New England - October 1990 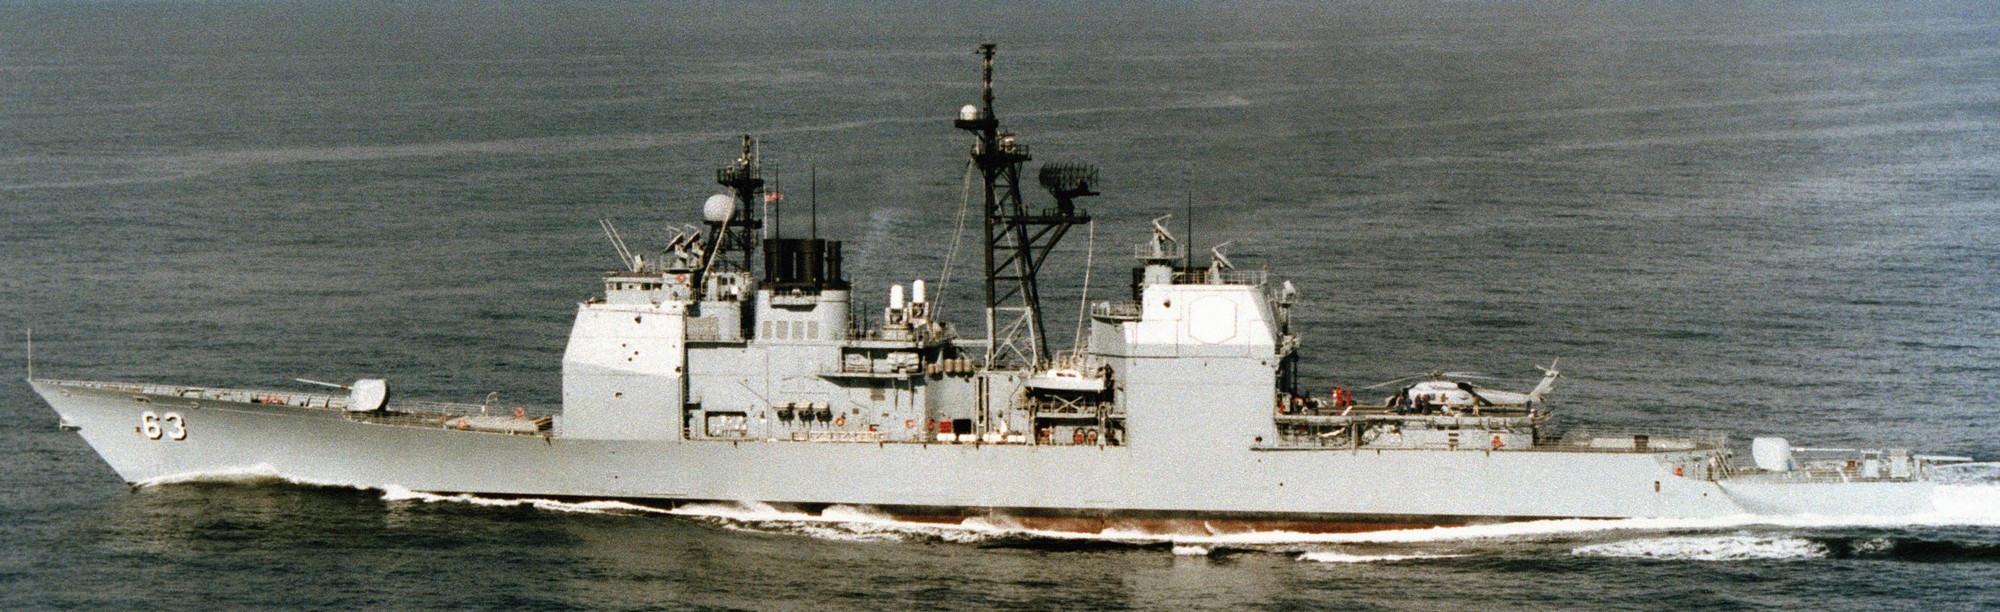 sea trials off New England - October 1990 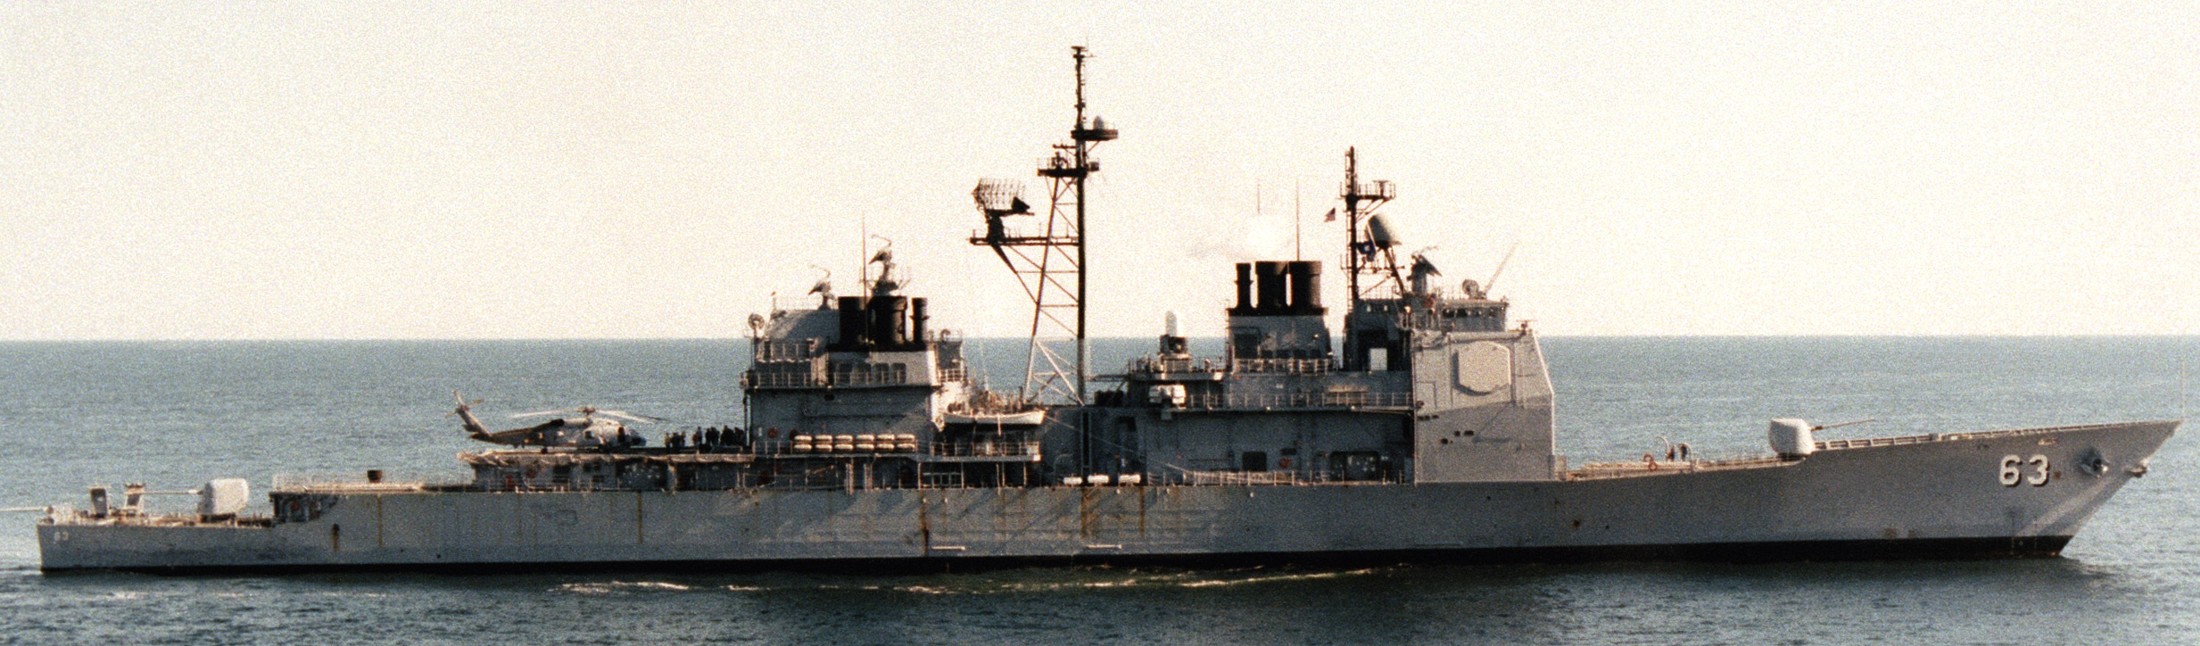 sea trials off New England - October 1990 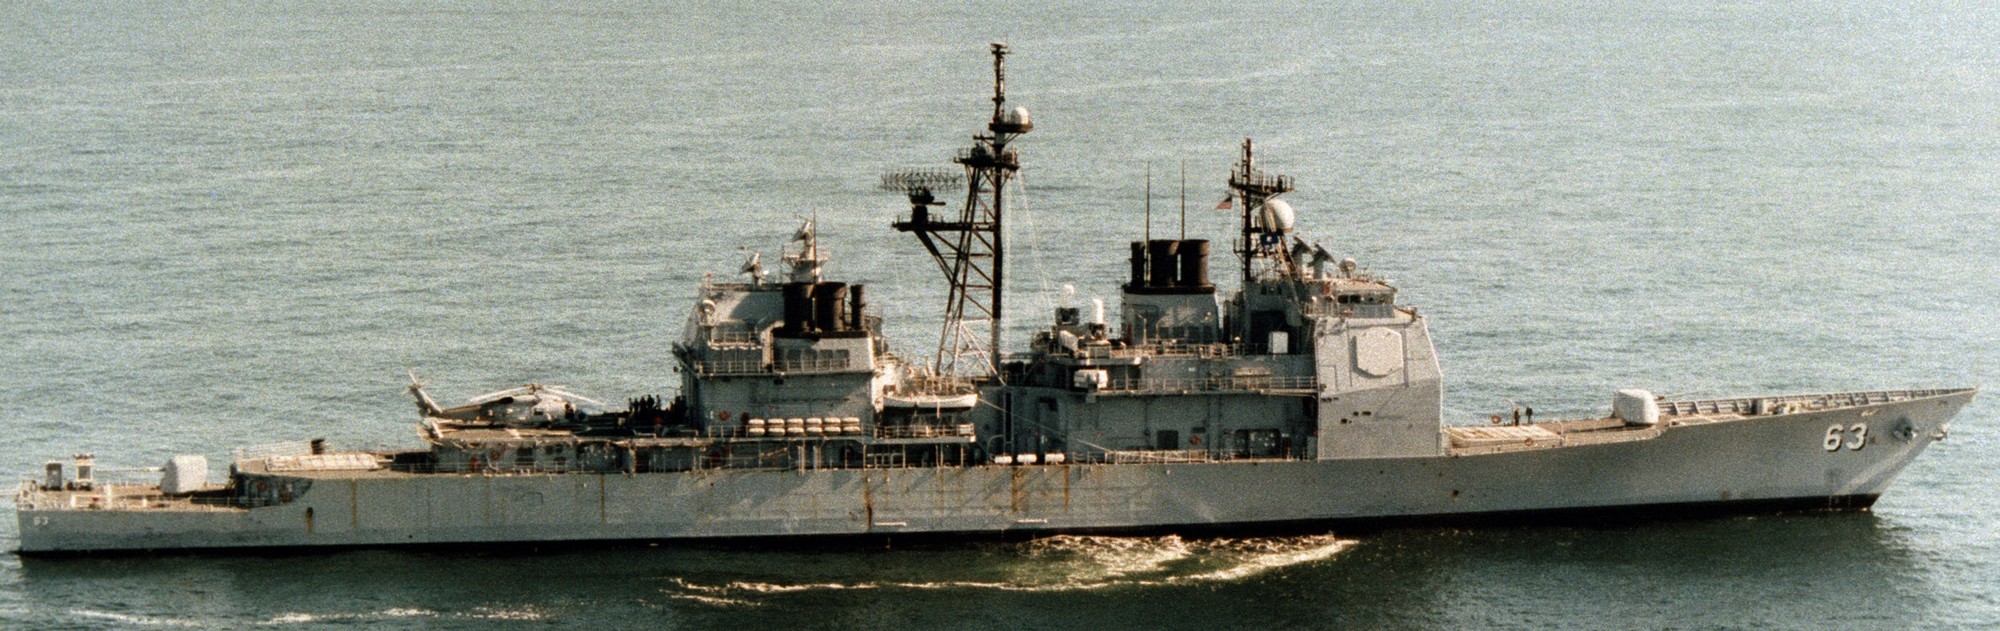 sea trials off New England - October 1990 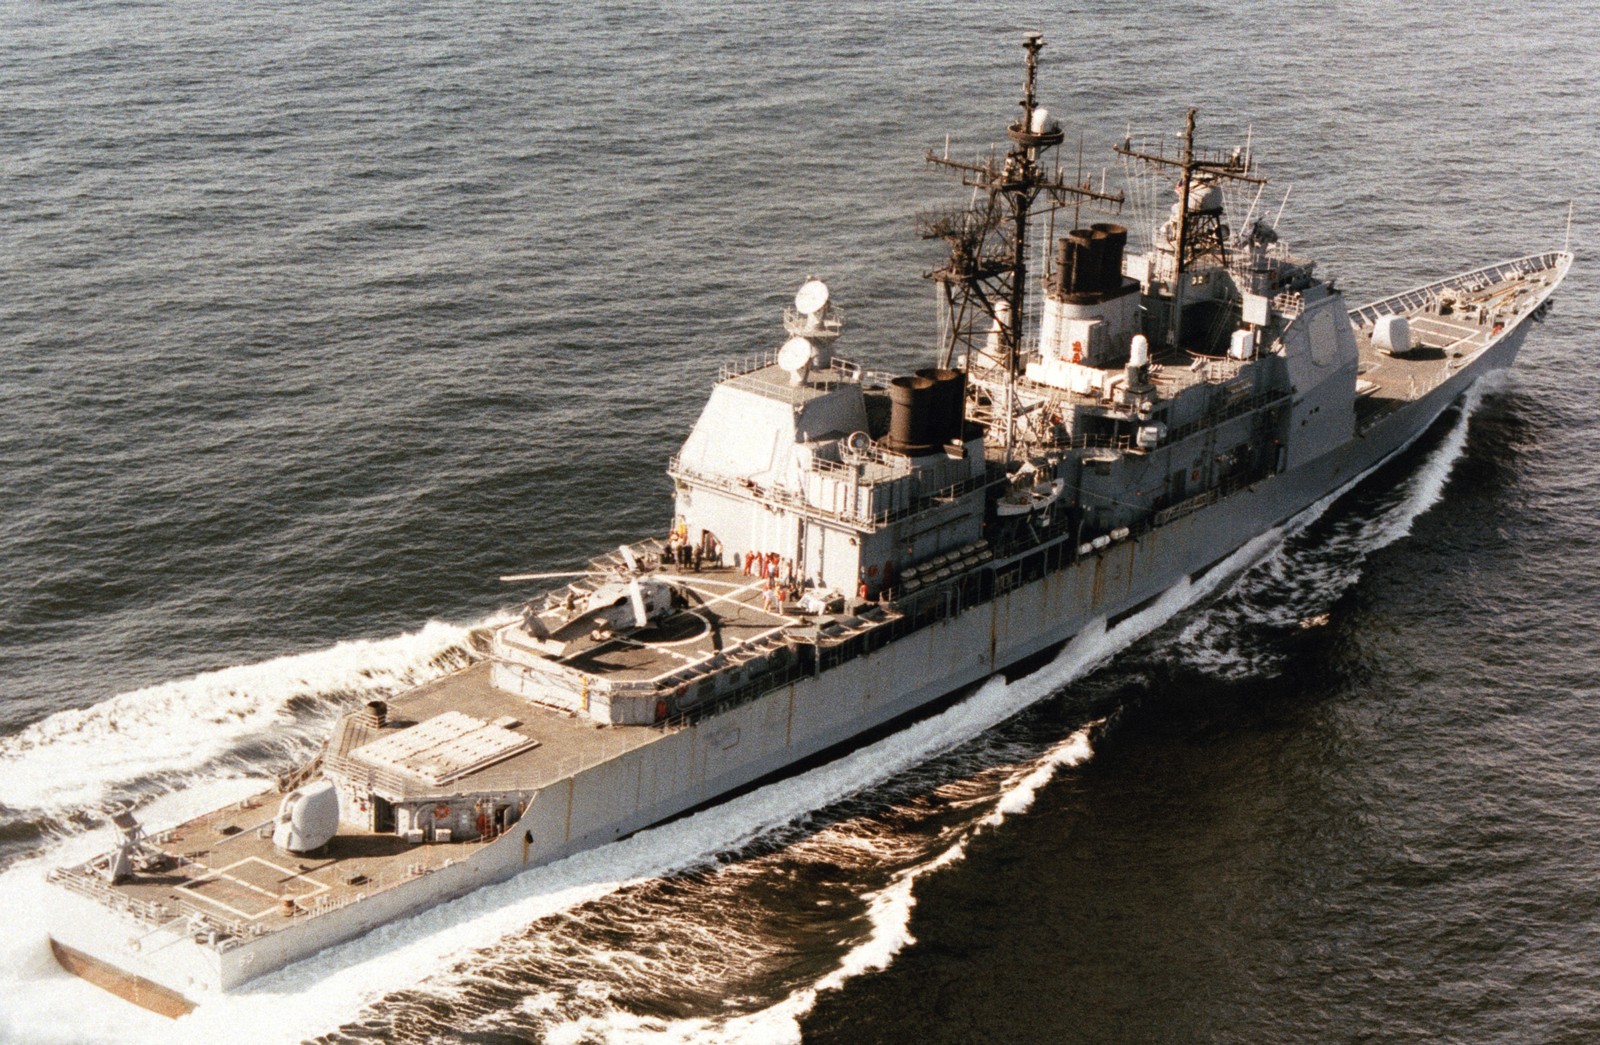 sea trials off New England - October 1990 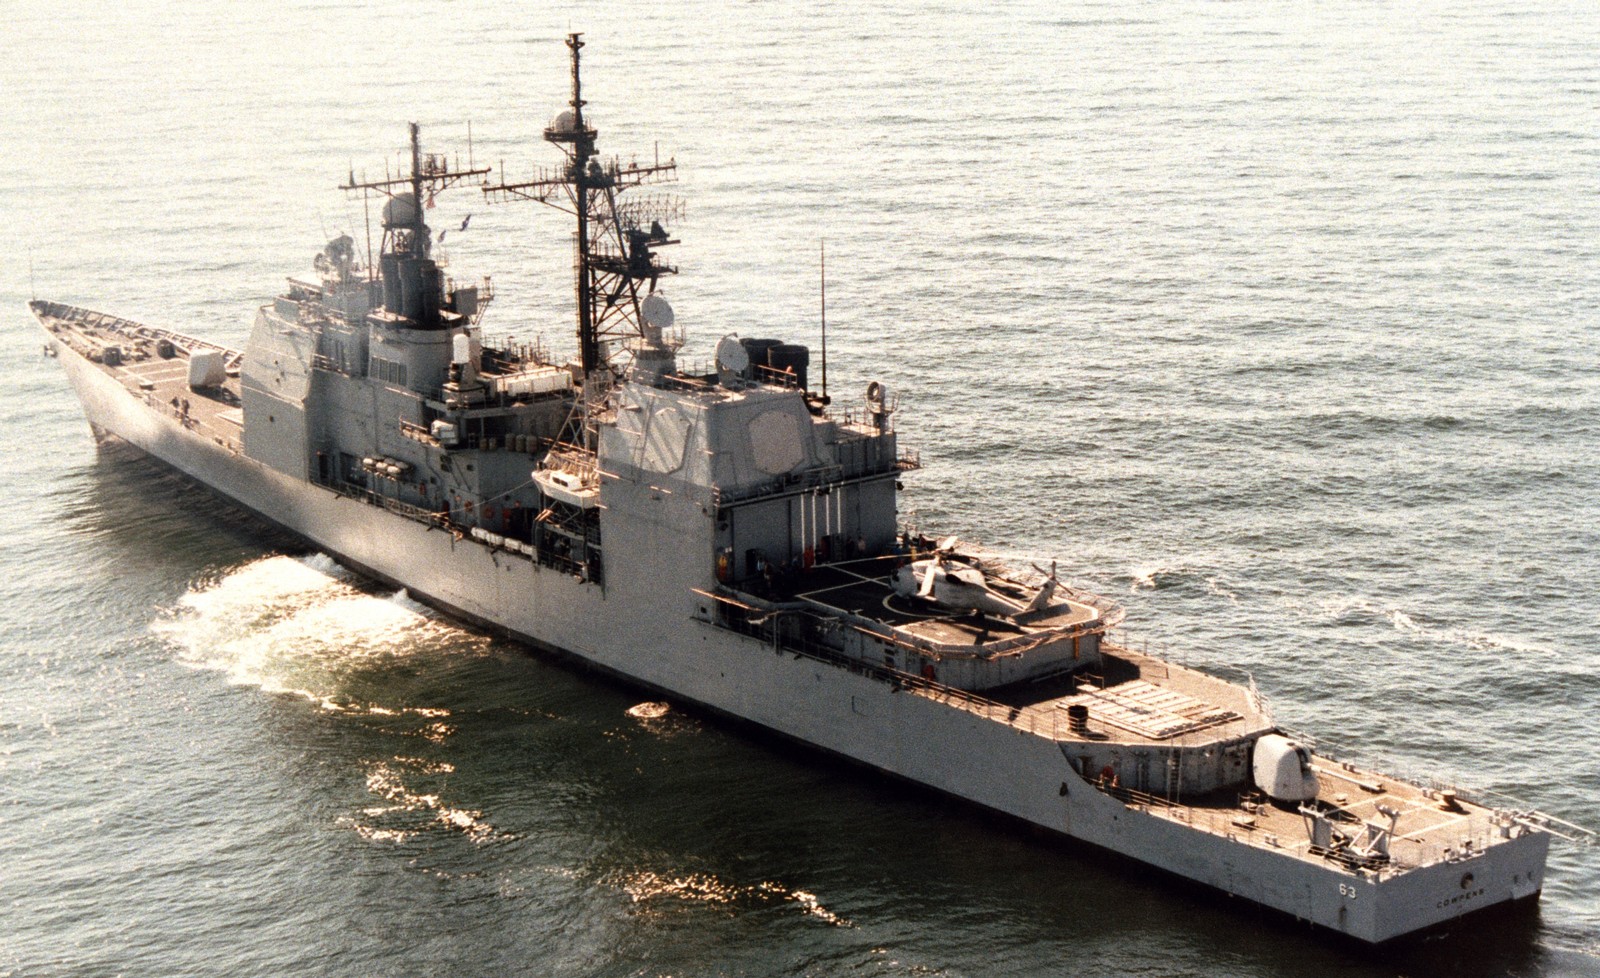 sea trials off New England - October 1990 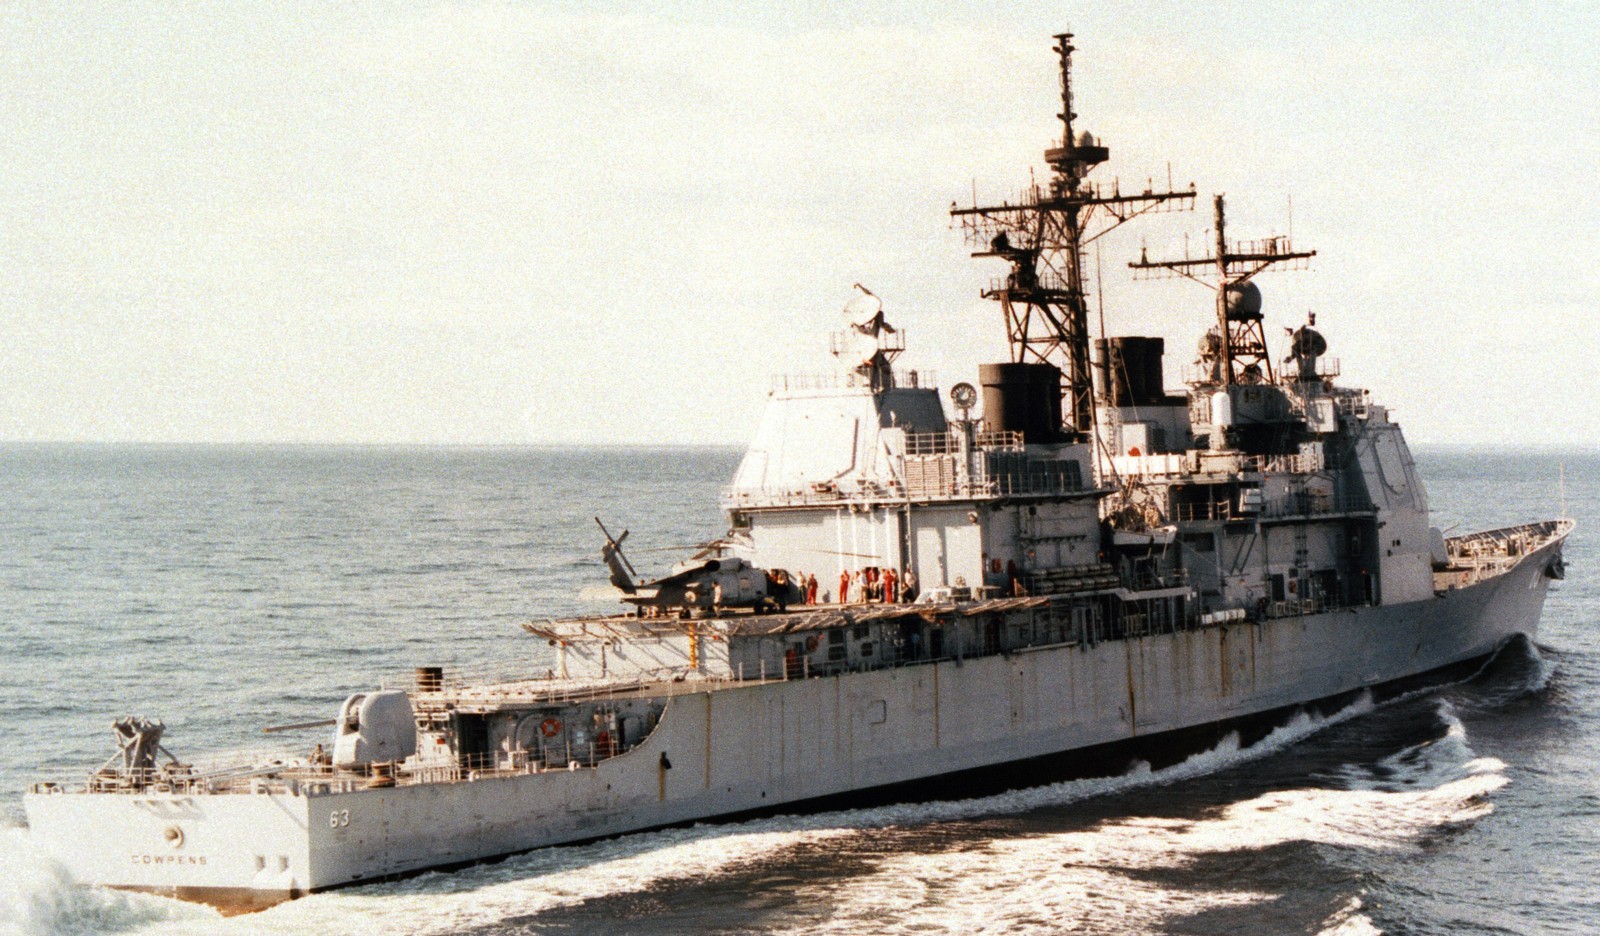 sea trials off New England - October 1990 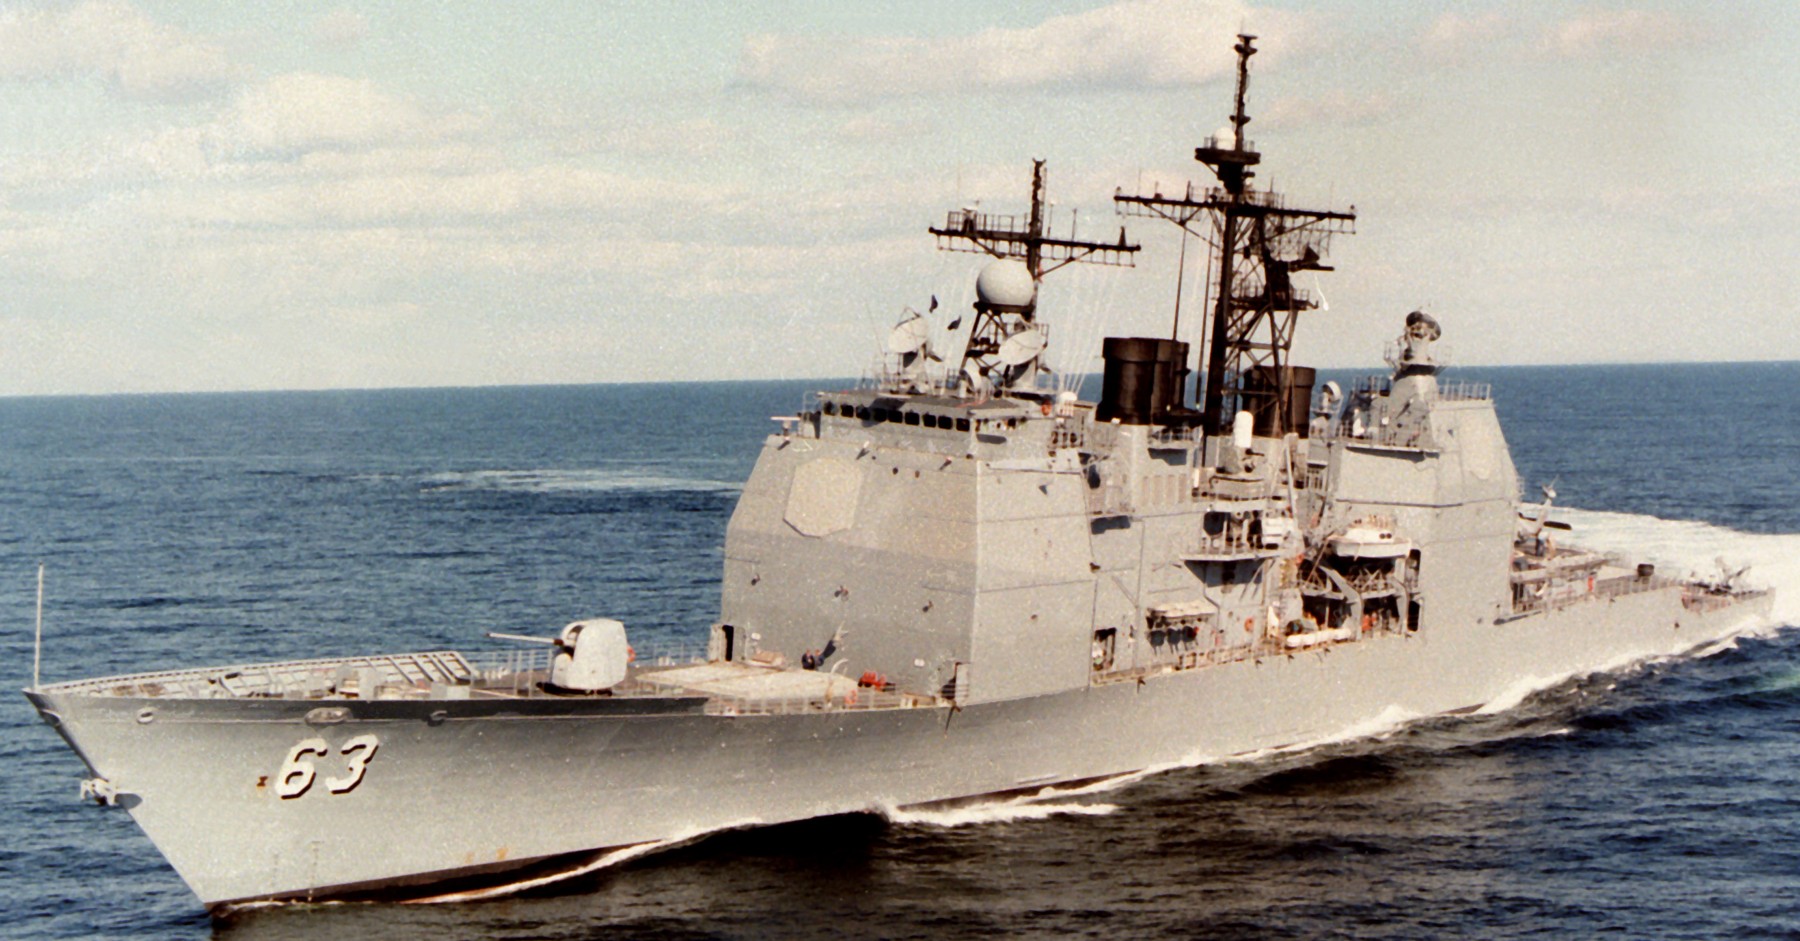 sea trials off New England - October 1990 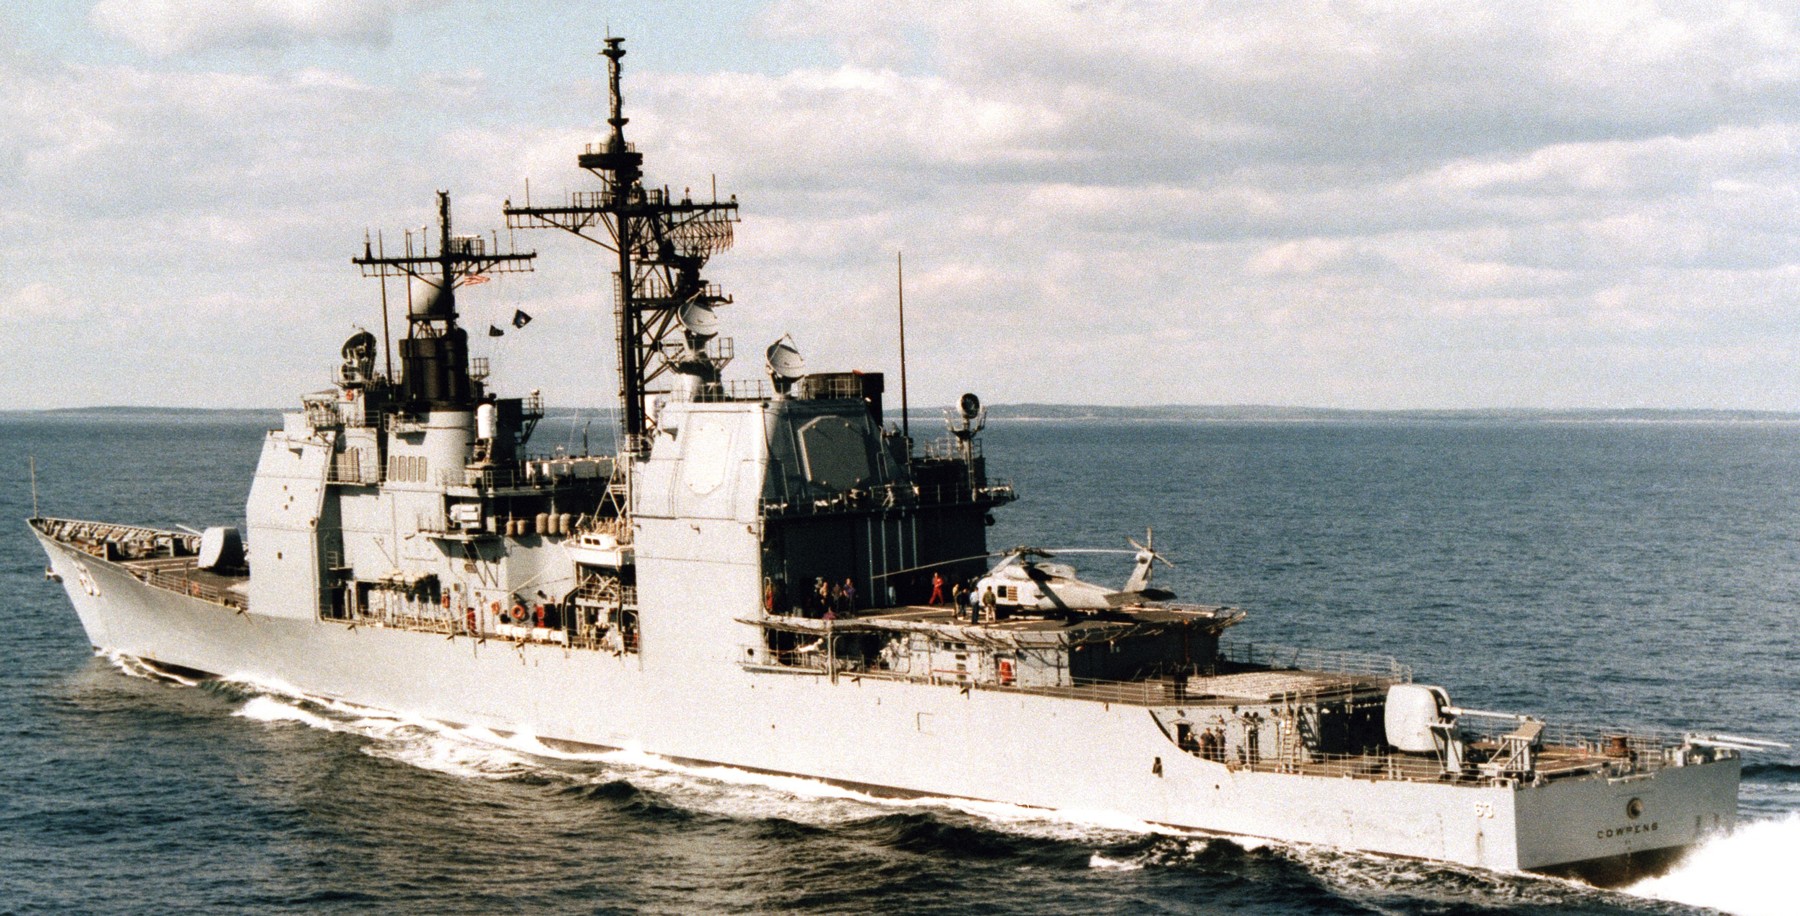 sea trials off New England - October 1990  sea trials off New England - October 1990 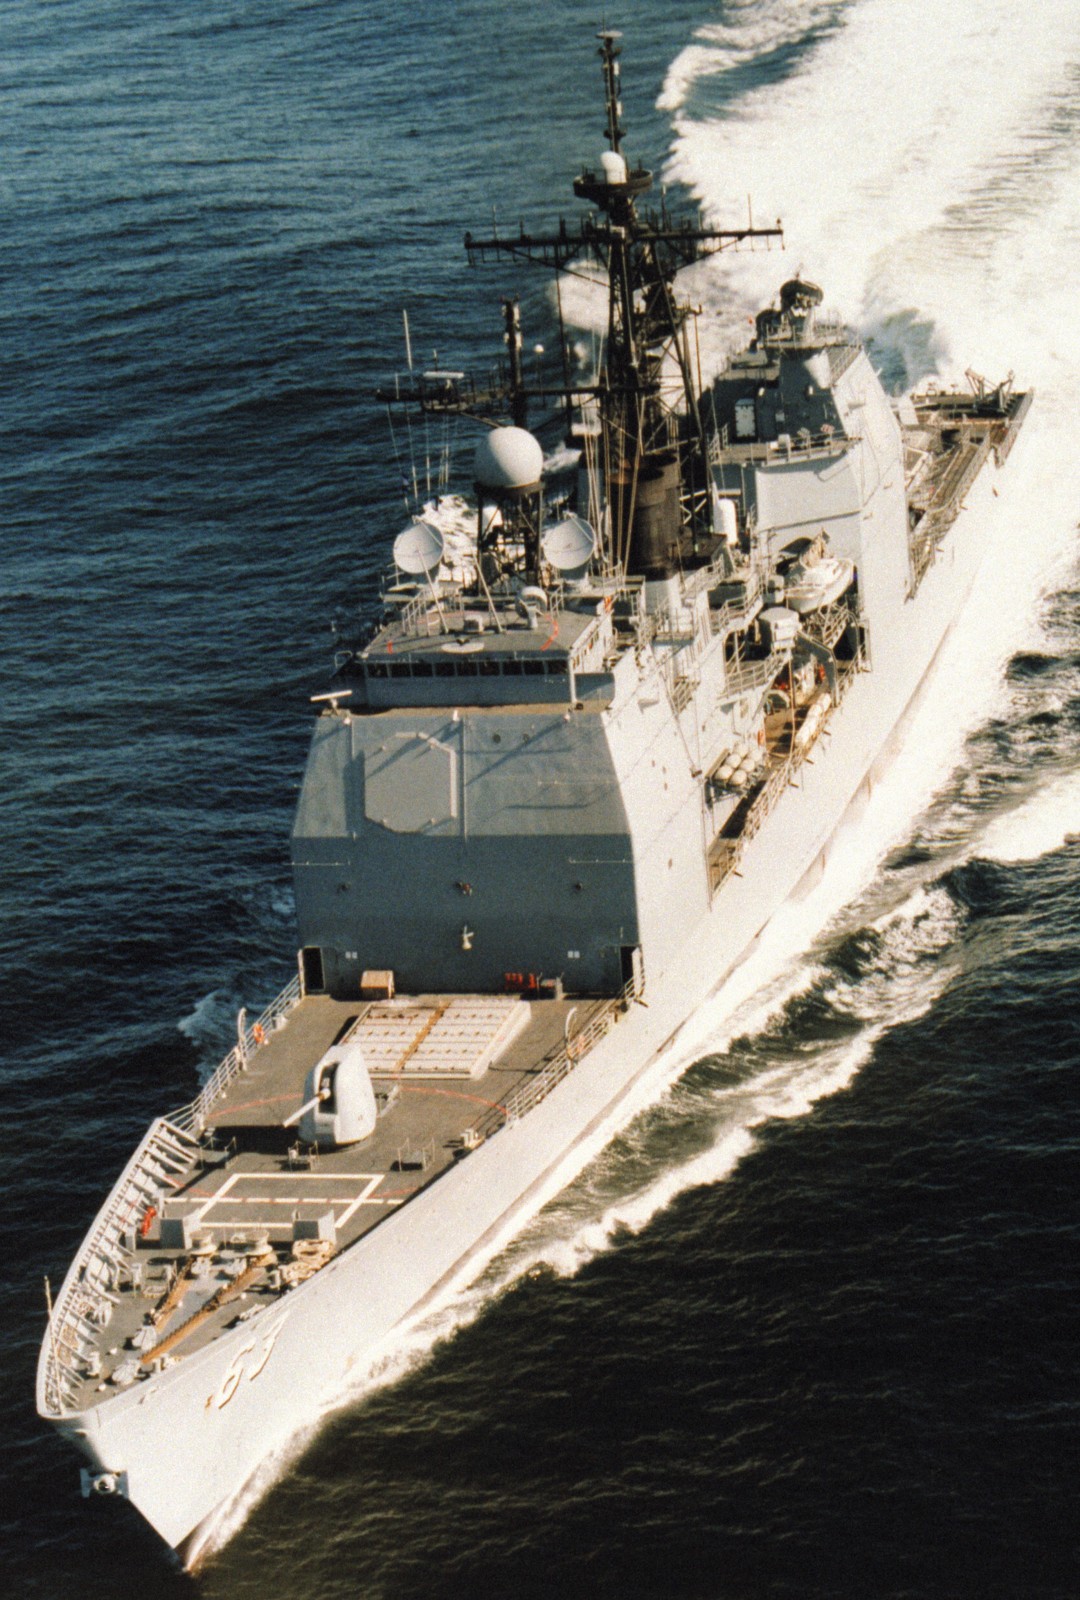 sea trials off New England - October 1990 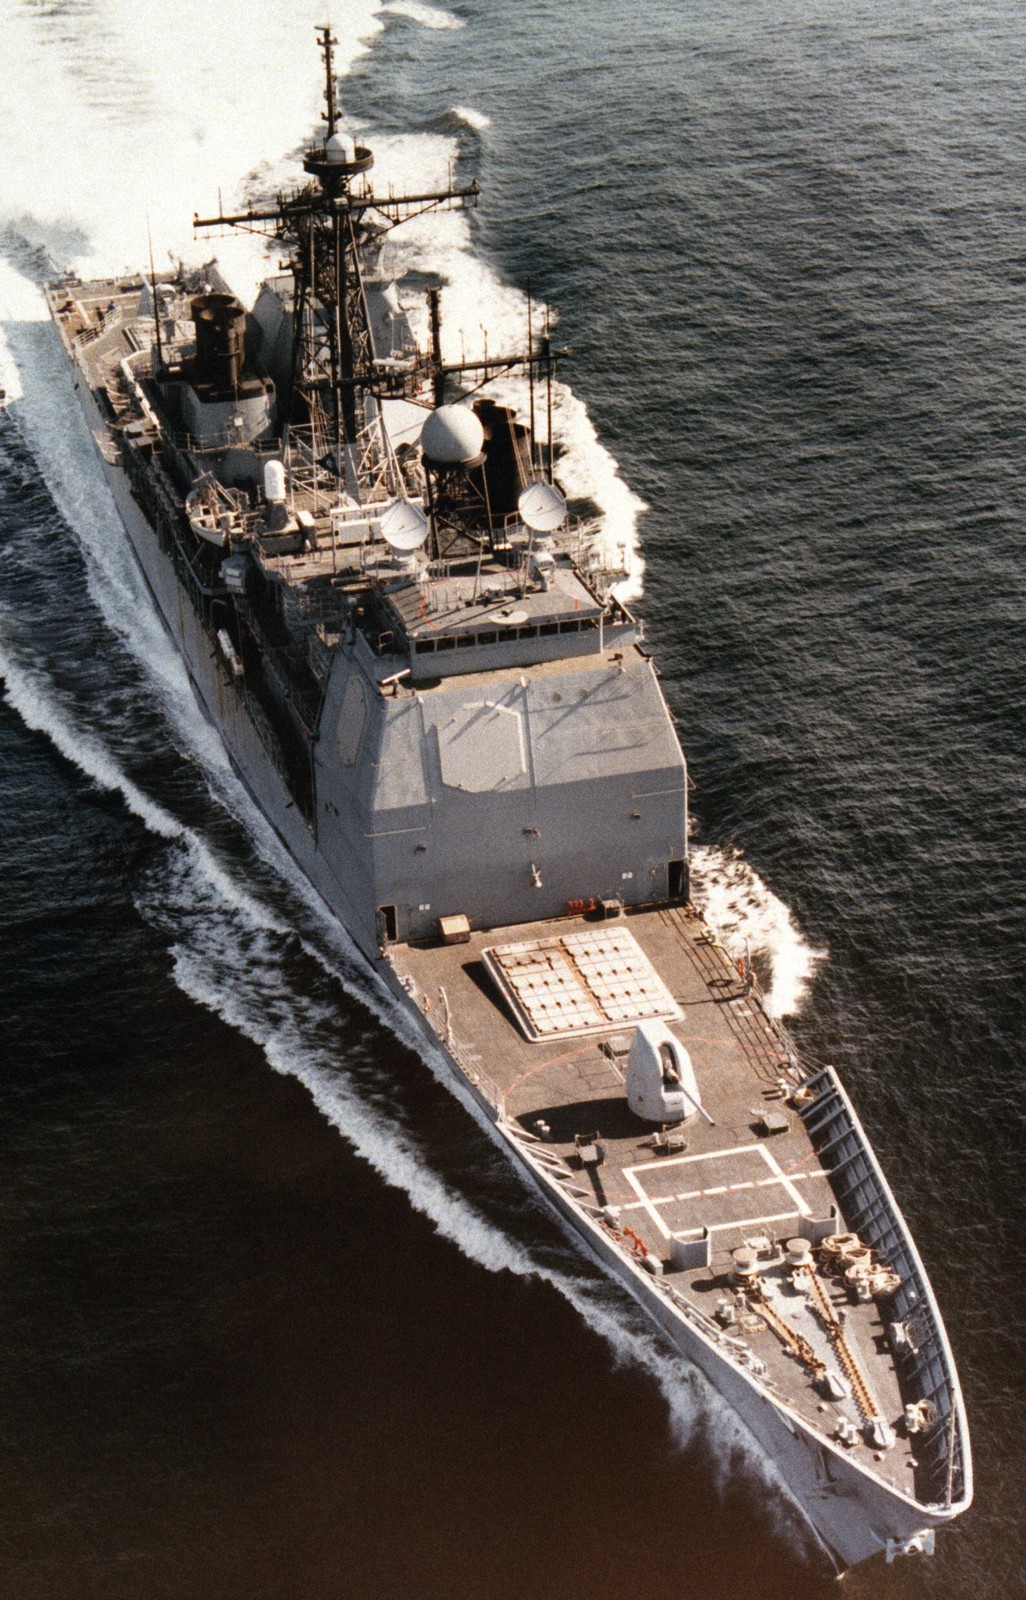 sea trials off New England - October 1990 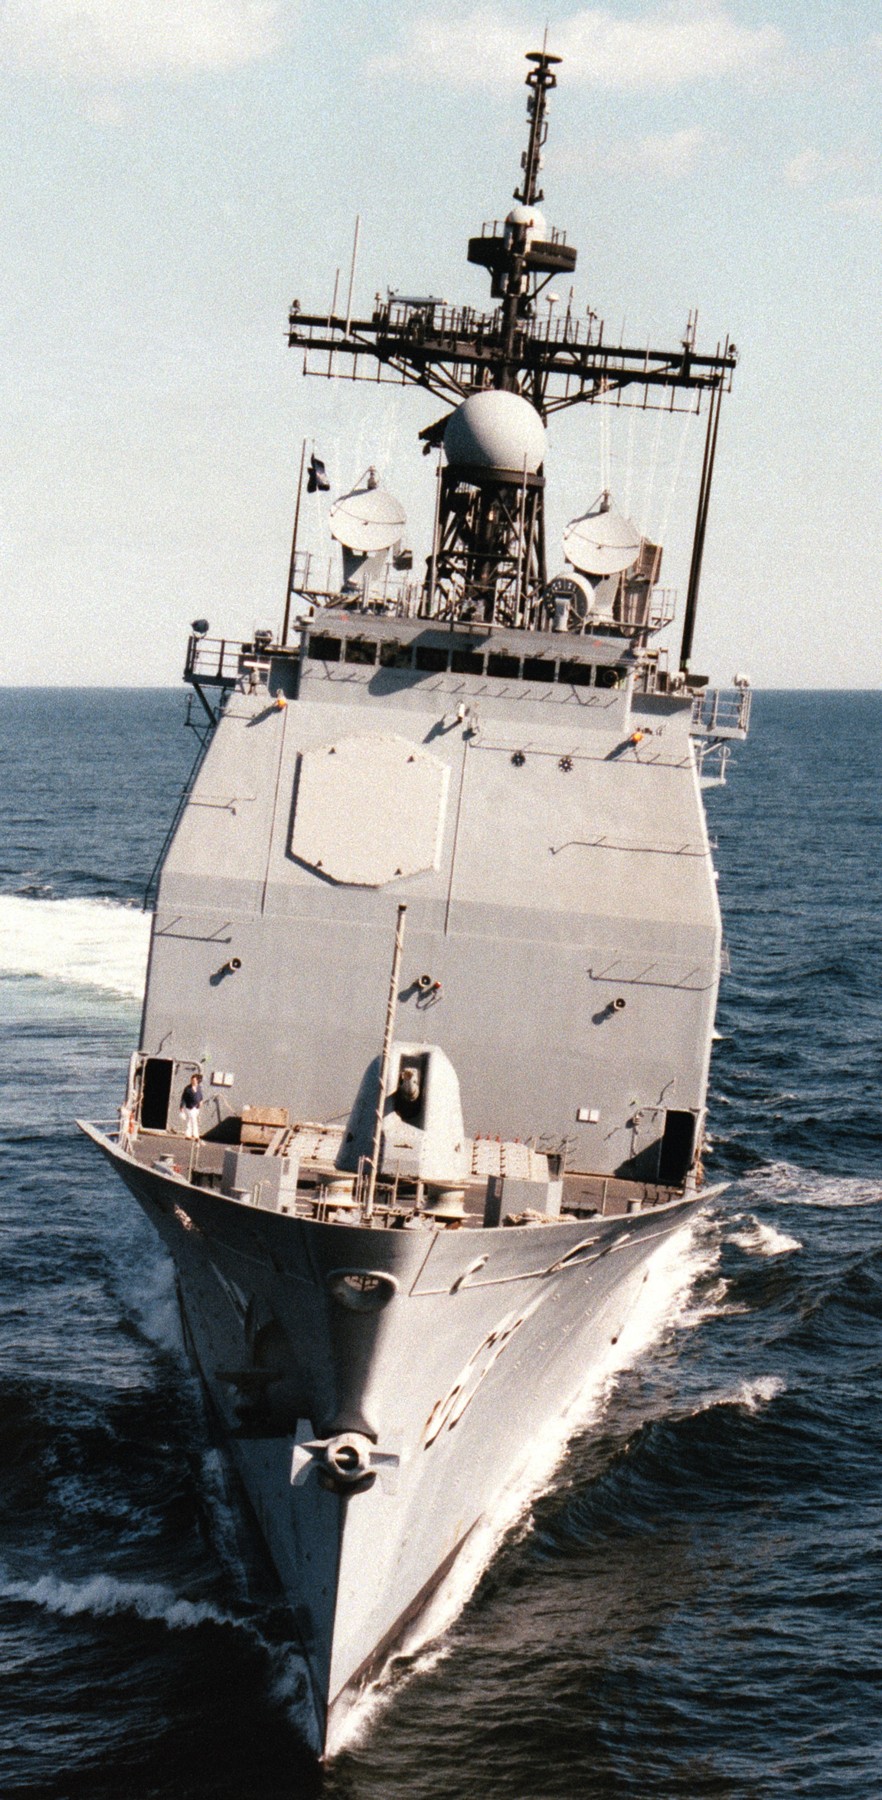
 sea trials off New England - October 1990  shortly after launching at Bath Iron Works, Maine - March 11, 1989 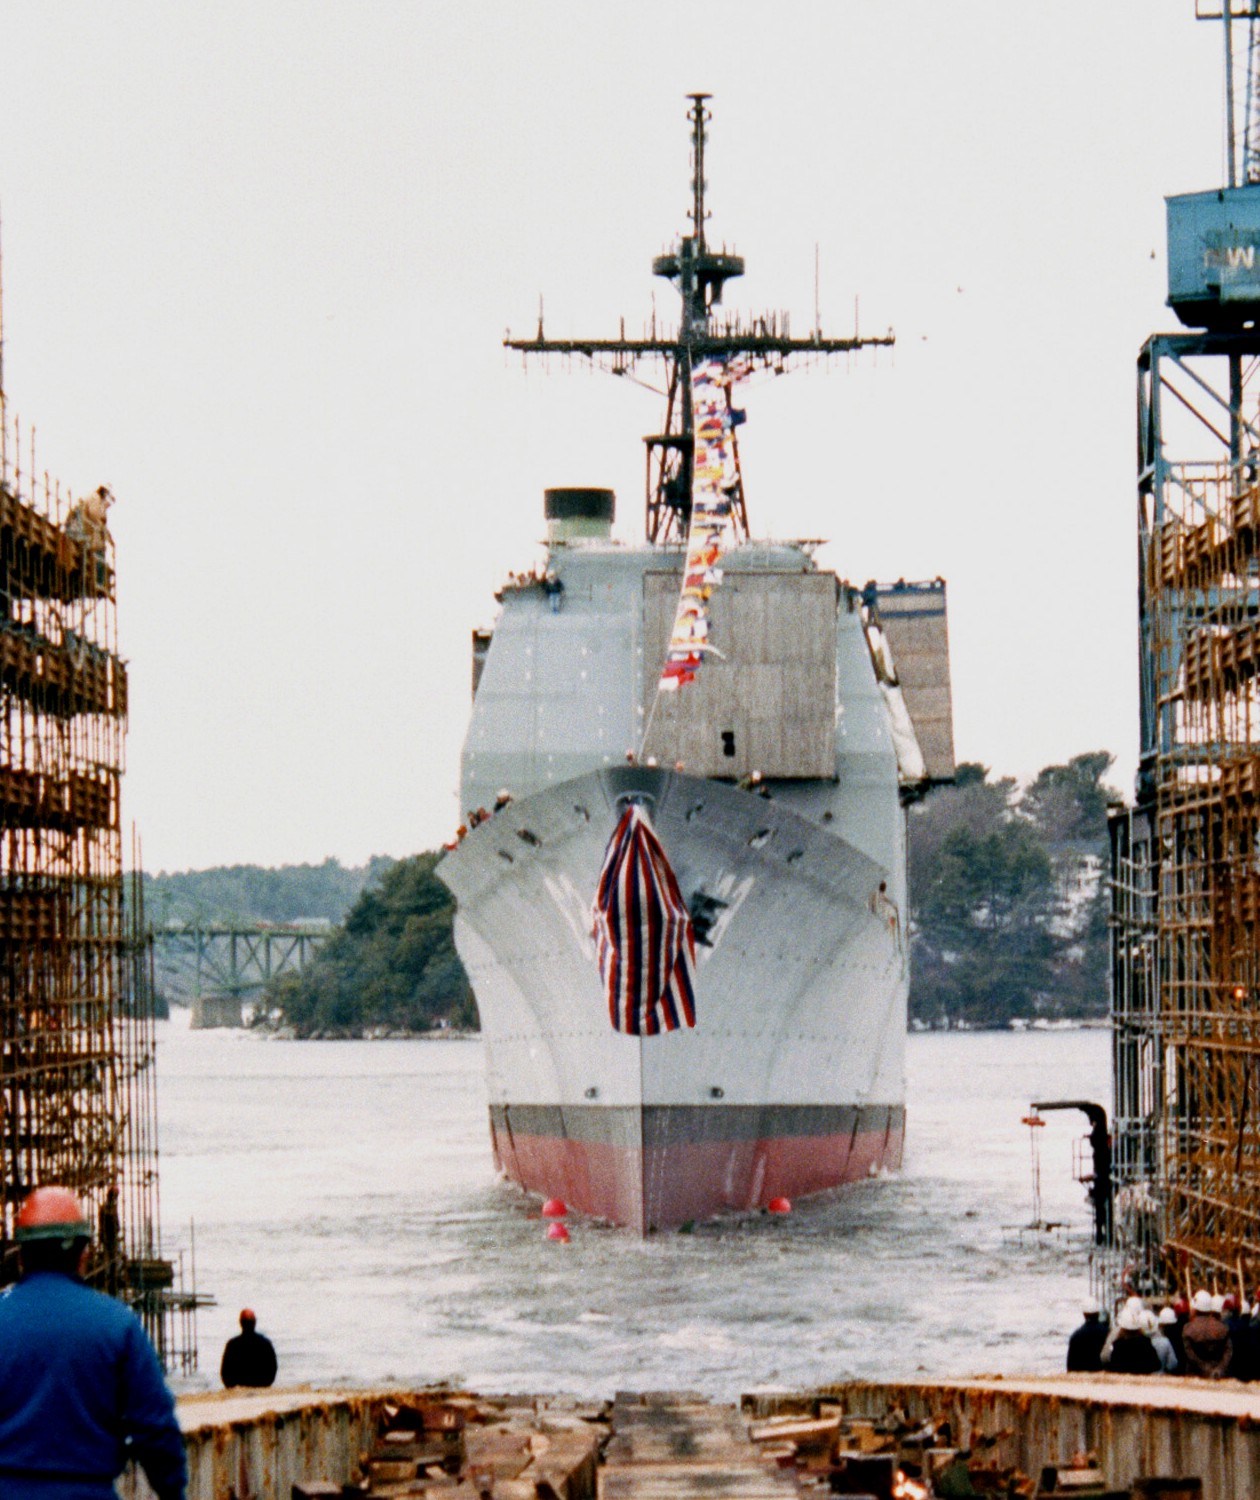 shortly after launching at Bath Iron Works, Maine - March 11, 1989 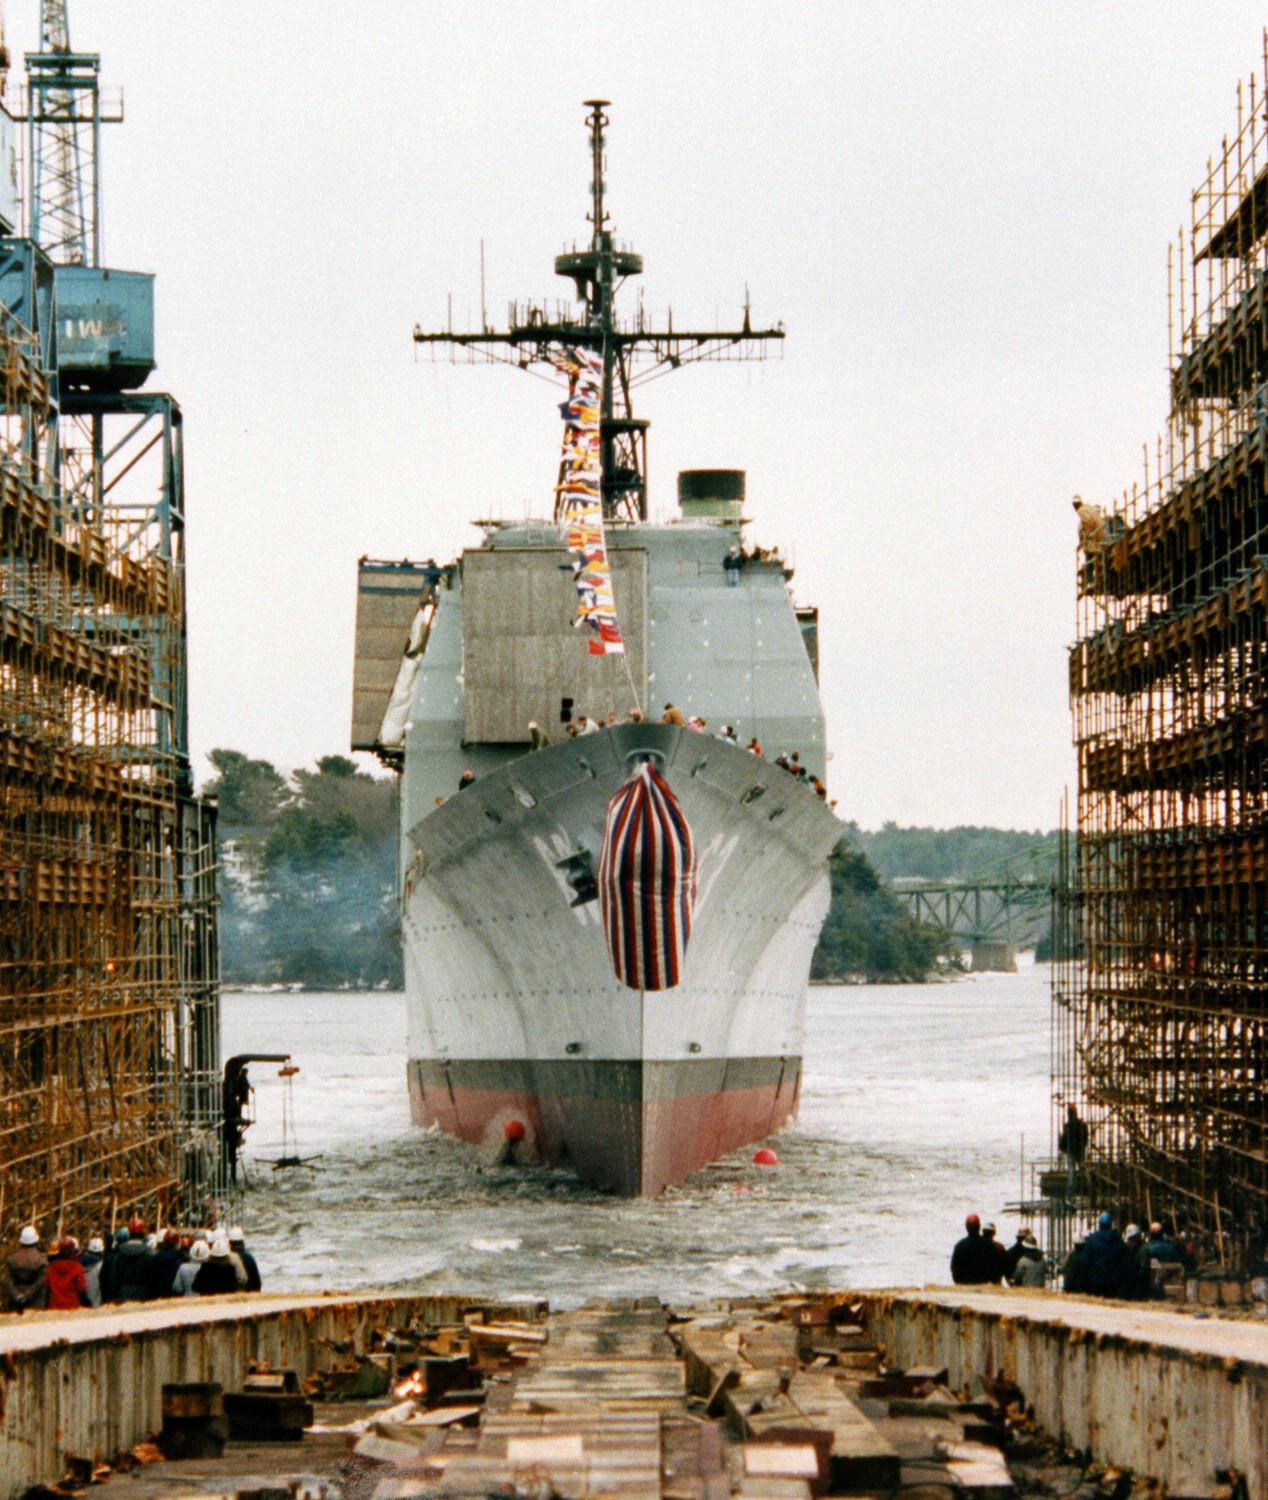 shortly after launching at Bath Iron Works, Maine - March 11, 1989  ready for launching at Bath Iron Works, Maine - March 11, 1989 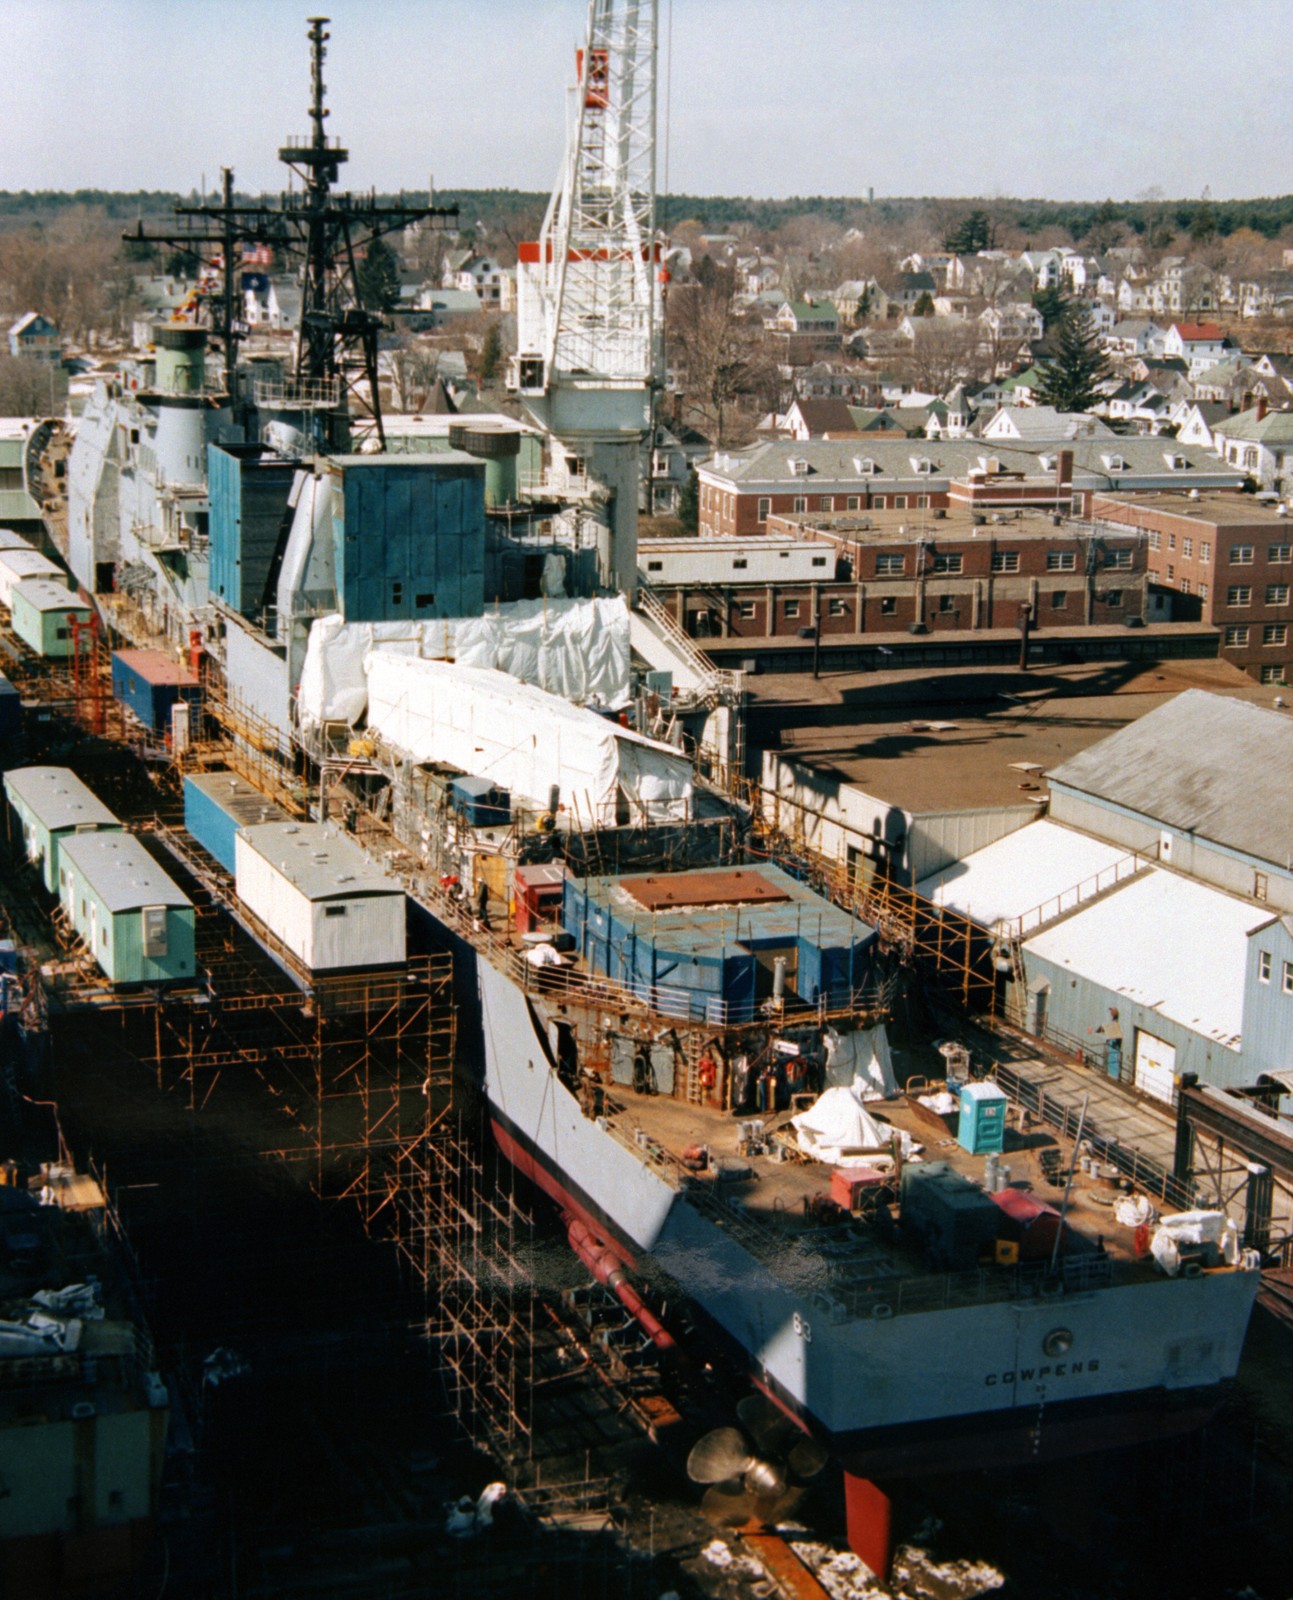 ready for launching at Bath Iron Works, Maine - March 11, 1989 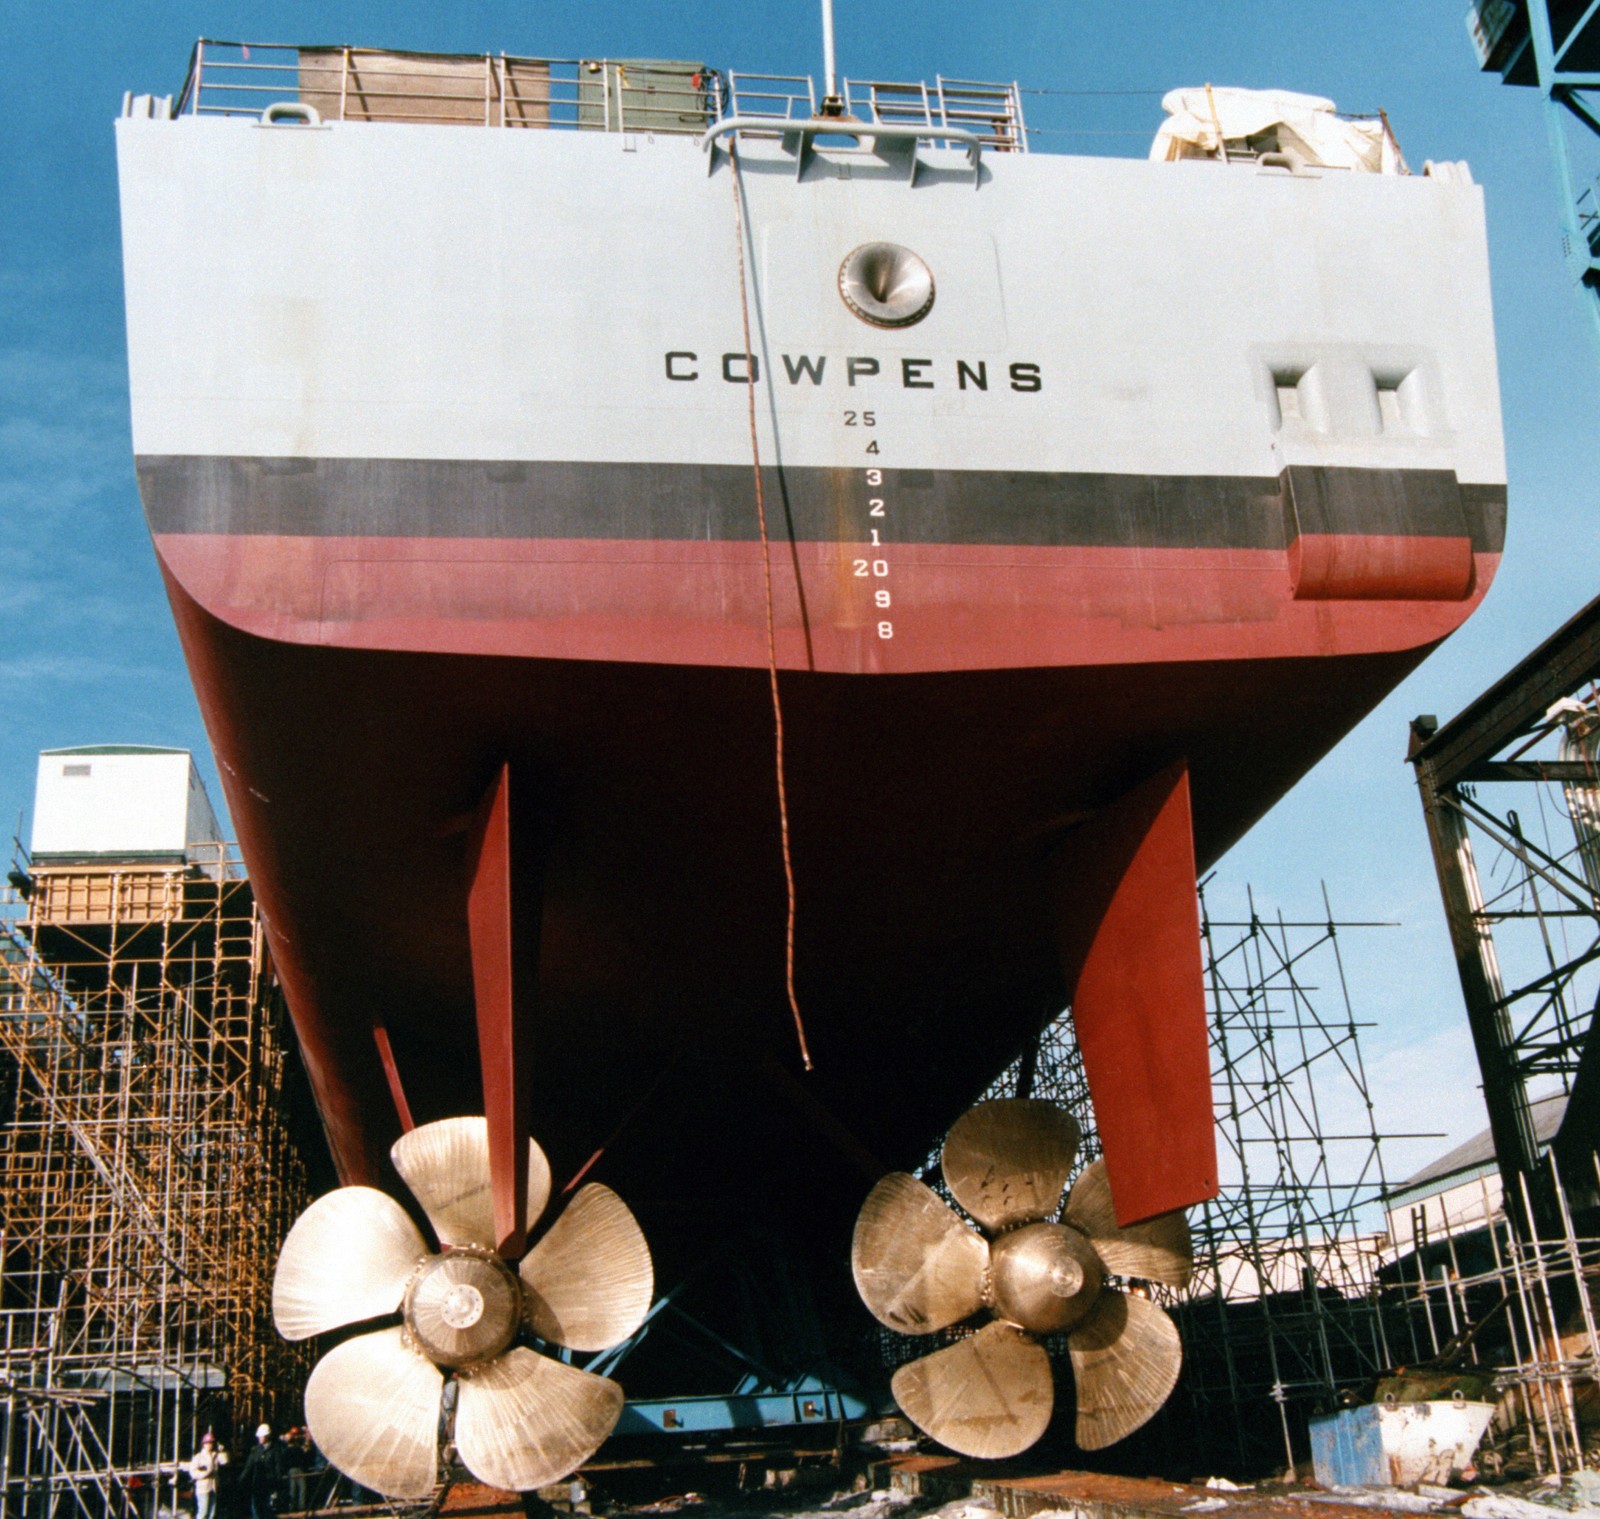 ready for launching at Bath Iron Works, Maine - March 11, 1989 |
||
|
USS Cowpens (CG 63): USS COWPENS deployed in 1996 for a six-month period to the Arabian Gulf as part of the KITTY HAWK Task Group. USS COWPENS, took part, along with the USS VALLEY FORGE (CG 50) and USS JARRETT (FFG 33), in a live standard-missile firing exercise in the Southern California operating areas in the fall of 1997. The exercise was a "Proof Of Concept" demonstration to see if the Navy could safely conduct live surface-to-air missile firings off the coast of San Diego, and possibly reduce the costs of conducting training. USS COWPENS deloyed in 1998 for six months to the Western Pacific Ocean, Indian Ocean and Arabian Gulf. USS COWPENS underwent a regular overhaul that was completed in December 1999. Southwest Marine, Inc., San Diego, CA, was awarded an $8,719,494 firm-fixed-price with performance fee contract for the overhaul; work for which was performed in San Diego, CA. USS COWPENS joined the Forward Deployed Naval Forces of Seventh Fleet, replacing the USS MOBILE BAY (CG 53), in July 2000. The ship completed internationally successful diplomatic visits to Vladivostok, Russia. The COWPENS, after a deployment to the Indian Ocean, and visiting along the way Guam, Singapore, Thailand and India, paid a visit to Mumbai, India as the US Navy representative to the 2001 International Fleet Review. She was one of 97 ships representing more than 30 countries. USS COWPENS played an active role in the relief effort following January earthquakes in northwestern India, delivering medical and humanitarian supplies. COWPENS also participated in several bi-lateral and multilateral exercises with the navies of Japan and Korea. This included Annual Exercise 2001 - a bilateral training drill between the Navy and the Japanese Maritime Self-Defense Force, in November, in which the Aegis-Guided missile cruiser was the Navy’s centerpiece for the exercise while the USS KITTY HAWK deployed to the Indian Ocean for Operation Enduring Freedom. Operationally, COWPENS also supported highly sensitive escort missions and Operation NOBLE EAGLE. USS COWPENS also operated in support of Operation ENDURING FREEDOM conducting Strait of Malacca escort operations. In March 2003, Cowpens, assigned to Carrier Group Five, became the first United States Navy ship to launch ordnance in the opening stages of the Iraq War, firing Tomahawk cruise missiles. This ship was one of several participating in disaster relief after the 2011 Tōhoku earthquake and tsunami. Cowpens was scheduled to be decommissioned on 31 March 2013. However, Cowpens was retained under the National Defense Authorization Act for Fiscal Year 2013. In February 2013, Cowpens was relieved by Antietam in a "hull-swap" at Yokosuka, Japan, in which the two crews swapped ships. Cowpens, previously deployed to Yokosuka, was then homeported at Naval Base San Diego, California. On 5 December 2013, Cowpens was involved in a minor confrontation with a Chinese warship that was escorting the Chinese aircraft carrier Liaoning while conducting surveillance of Chinese ships in International waters in the South China Sea. After Cowpens refused a Chinese demand to leave the area, a Chinese amphibious transport dock crossed directly in front of Cowpens and halted. The two vessels were barely 500 yards (460 m) away when the captain of Cowpens ordered "all stop". Chinese admiral Yin Zhuo said that the Chinese action was intentional and that American ships sent to observe PLAN maneuvers would be "blocked". Pentagon spokesman Steve Warren said that American procedures had not been changed in light of the incident, but defense analyst Tim Brown said that it reflected "a growing willingness by the Chinese to engage in potentially reckless behavior". In September 2015, Cowpens transferred from Naval Surface Forces Command to Naval Sea Systems Command, where she will undergo a "modernization period", extending the serviceable life of the ship into the 2040's. In the US Navy's 2024 proposed budget, presented in 2023, Cowpens was again proposed for retirement. Navy Undersecretary Erik Raven stated that this was due to the ship's "material condition, life remaining, cost, ... time to upgrade ... and the warfighting value." In March 2024, the Navy announced plans to inactivate Cowpens on 30 August 2024. She was decommissioned on 27 August 2024. After the decommissioning and inactivation, the ship will be towed to the Navy’s Inactive Ship facility in Pearl Harbor, Hawaii where it will be in a Logistic Support Asset (LSA) status. |
||
|
The Battle of Cowpens (January 17, 1781) ... was an engagement during the American Revolutionary War fought near the town of Cowpens, South Carolina, between U.S. forces under Brigadier General Daniel Morgan and British forces under Lieutenant Colonel Banastre Tarleton, as part of the campaign in the Carolinas (North and South). The battle was a turning point in the American reconquest of South Carolina from the British. Morgan's forces conducted a double envelopment of Tarleton's forces, the only double envelopment of the war. Tarleton's force of 1000 British troops were set against 2000 troops under Morgan. Morgan's forces suffered casualties of only 25 killed and 124 wounded. Tarleton's force was almost completely eliminated with almost 30% casualties and 55% of his force captured or missing, with Tarleton himself and only about 200 British troops escaping. A small force of the Continental Army under the command of Morgan had marched to the west of the Catawba River, in order to forage for supplies and raise the morale of local colonial sympathizers. The British had received incorrect reports that Morgan's army was planning to attack the important strategic fort of Ninety Six, held by American Loyalists to the British Crown and located in the west of the Carolinas. The British considered Morgan's army a threat to their left flank. General Charles Cornwallis dispatched cavalry (dragoons) commander Tarleton to defeat Morgan's command. Upon learning Morgan's army was not at Ninety Six, Tarleton, bolstered by British reinforcements, set off in hot pursuit of the American detachment. Morgan resolved to make a stand near the Broad River. He selected a position on two low hills in open woodland, with the expectation that the aggressive Tarleton would make a headlong assault without pausing to devise a more intricate plan. He deployed his army in three main lines. Tarleton's army, after an exhausting march, reached the field malnourished and heavily fatigued. Tarleton attacked immediately; however, the American defense-in-depth absorbed the impact of the British attack. The British lines lost their cohesion as they hurried after the retreating Americans. When Morgan's army went on the offensive, it wholly overwhelmed Tarleton's force. Tarleton's brigade was wiped out as an effective fighting force, and, coupled with the British defeat at the Battle of Kings Mountain in the northwest corner of South Carolina, this action compelled Cornwallis to pursue the main southern American army into North Carolina, leading to the Battle of Guilford Court House, and Cornwallis's eventual defeat at the siege of Yorktown in Virginia in October 1781. |
||
| patches + more | ||
   |
||
|
|
seaforces.org |
USN ships
start page | |